Probiotic pickles, anyone? Transform homegrown cucumbers into the best fermented pickles with this easy recipe!
Homemade pickles are some of my favorite preserved foods because they’re just so easy to make and their taste far surpasses anything I can buy at the grocery store. You can make cucumber pickles a few different ways, such as with a water bath canner or a quick pickle in the fridge. But if you want to make a classic deli-style pickle with excellent crunch and gut-healthy probiotics, the step-by-step recipe below will teach you everything you need to know!
Affiliate disclosure: As an Amazon Associate, I may earn commissions from qualifying purchases.
Different Types of Pickles
Before we get into the nitty gritty of making pickles, here’s a brief overview of the different pickle types. You may find that a certain pickle style appeals to you or, if you’re like me, you may want to make every type of pickle around. There’s no judgment in the world of pickles!
- Lacto-fermented pickles.
These are the pickles you’ll be making with this recipe. These pickles are fermented in a salt water brine, which allows “good bacteria” to grow but keeps “bad bacteria” at bay. A similar fermentation process is used to make sauerkraut, kimchi, and some types of hot sauces. - Water bath canned pickles.
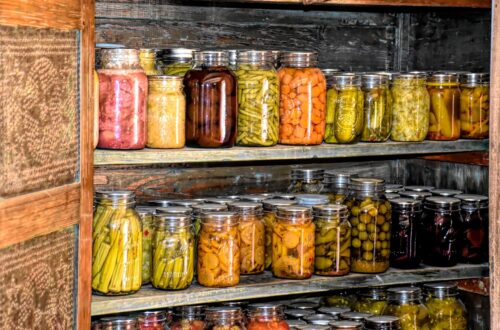
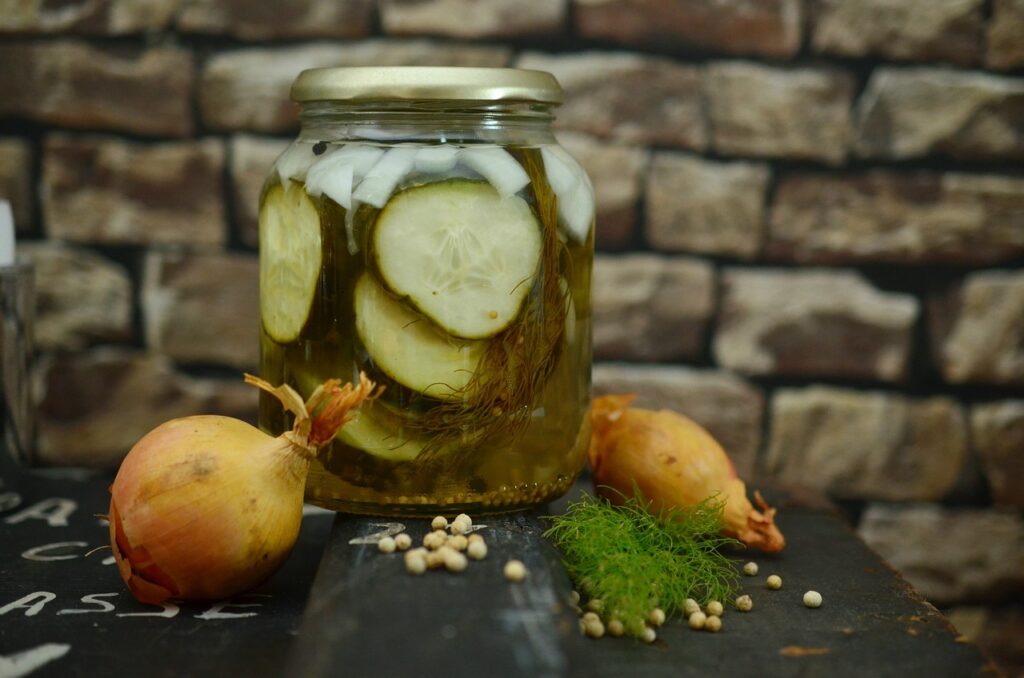
Water bath canning is the classic way to make bread and butter pickles, but you can also make dill pickles with this technique. These pickles are made with vinegar and processed with heat, which kills off any probiotics. Unlike other types of pickles, water bath canned pickles are shelf-stable and can last for a year or more in the pantry! - Fridge pickles.
This is the easiest way to make pickles and is the best choice for total beginners. It doesn’t require any canning supplies, but pickles need to be stored in the fridge and they don’t contain a significant amount of probiotics.
Easy Recipe for Fermented Dill Pickles
If you’ve ever made sauerkraut, making fermented cucumbers is a very similar process. You just need some salt and spices, fresh dill and cukes, and a clean jar or crock to ferment them in. Easy peasy!
What You’ll Need:
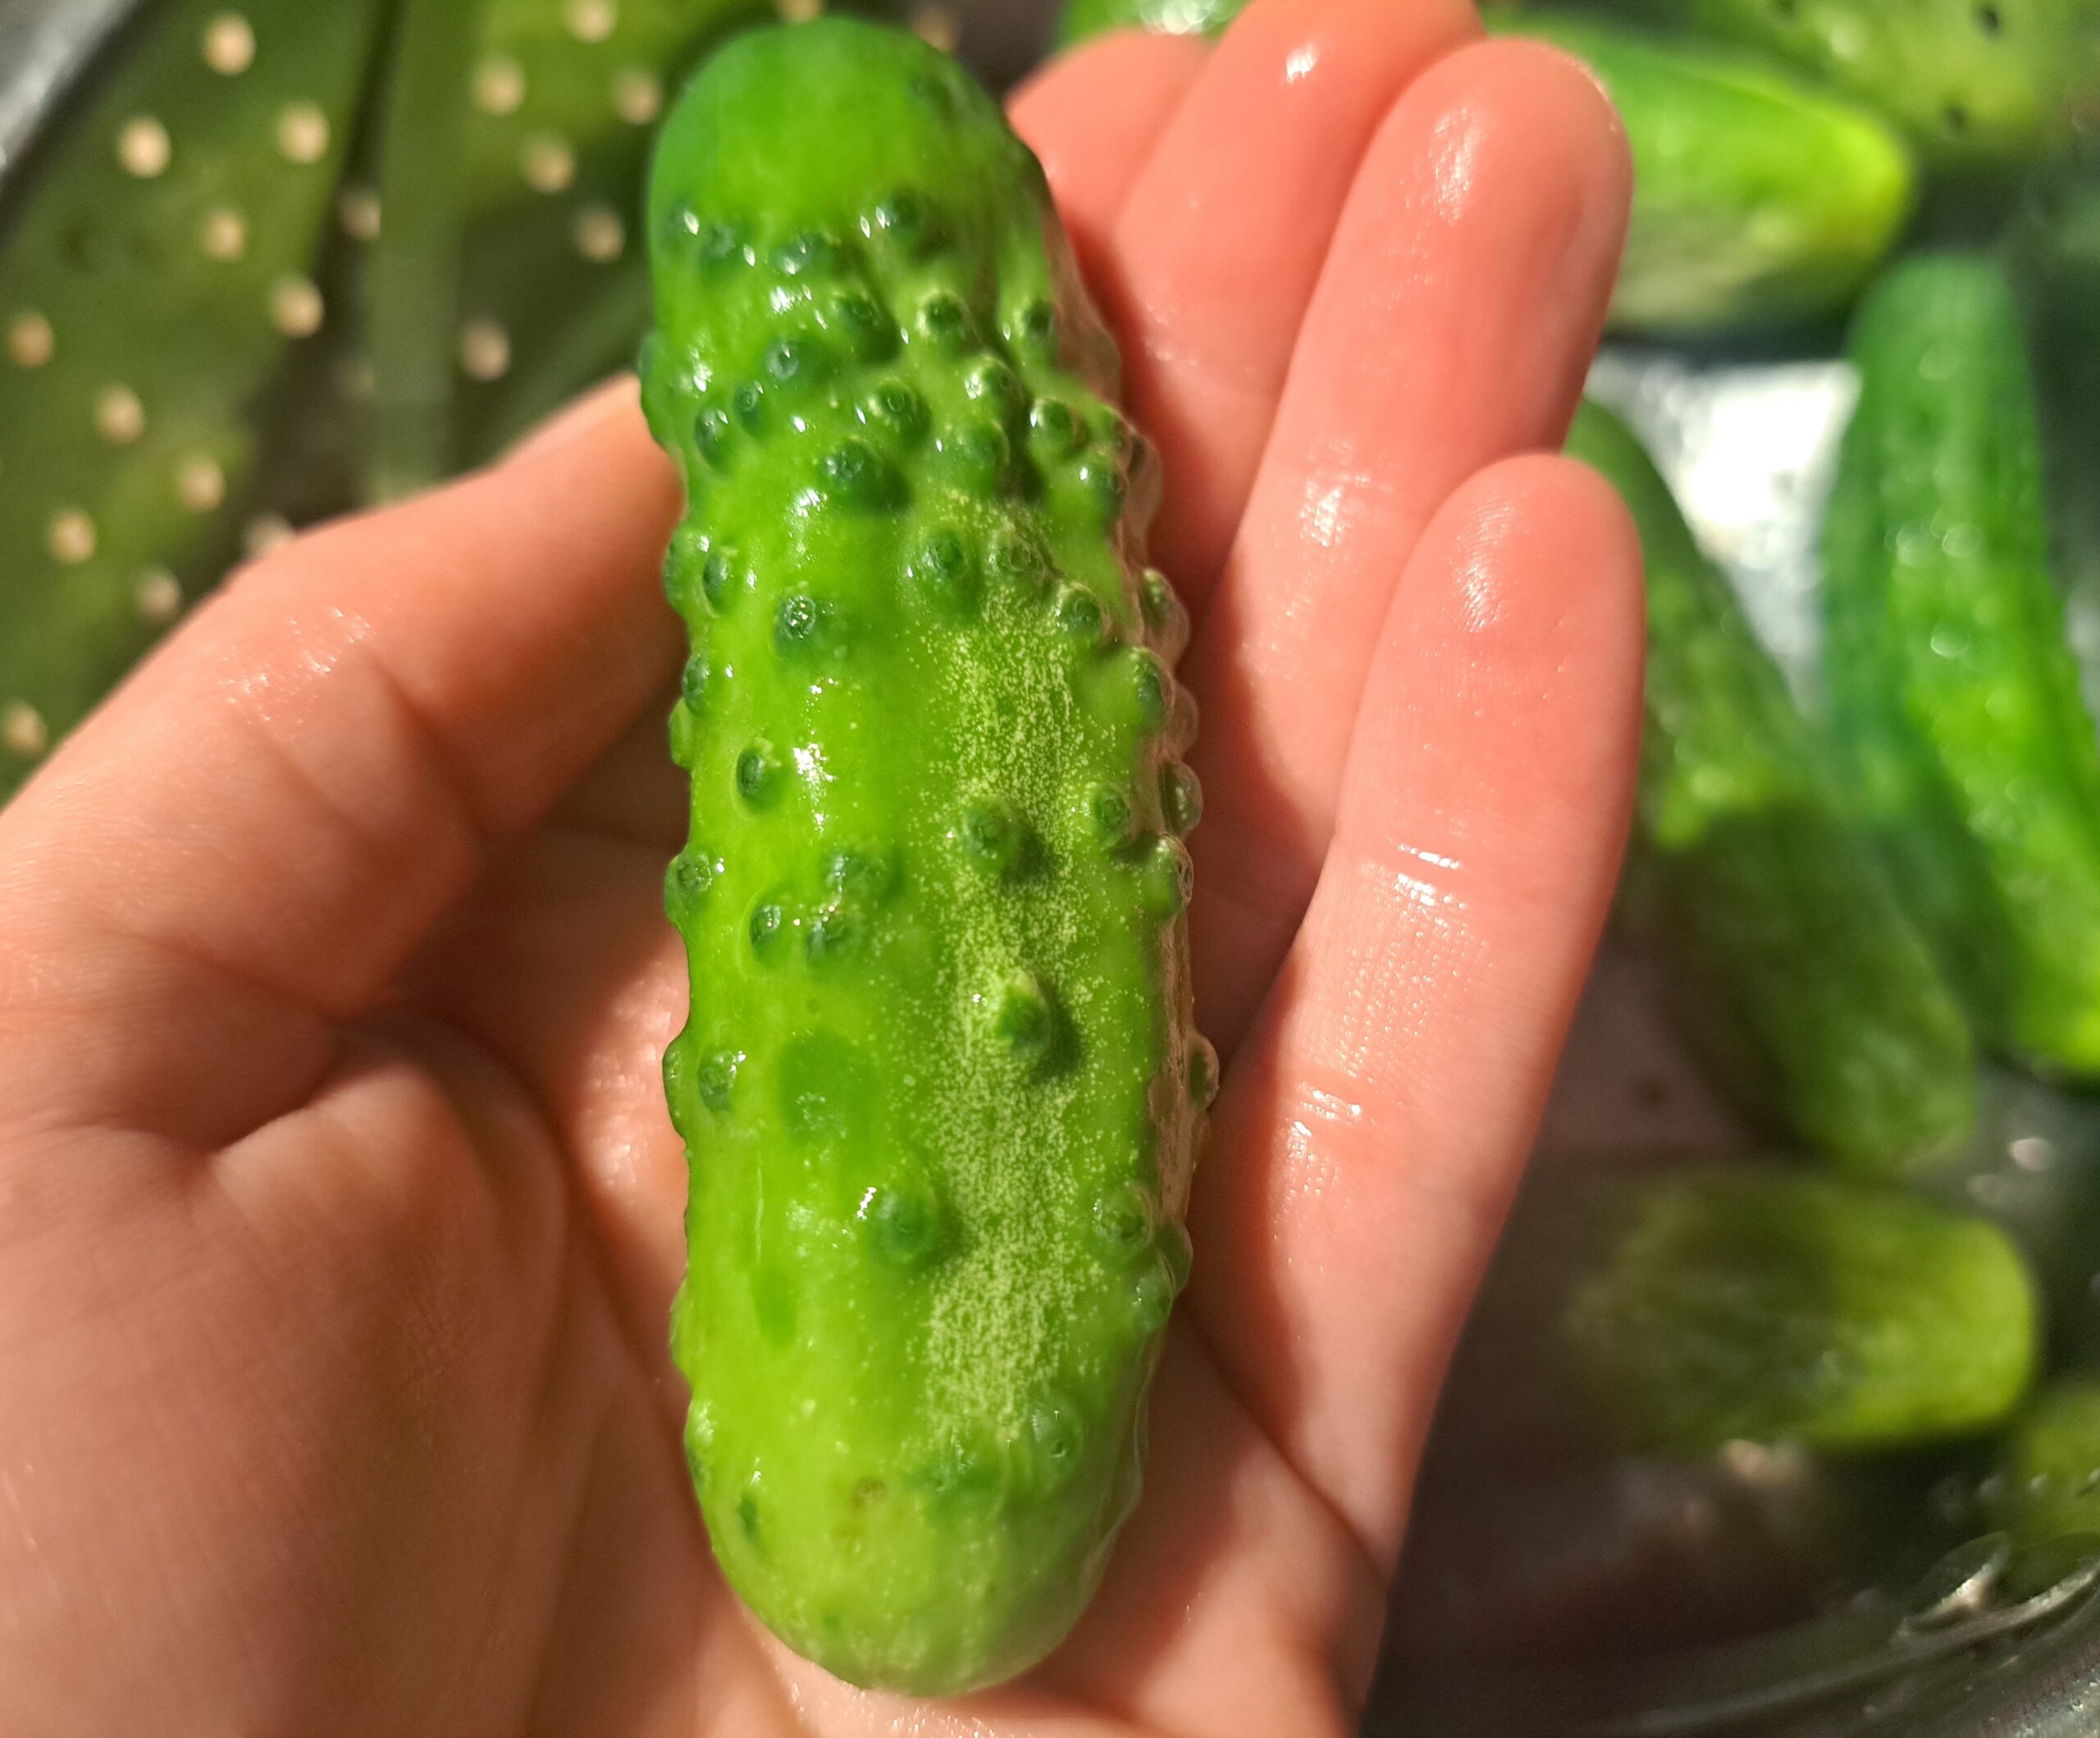
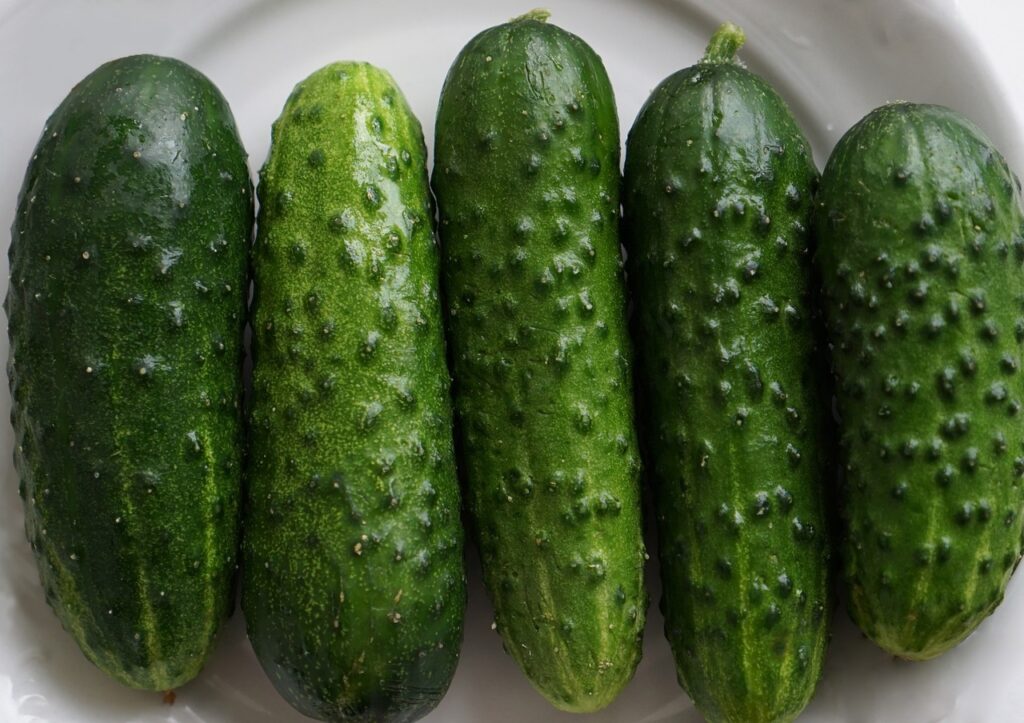
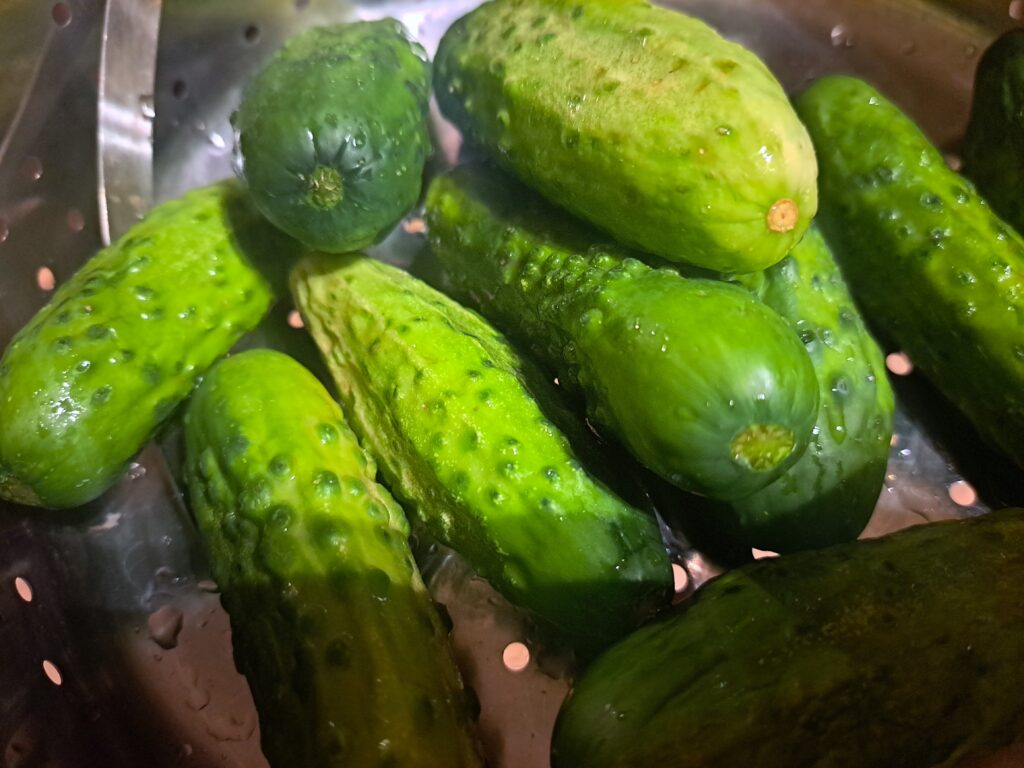
- 2 pounds of pickling cucumbers. Cucumbers should all be roughly the same size, or around 4-inches long.
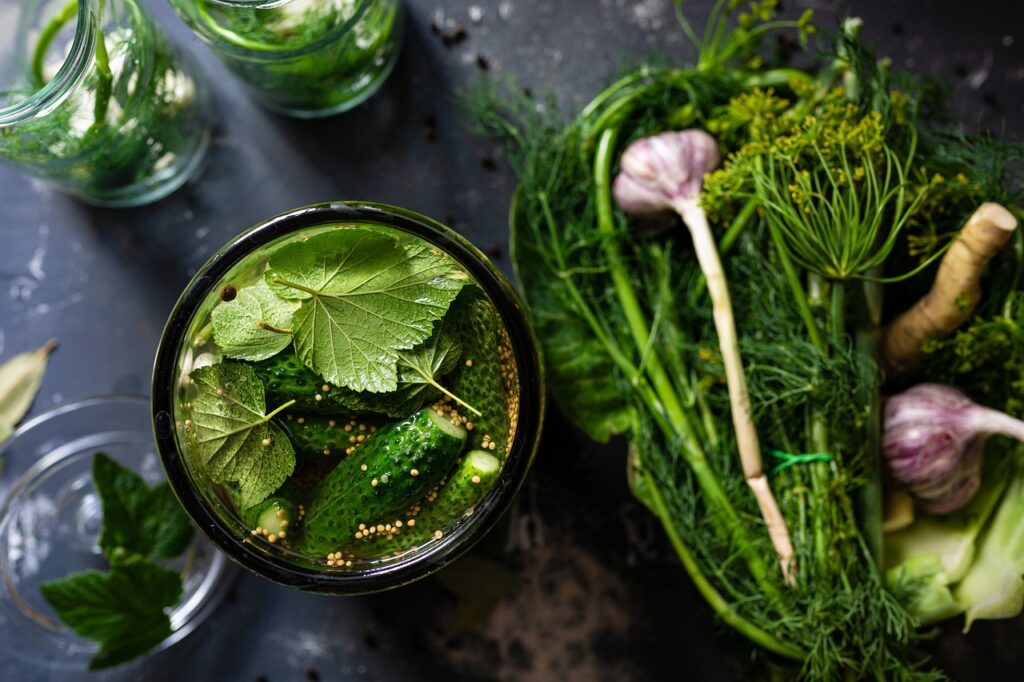
- One big handful of fresh dill.
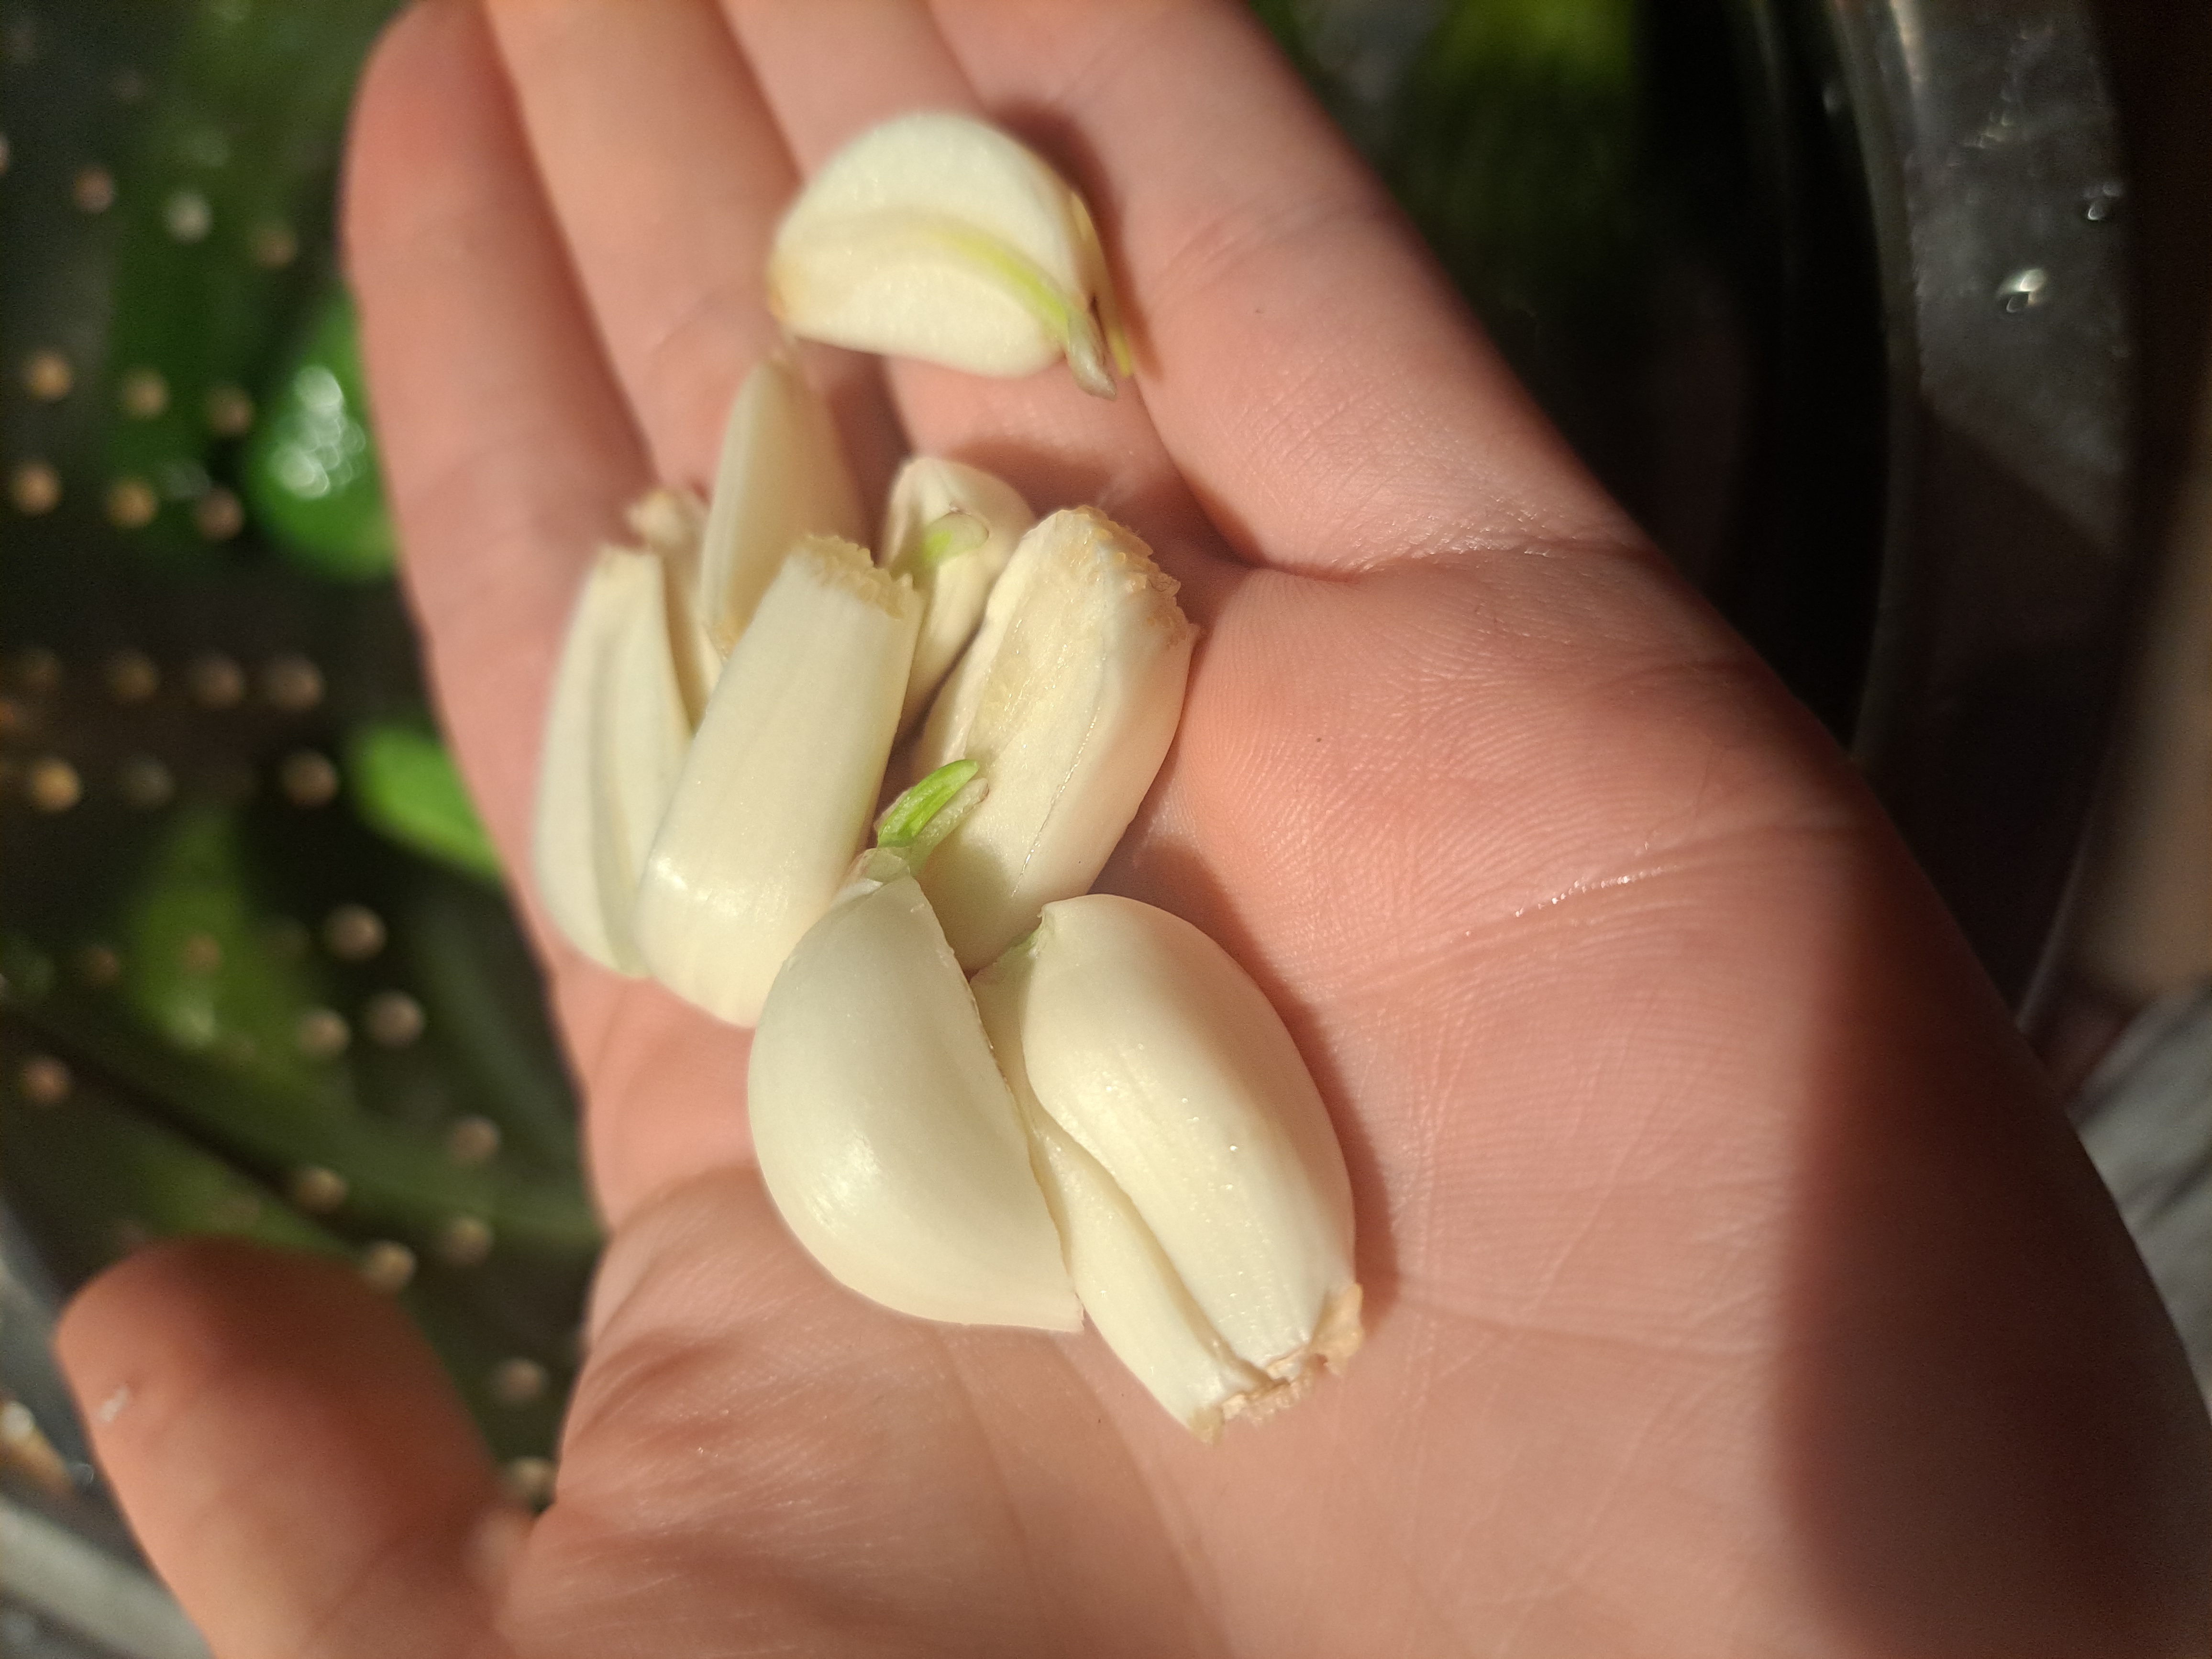
- 10 to 20 cloves of garlic.
- A grape leaf or several bay leaves. These contain tannins and create crispier pickles!
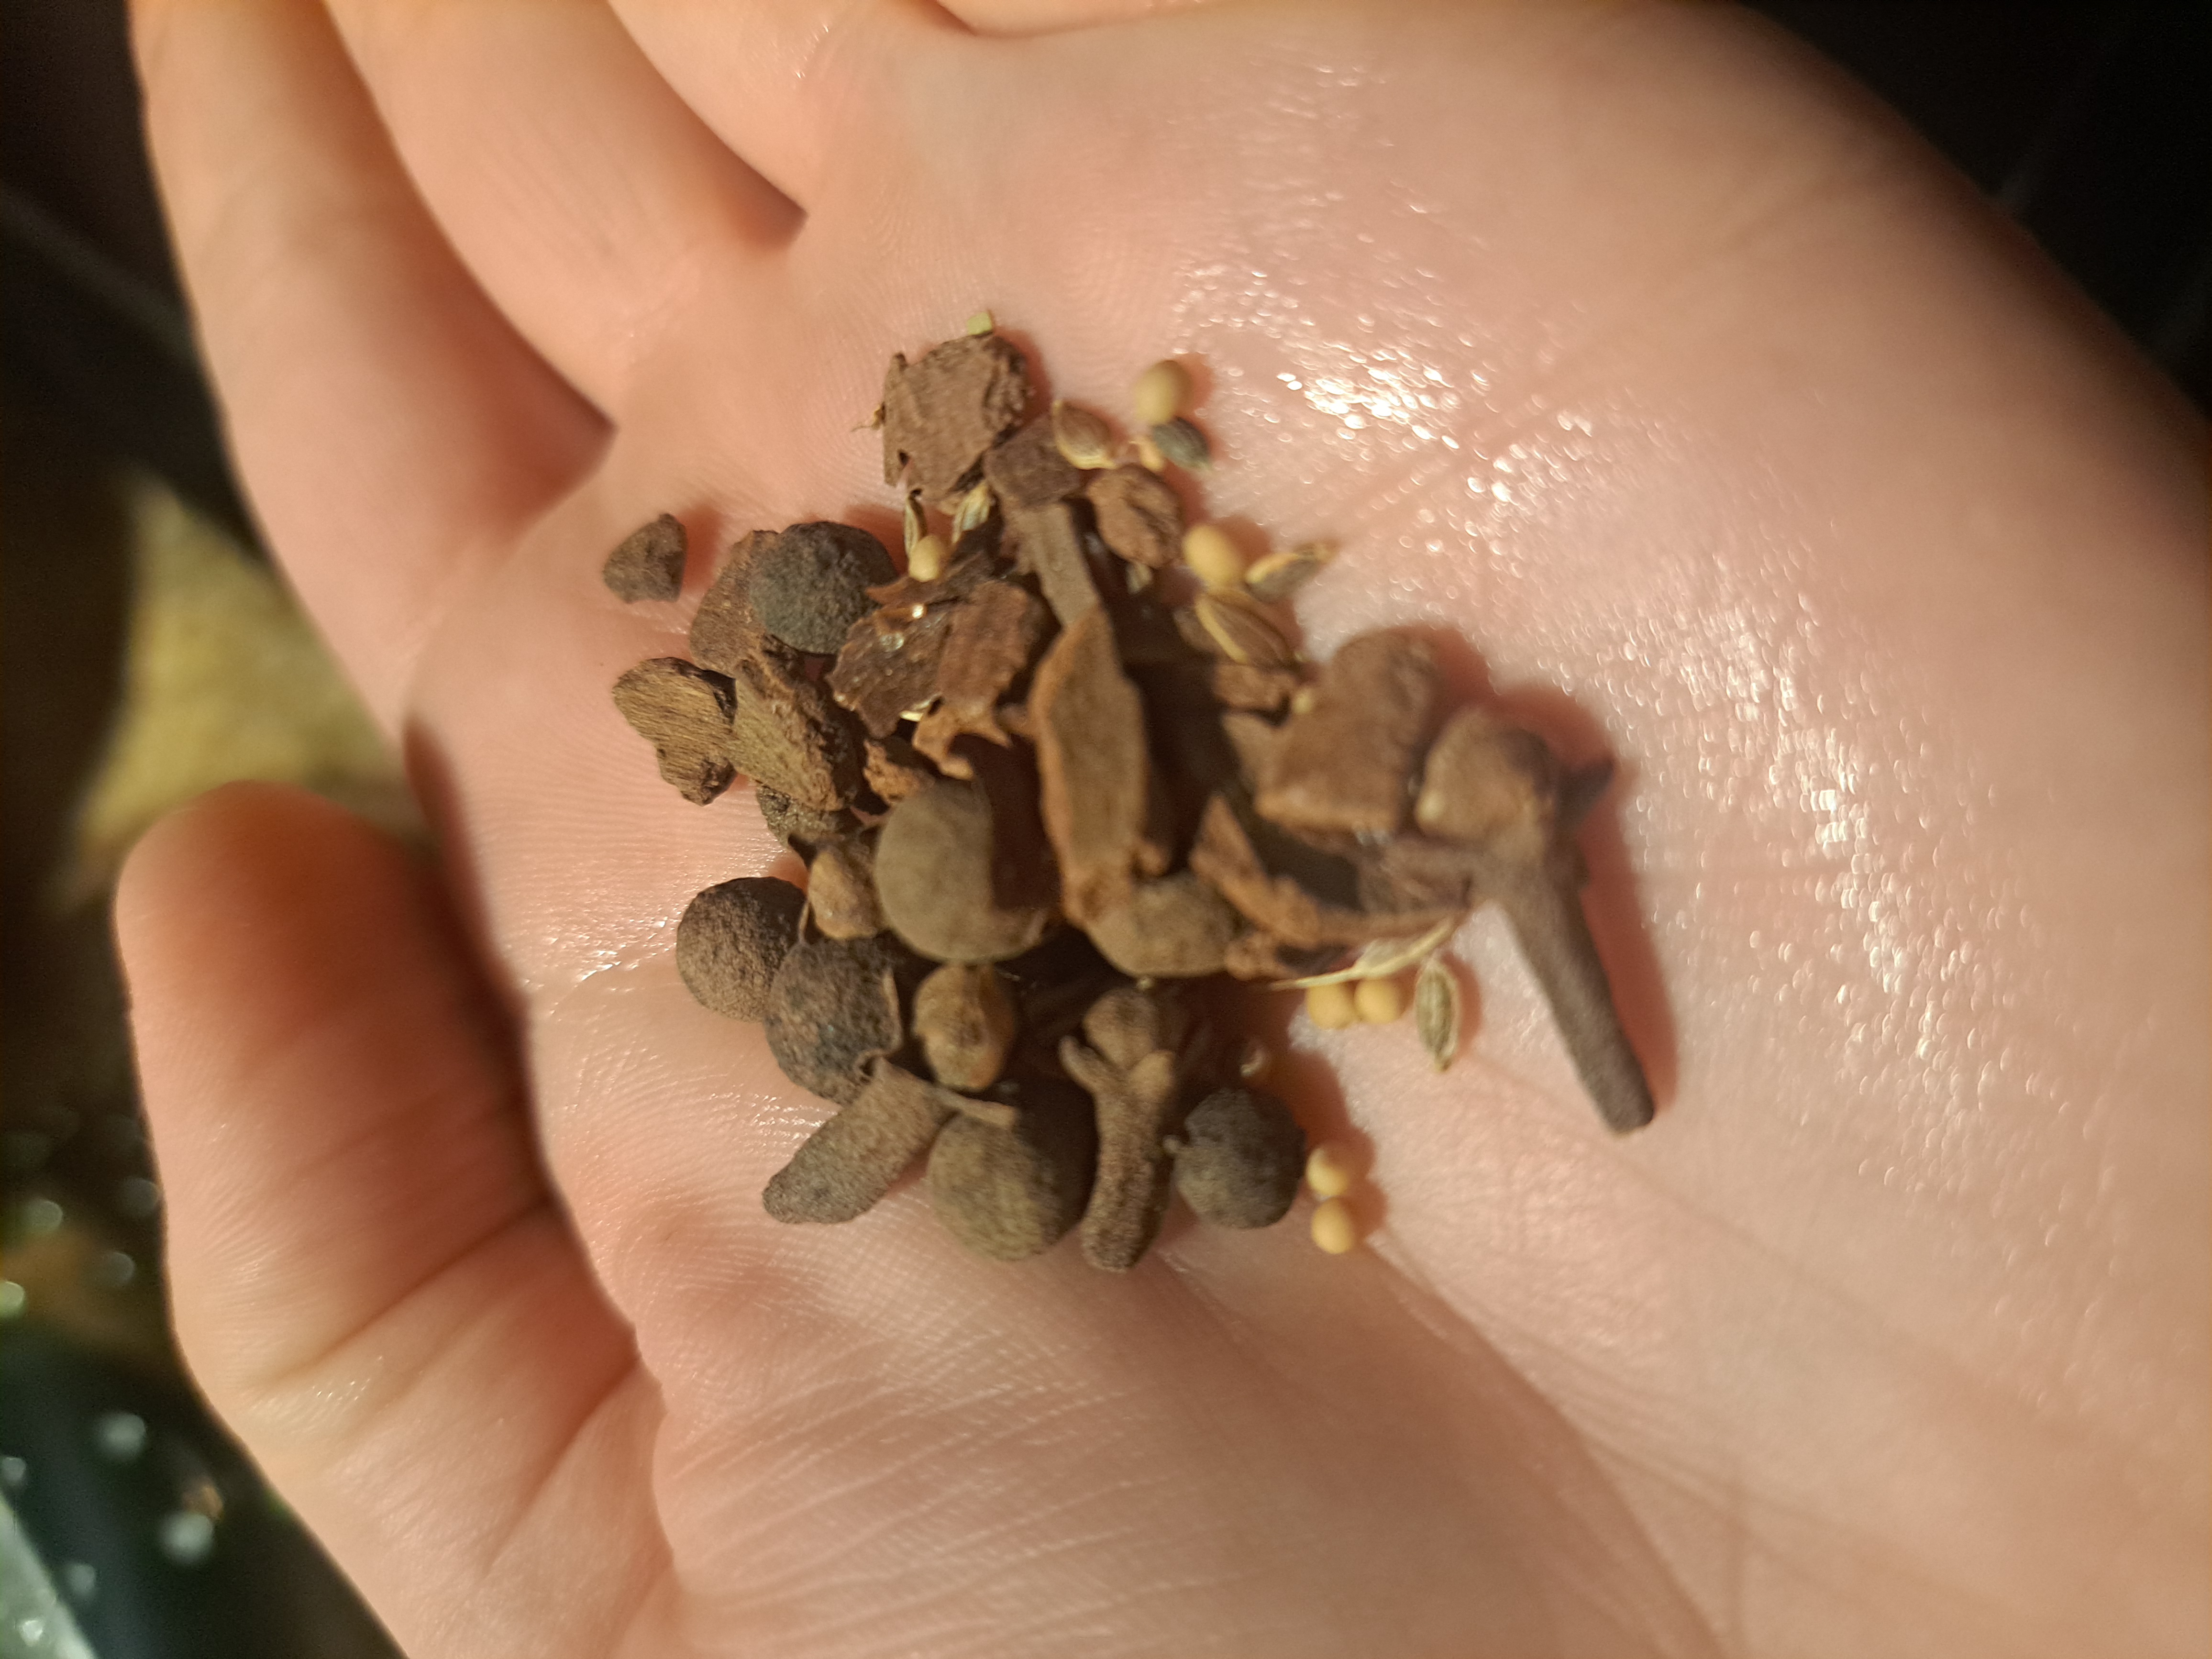
- Other spices (optional). I used a pickling spice blend, but you can experiment with chili flakes, sliced hot peppers, mustard seeds, fennel seeds, black peppercorns, ground turmeric, dill seeds, or coriander seeds.
- Non-iodized salt, like Himalayan pink salt or fine-grained sea salt.
- Dechlorinated water.
- Ice.
- Fermentation jar or crock, ideally with an airlock.
- Fermentation weights.
- Large bowl.
- Baking sheet or large plate.
The Process:
1. Prep your cukes.
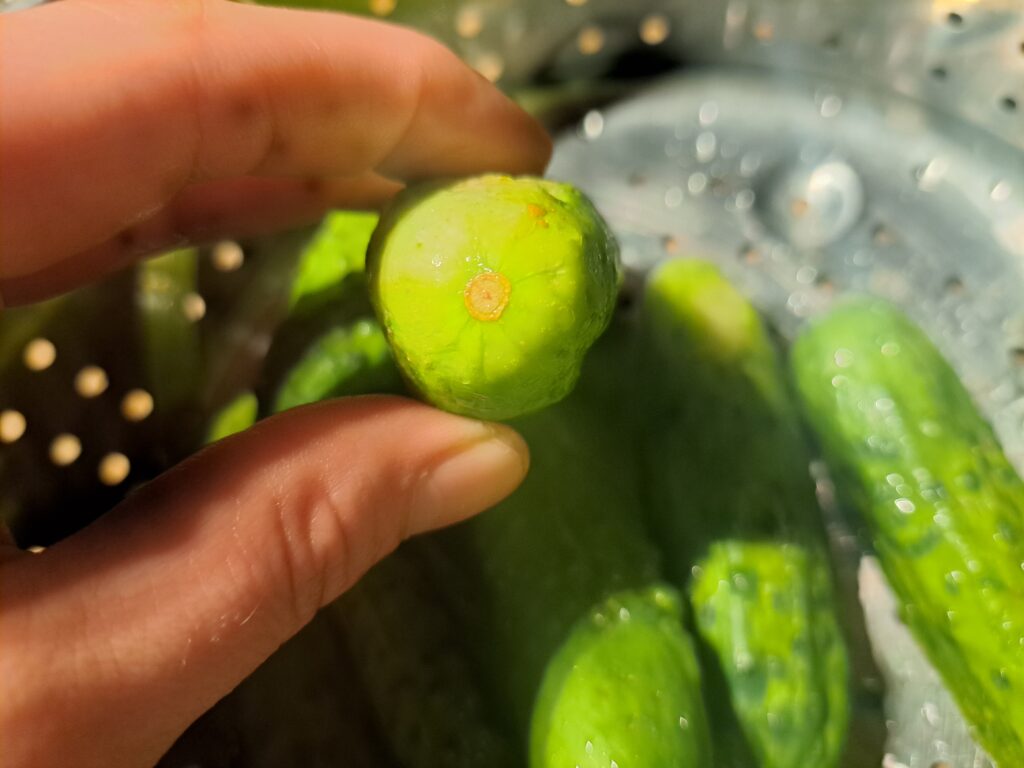
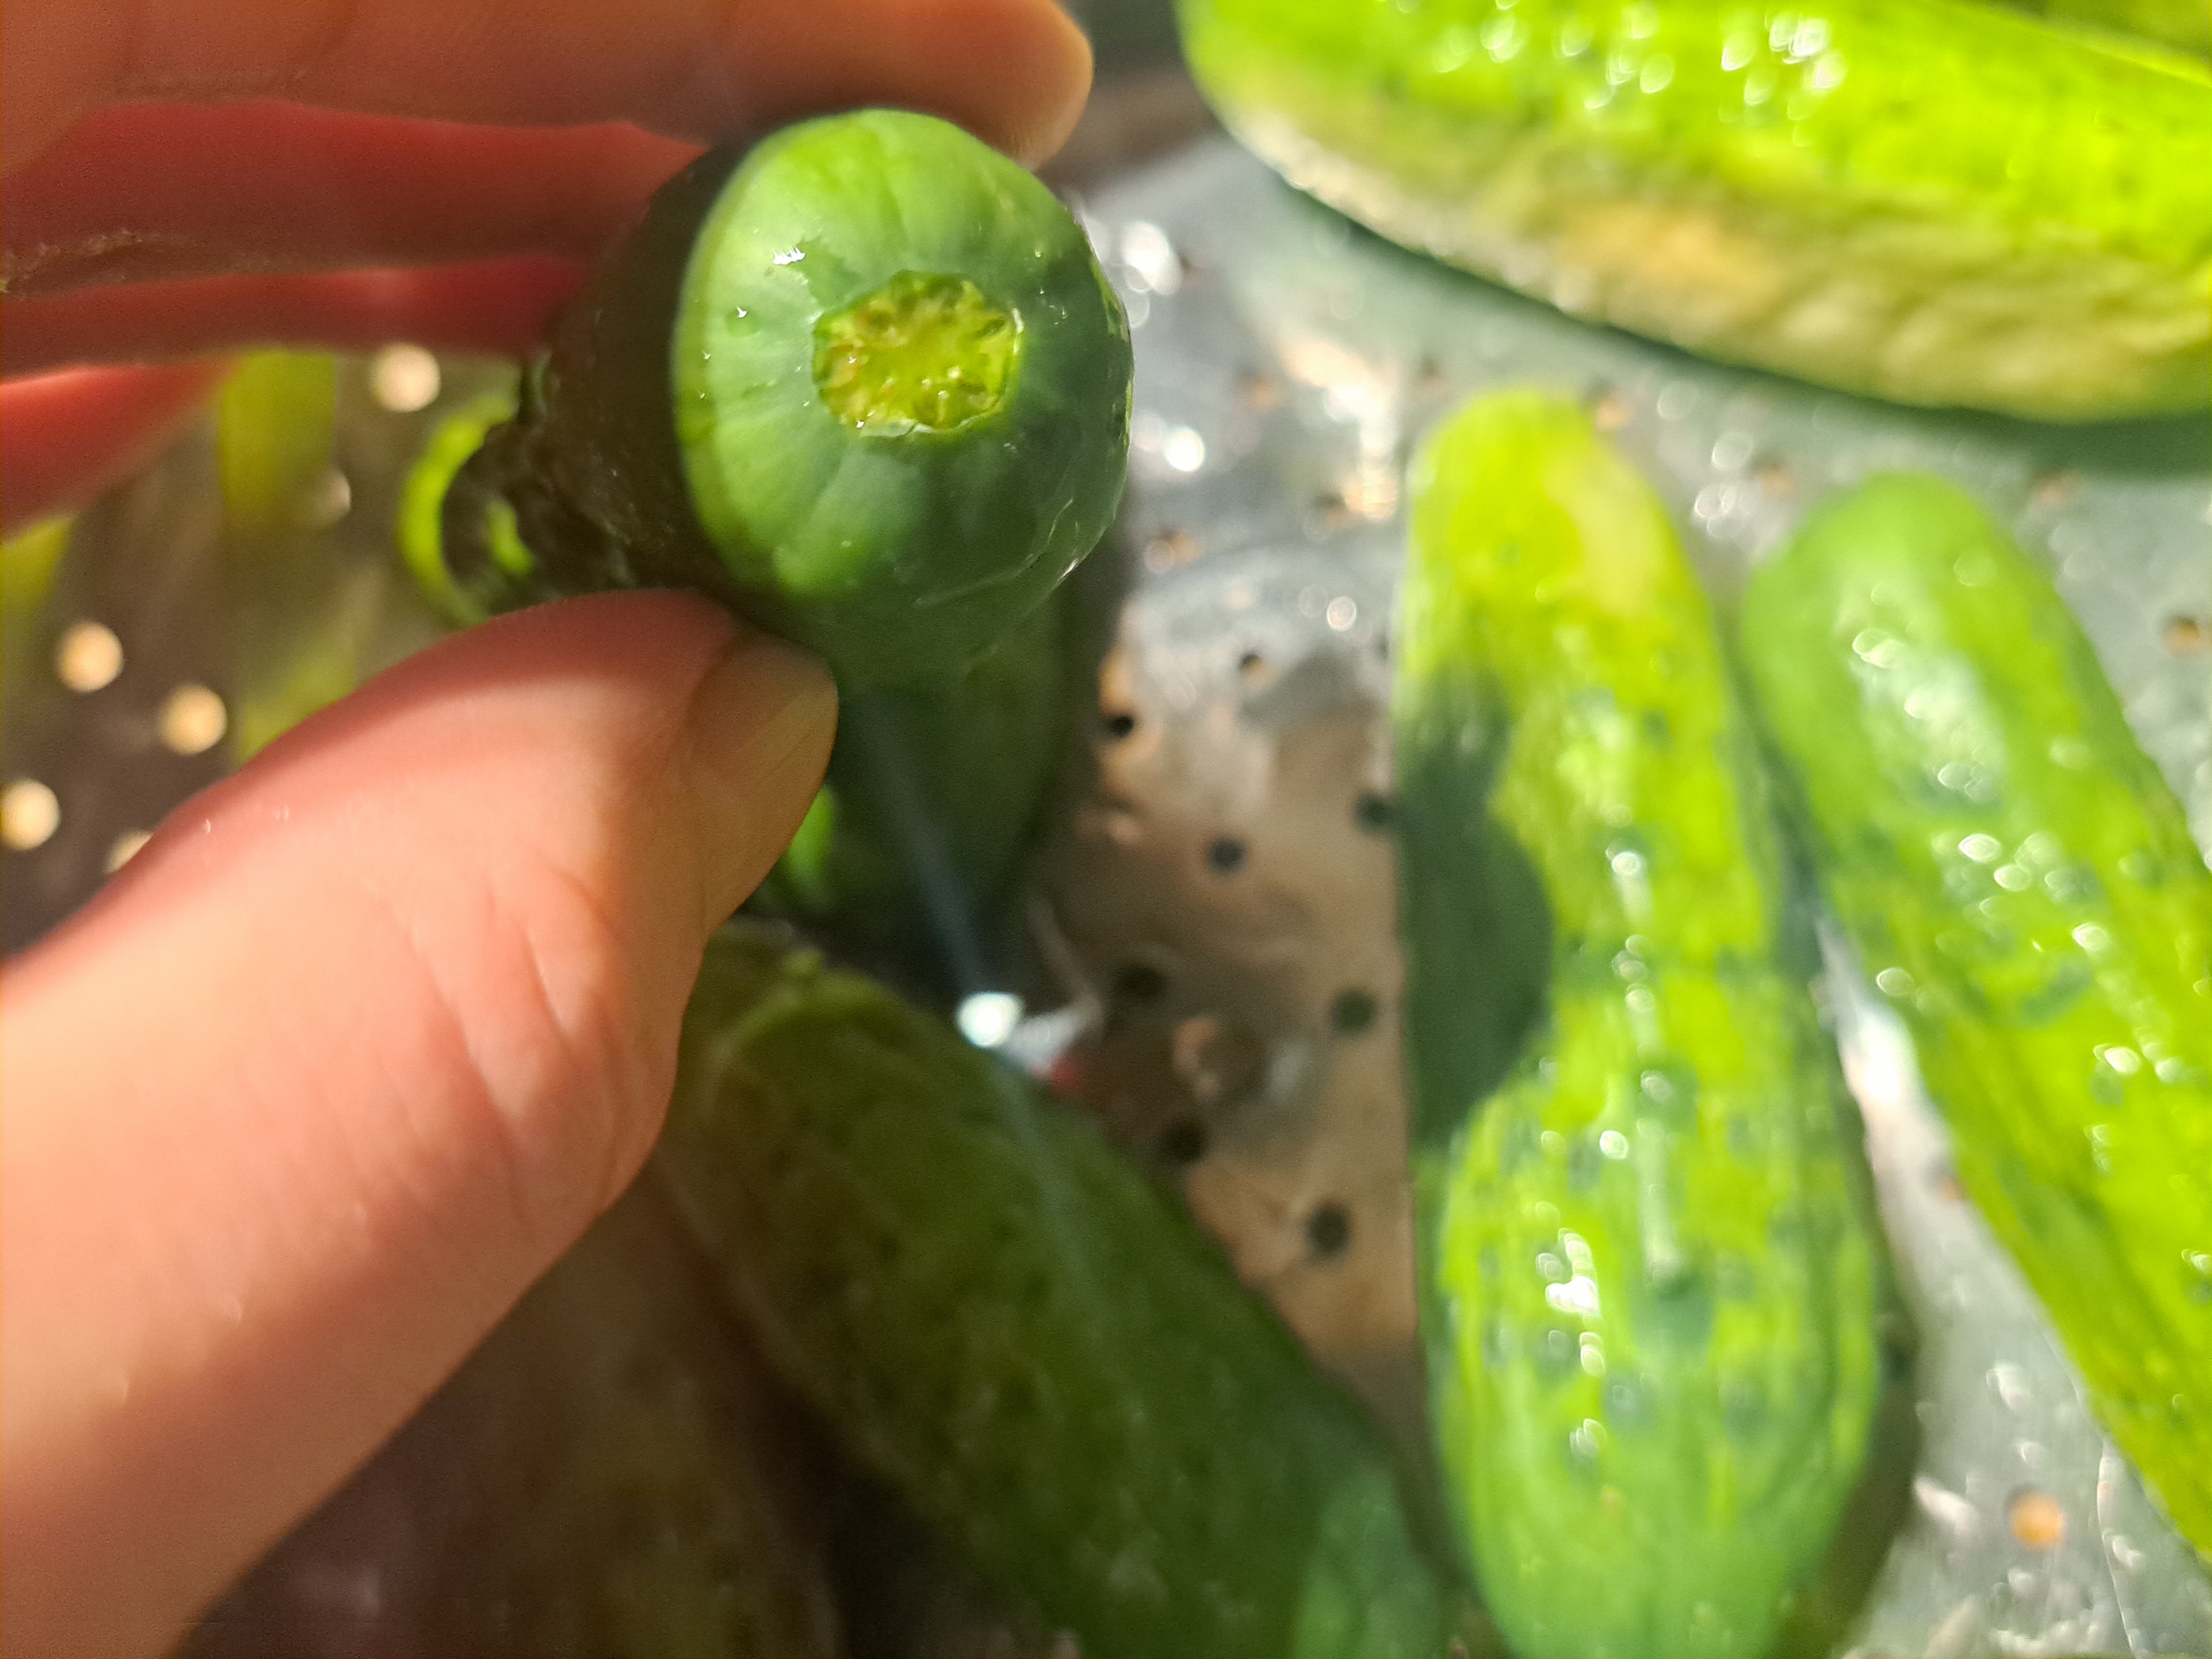
To start, thoroughly wash your cucumbers and trim off the blossom end of each cucumber. Leaving the blossom end attached can make pickles soft and bitter.
2. Make an ice bath.
Pile the cucumbers into a large mixing bowl (I use my canning pot) and then cover the cucumbers with water and a bit of ice. Ice baths make brined dill pickles crispier!
Let the cucumbers marinate in the ice bath for 15 to 30 minutes.
3. Get your other ingredients ready.
While your cucumbers are chilling, wash the dill, measure out any spices that you’re using, and slice up the garlic cloves lengthwise. If you’re using hot peppers, slice them up too.
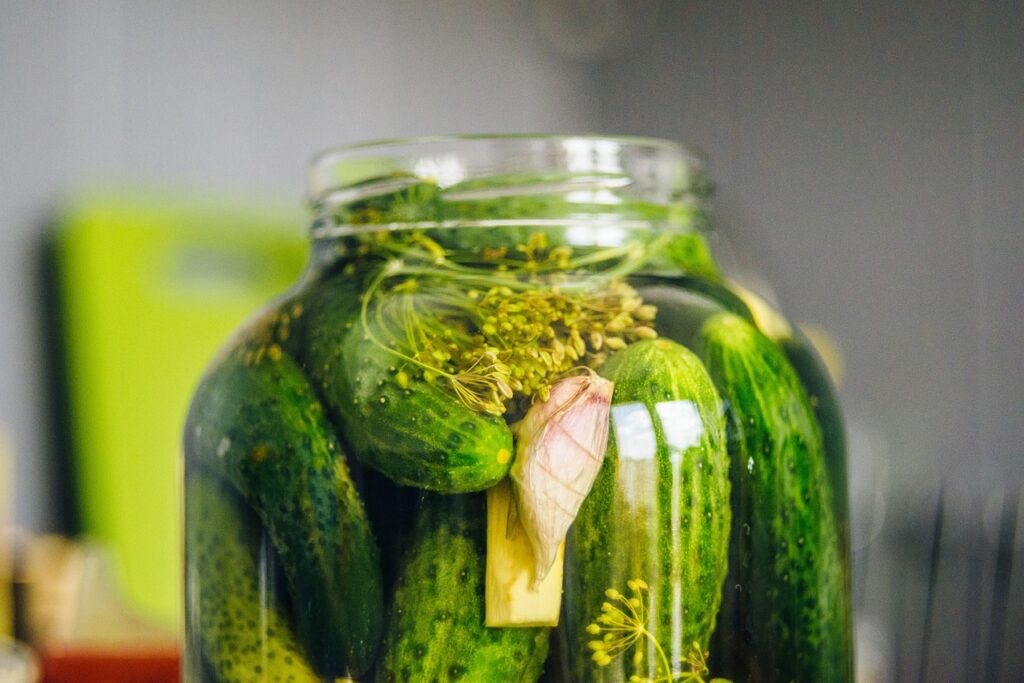
4. Load up your jar.
Now, pile the spices into a sanitized jar or crock, followed by the garlic and dill. Drain the ice bath and pack your cucumbers vertically into your fermentation jar. Press everything down nice and tight to remove airspace, then place some fermentation weights on top to keep the ingredients from floating up later on.
5. Add brine.
Some fermenters use 3% salt brine to ferment cucumbers, but the general rule is to ferment cucumbers and other larger veggies in a 5% brine. To make a 5% brine, mix 3 tablespoons of salt with 1 quart of dechlorinated water. Pour the brine over your cukes so that all the ingredients are fully submerged and there’s about 1 ½ inches of space between the top of the brine and the top of your jar (the canning term for this is “headspace”).
6. Ferment.
Scoop out any floating bits with a clean spoon and loosely secure a lid on top of the fermentation container. Don’t tighten your lid though. A tightly sealed fermentation jar can explode!
Place your fermentation crock on top of a baking sheet or dish to catch any brine that bubbles out during the fermentation process and then move the whole fermentation setup in a cool, dark place (like inside a kitchen cabinet). Allow the pickles to ferment for 3 to 7 days.
7. Finish.
After 3 days, check on your pickles to see how they’re coming along. Bubbling and cloudy brine are good signs!
If the pickles are as tangy as you like, they’re done fermenting. If you want them tangier, let them ferment for up to 7 days. Then, place your fermentation jar in your fridge to slow down the fermentation process.
You can eat fermented pickles right away, or let them marinate a bit longer in your refrigerator for more flavor. Enjoy your pickles within 6 months or process them with water bath canning for even longer storage.
10 Tips for a Better Lacto Fermented Dill Pickle
If you’re new to fermenting, the whole concept of lacto-fermentation can feel a bit intimidating. But not to fear! These simple fermenting tips will help you produce delicious pickles with the perfect crunch.
- Fermenting times. Shorter fermenting times yield crispier pickles with milder flavors. Longer fermenting times produce stronger flavored pickles with a softer texture.
- Cucumber size. For consistency, choose cucumbers that are approximately the same size. 4 inch long cukes work well!
- Types of salt. Iodized salt can interfere with the fermentation process. Make sure to use non-iodized types of salt, like Himalayan pink or sea salt.
- Dechlorinating water. Like iodized salt, chlorinated water can also throw off fermentation. You can dechlorinate tap water by leaving it out overnight!
- Fermentation weights. If you don’t have fermentation weights, you can weigh your ferment down with a Mason jar filled with water or some clean stones sealed in a Ziploc baggy.
- Salt content. Make sure to use the right amount of salt. Too much salt can halt fermentation, too little salt can leave cukes vulnerable to bacteria.
- Preventing mold. Mold can develop on any ingredients that float to the brine surface. To avoid this, keep all ingredients submerged with weights, scoop out and discard any “floaters,” and add additional brine if your jar starts to dry out.
- Temperature. Warm weather makes pickles ferment faster, while cool weather slows down fermentation.
- Signs of a healthy ferment. If your pickles are fermenting nicely, they should release bubbles when the jar is gently tapped. A pleasant “pickle-y” odor, cloudy brine, and brine overflowing from the jar are all good signs!
- Signs of a ferment gone awry. Foul smelling pickles with visible mold or discoloration should be tossed in the compost heap. Don’t confuse mold with kahm yeast though – a thin film of kahm yeast is a sign of healthy fermentation.

Best Cucumbers to Use in a Fermented Cucumber Pickle Recipe
Technically, you can use any cucumbers for pickling, but the best cucumbers for pickling are… (drumroll please!) … “pickling cucumbers!” These cucumbers have thin skins, limited seeds, and they’re small enough to fit into pickling jars. On top of that, pickling cukes have drier flesh, which helps them absorb all that salty pickle brine!
Here are a few of my favorite types of pickling cucumbers:
- National Pickling. High yielding vines produce fruit in just 55 days. What’s not to love?
- Little Leaf. These cukes have a good deal of disease resistance and the plants are compact. Perfect for small spaces!
- Bush Pickle. Another compact grower, ‘Bush Pickle’ grows to about 2 feet wide. A great size for pots or planting in rows.
Frequently Asked Questions About Probiotic Pickles
Do fermented pickles taste different?
Some pickles are made with vinegar, but fermented pickles are made with a salt water brine. The lacto-fermentation process makes fermented pickles taste tangy, but their flavor is a bit brighter than vinegar pickles.
Can you buy fermented pickles in the grocery store?
It depends on the store. Fermented pickles are typically sold in the refrigerated section of grocery stores. If they’re in the canned food section, they’ve been processed with heat.
Do fermented pickles need to be canned?
No. Fermented pickles don’t need to be canned, but they will last longer if they’re processed with water bath canning.