Make garden-ready compost the easy way with an outdoor cold compost bin!
Cold composting is arguably the easiest composting method around and it doesn’t require any fancy equipment or composting experience. Utilizing the naturally occurring bacteria and microbes in the soil, cold compost piles transform food scraps and yard waste into nutrient-rich compost that can be used on gardens, lawns and houseplants. And, unlike hot composting, a cold compost pile doesn’t necessarily need any turning!
If you’ve ever wanted to learn how to create compost at home with outdoor composting, this is the guide for you!
Affiliate disclosure: As an Amazon Associate, I may earn commissions from qualifying purchases.

What is Cold Composting?
Pretty much everything in nature is subject to the powers of cold composting. Leaves, twigs, dead things, that apple core you threw out of your car window once – whatever it is, it will eventually degrade when exposed to the elements. Slowly but surely, that apple core will dissolve back into the soil that made it, rejoin the soil web once again and provide nutrients to developing plant roots.
But while cold composting is always at work in nature, it can also be deliberately applied in an outdoor compost bin by mixing yard waste and kitchen scraps together. Cold compost piles are often not aerated or turned, so they work a bit slower than hot compost piles, but they produce a finished compost in about 6 months to 2 years.
Cold Composting Method: Pros and Cons
Hot composting and indoor composting have their charms, but cold composting has a few unique perks that makes it a particularly appealing technique. Some of the key benefits of cold composting include:
- Lots of compost. Cold compost piles generate much larger quantities of compost than indoor composting methods.
- Minimal effort. Cold compost heaps are considered “passive composting” and they don’t necessarily need to be turned like “active” hot compost piles.
- Budget-friendly. If you don’t want to buy a compost bin, you can cold compost by piling your composting ingredients directly on the ground!
There’s no doubt that cold composting is handy, but it does have a few drawbacks when compared to hot composting and indoor composting.
- Slow. Bokashi compost can generate finished compost in about a month, but cold compost piles can take up to two years to finish composting.
- Potential for weed seeds and pests. Unlike hot composting, no heat is generated in cold compost piles. As a result, weed seeds and certain plant pests and pathogens may survive the composting process and be present in any finished compost created with cold composting.
- Pests. Cold compost heaps that are open to the air may attract rodents and other pests. However, this is less likely to occur if you use a closed compost bin and pre-compost food scraps with bokashi before adding them to your compost pile.
- Slow composting in winter. Outdoor compost piles don’t compost as effectively in cool weather. This may not be a problem for you, but if you’d like to compost all year round, you may want to experiment with an indoor vermicompost or bokashi bin.

How Do I Make Compost at Home with Cold Composting
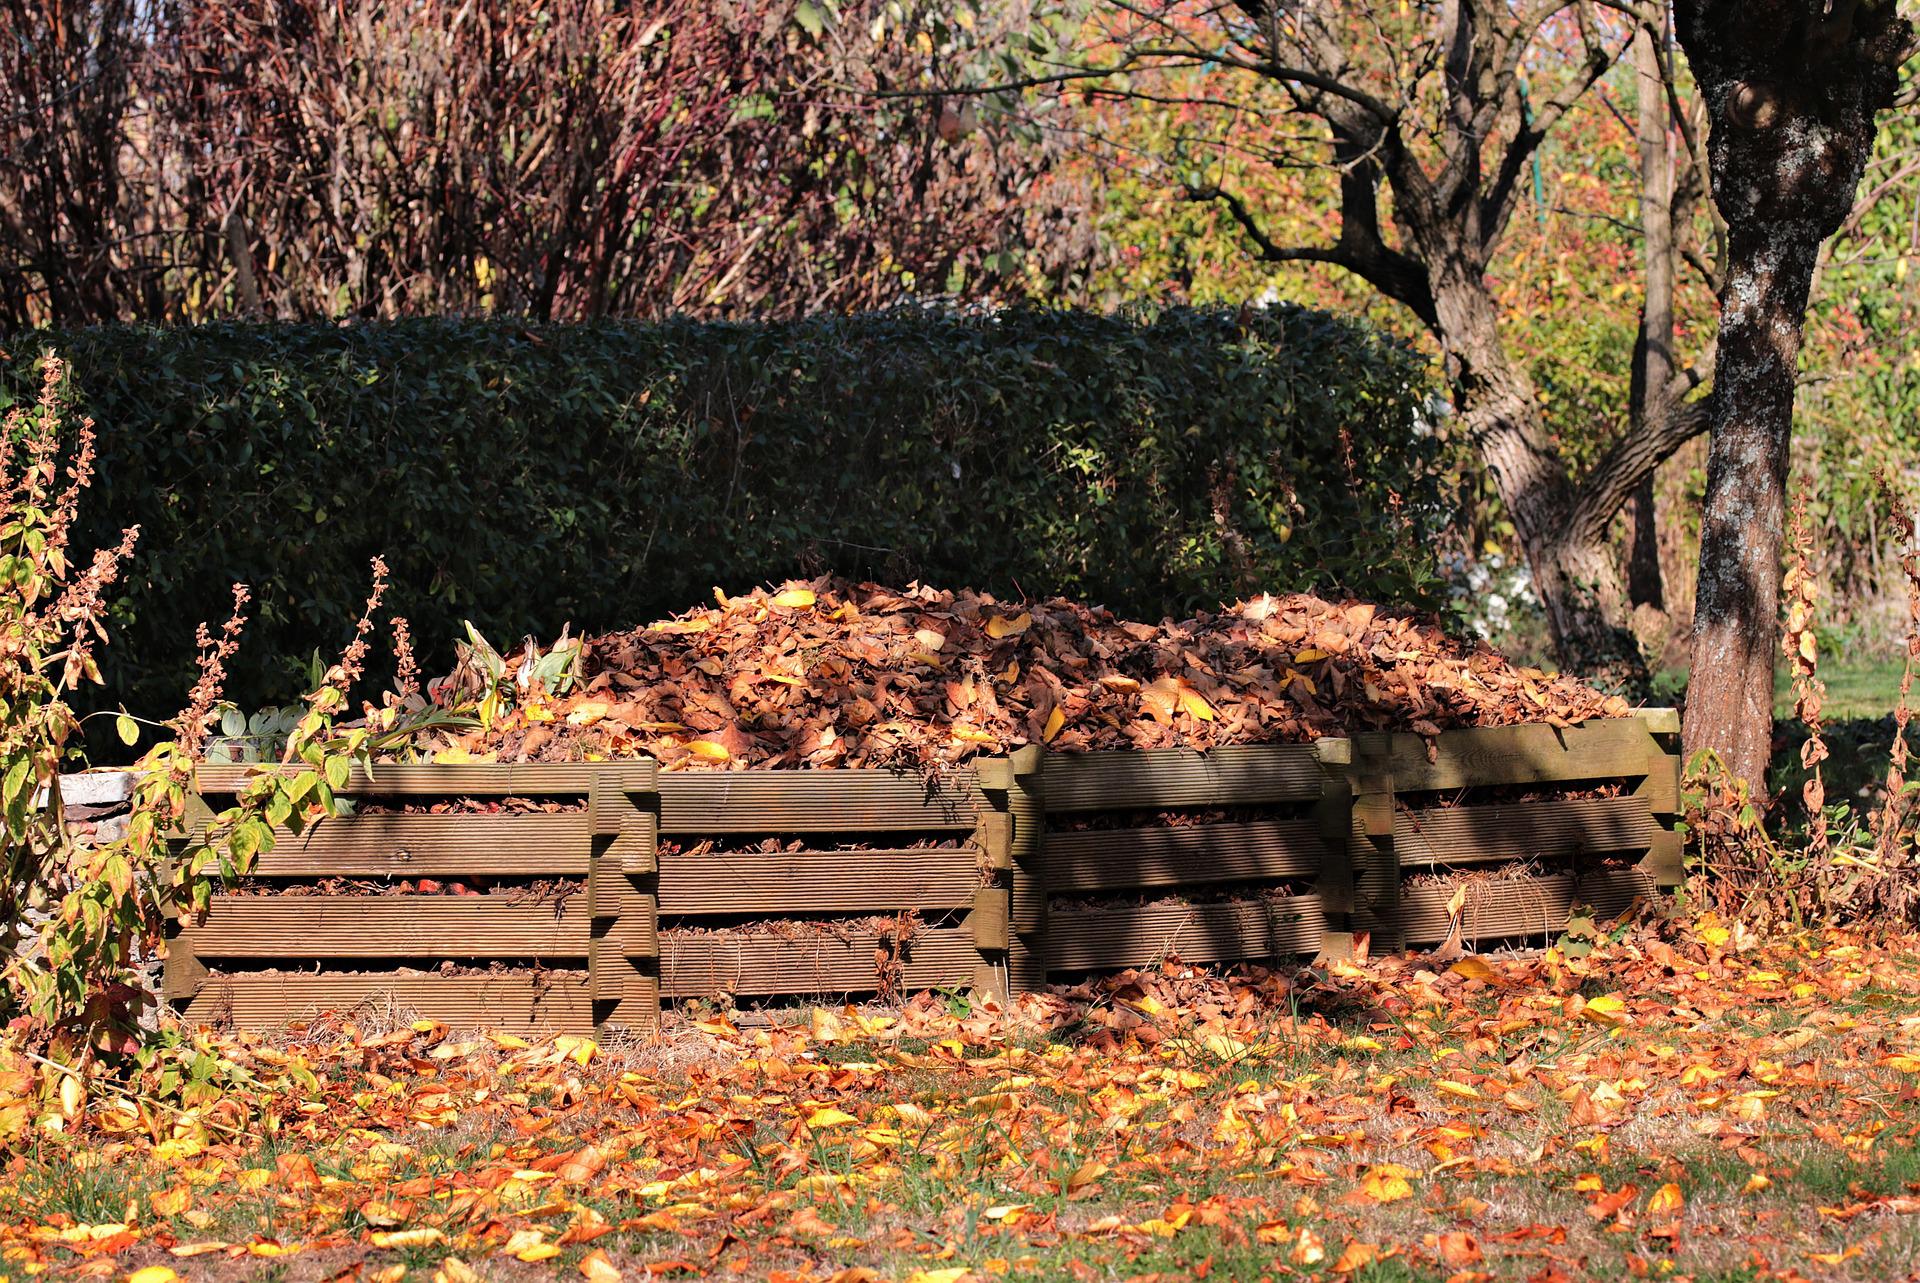
Cold composting can technically be done right on the ground in a pile, but it’s even easier if you use a compost bin. You can make a DIY bin out of upcycled wood pallets, or you can purchased a premade bin online or from garden centers. Personally, I like using stationary bins with openings at the bottom for easy compost harvesting, but other gardeners love using tumbler bins and expandable mesh bins.
To get started, place your compost bin in a handy location that’s close enough to your kitchen and garden that you can easily add kitchen scraps and move compost to and fro. It’s also helpful to locate compost piles on level ground and near a water source — just in case you need to add water to your compost. Piles can be located in either sun or shade, but your composting will be a bit faster in the sun.
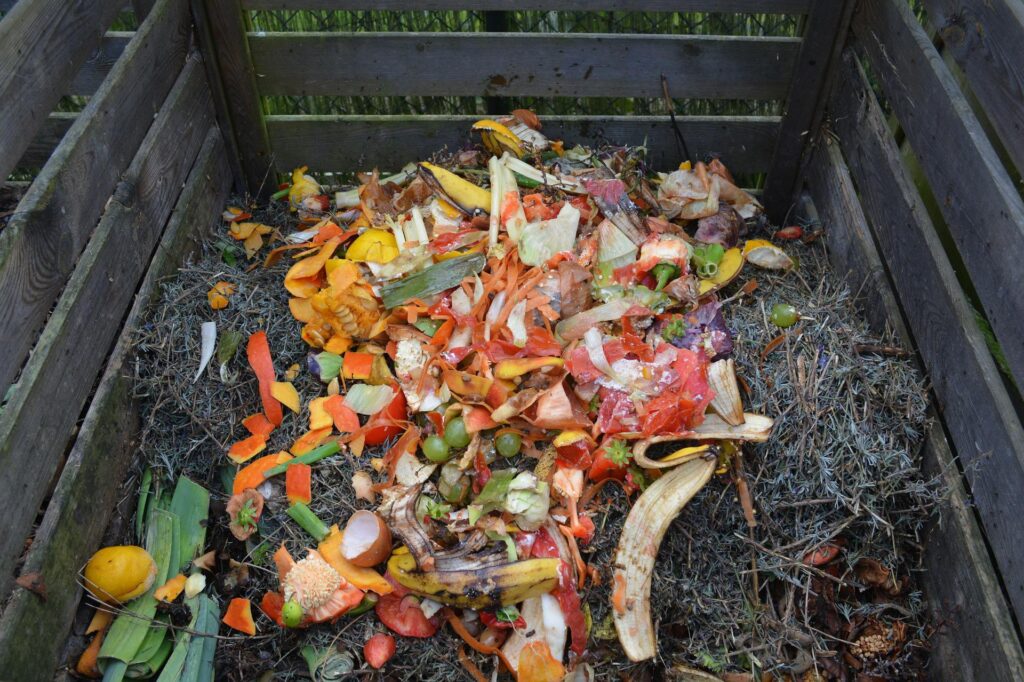
Once you’re ready to compost, begin layering 1 part nitrogen-rich materials or green materials for every 3 parts of carbon-rich or brown materials. Kitchen scraps, green weeds (without seeds), coffee grounds, loose leaf tea and grass clippings fall squarely in the “nitrogen-rich category,” while autumn leaves, wood shavings, twigs, shredded newspaper and cardboard (without colored inks) are categorized as “carbon-rich” or brown. The ratio doesn’t need to be exact, but too much brown material will create a pile that refuses to decompose, while too much green material can make for a stinky pile.
Continue layering yard and kitchen waste into the pile as it accumulates. And that’s pretty much all there is to cold composting!
Once the pile breaks down and begins to resemble soil, you’ll have a finished compost that can be worked into garden beds, used as a top dressing or side dressing around heavy feeding plants, sprinkled across lawns with a broadcast spreader, brewed into compost tea or added to DIY houseplant potting mix!
For even easier cold composting, consider these quick tips:
- Gather kitchen scraps in a countertop compost bin and dump them outside once a day or so. This will save you from making frequent tips to your compost pile!
- To speed up the composting process, add water (as needed) to keep your compost pile approximately as moist as a wrung out sponge.
- For even faster composting, turn your compost with a shovel or gardening fork from time to time.

Trench Composting: An Even Easier Spin on Cold Composting
Cold compost heaps are plenty useful, but if you’d like to take composting to the next level, you may want to experiment with trench composting too.
Trench composting is a variant of cold composting. However, with trench composting, food scraps aren’t composted in a pile or bin. Instead, kitchen waste is dug directly into garden beds (or added to the base of transplanting holes) where it slowly breaks down and enriches the earth directly around plants roots.
To create a composting trench, dig a trench or hole in your garden beds that’s at least 10 to 12” deep to deter digging animals, like coyotes. After that, add kitchen scraps (no meat or dairy!) to the hole and cover it back up with soil. That’s it!
Tip: If you struggle with animals digging up trench composting, you may want to pre-compost kitchen scraps with in a bokashi bin before adding them to a composting trench. Pests tend to be less interested in food scraps that have been processed with bokashi.
How to Use Compost
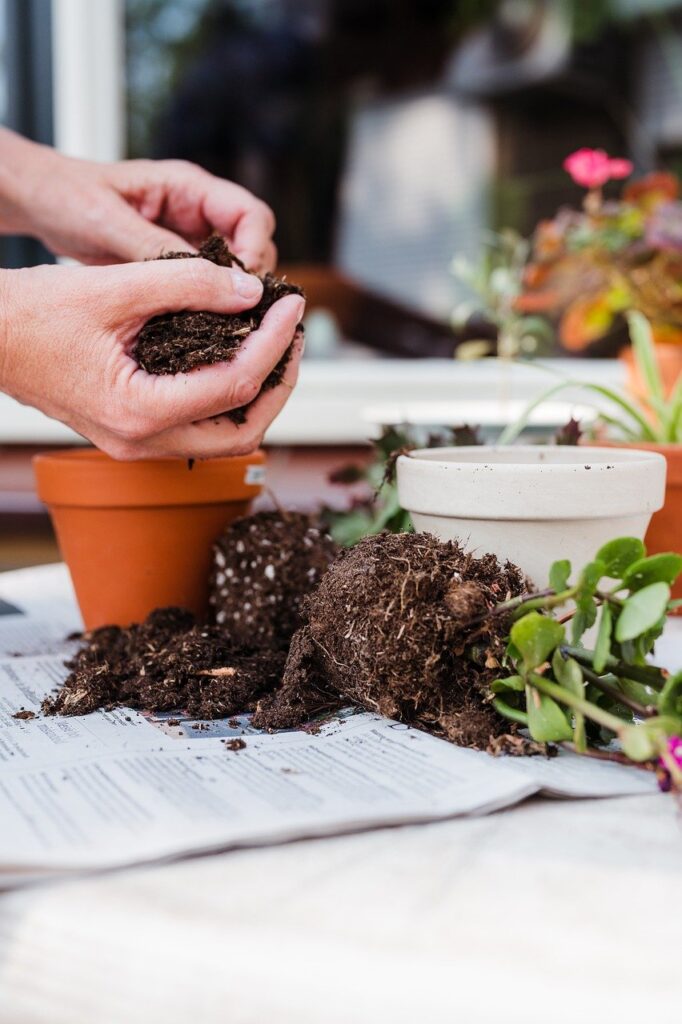
Once you’ve harvested your finished compost, you can use it as a soil amendment, blend it into DIY potting mixes or brew it into homemade compost tea!
- To use compost as a soil amendment, spread 1 to 3” of compost over your garden beds in spring or fall and work it into the top 6” of earth with a shovel or gardening fork.
- To use compost as a side dressing or top dressing, apply a few handfuls of compost around the base of heavy feeding plants during the growing season.
- To use compost for a healthier lawn, apply compost to grass with a broadcast spreader in a checkerboard pattern.
- To use compost as a weed-suppressing mulch, apply an annual application of 1 to 3” of compost around plants and gardens.
- To use compost for houseplants, brew compost tea or mix compost with biochar and coconut coir to make a DIY potting mix.

What Shouldn’t Be Composted in a Cold Compost Pile?
Cold compost piles don’t generate heat and they don’t get hot enough to kill off microbes, plant pathogens or pests in diseased plant matter. Although most food scraps and yard waste can be cold composted, there are some exceptions, including:
- Household pet poo. Chicken and rabbit manure can be added to cold compost piles as a nitrogen source, but poo from cats and dogs is not safe to compost with any standard composting method. (However, there are other options for disposing of pet waste.)
- Weed seeds. Seeds can survive the cold composting process and sprout in finished compost, so it’s best to avoid cold composting weeds that have gone to seed. (Hot composting can often handle weed seeds though!)
- Diseased plant material. Just as weed seeds can survive the composting process, plant pathogens and some pests can also lurk in finished cold compost. (Hot composting may help with this too!)
- Paper with colored inks or a glossy sheen.
- Meat, dairy and bones. These items can attract pests. (But they are safe to compost with bokashi composting!)

Cold Composting at Home: Troubleshooting
Why isn’t my compost turning into soil?
Compost that doesn’t break down quickly is usually caused by an overabundance of carbon-rich items; however, low air flow and dry conditions can also slow down the decomposition process. If you want to get compost quicker, turn your pile from time to time, wet the pile with your garden hose (if needed) and mix in more nitrogen-rich ingredients.
Why is my compost so wet and smelly?
Overly wet and smelly compost piles are caused by excess moisture or an overabundance of nitrogen-rich items. To remedy this, consider covering your pile with a tarp to keep out the rain and add more carbon-rich materials, like saw dust and autumn leaves.
How do I control pests in my compost bin?
Raccoons, rats, coyotes and other animals can sometimes be drawn to compost piles. Keeping compost in a secure compost bin and pre-composting food scraps with a bokashi composter can help.
Is it OK to have bugs in compost?
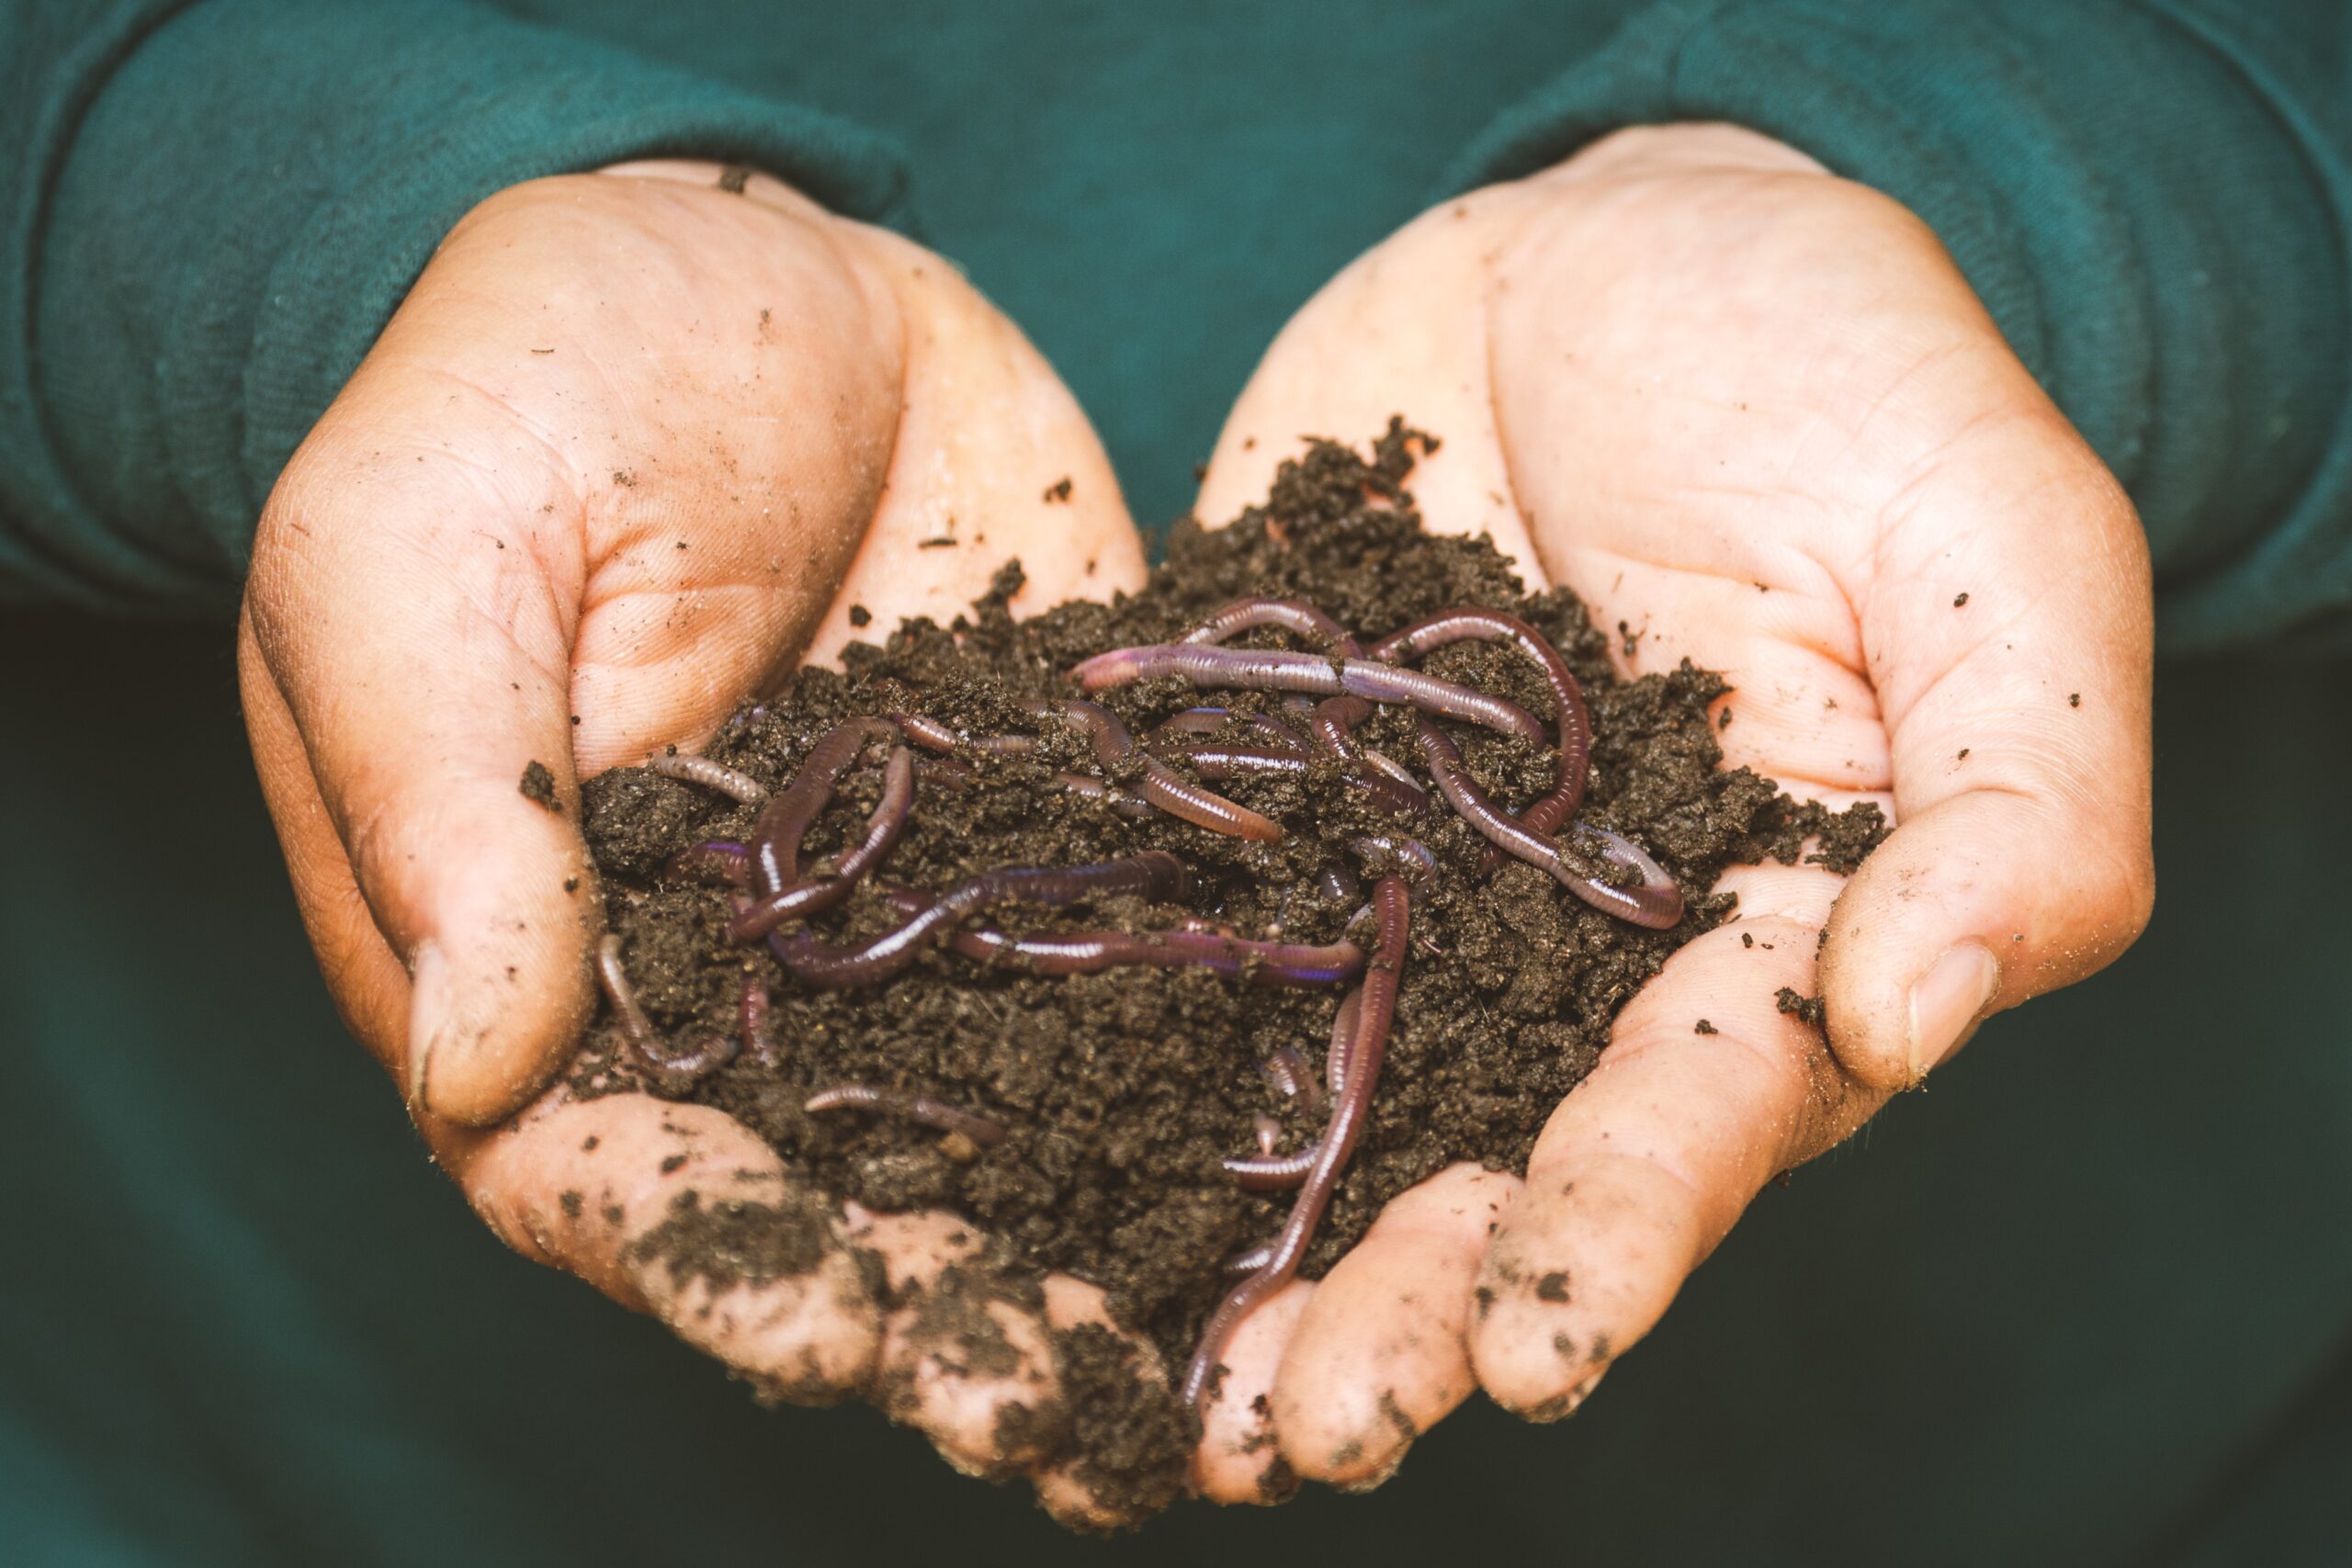
Absolutely! Insects are nature’s cleanup crew and they help compost piles break down faster!
