Compost indoors with a DIY worm farm and make your own organic worm castings!
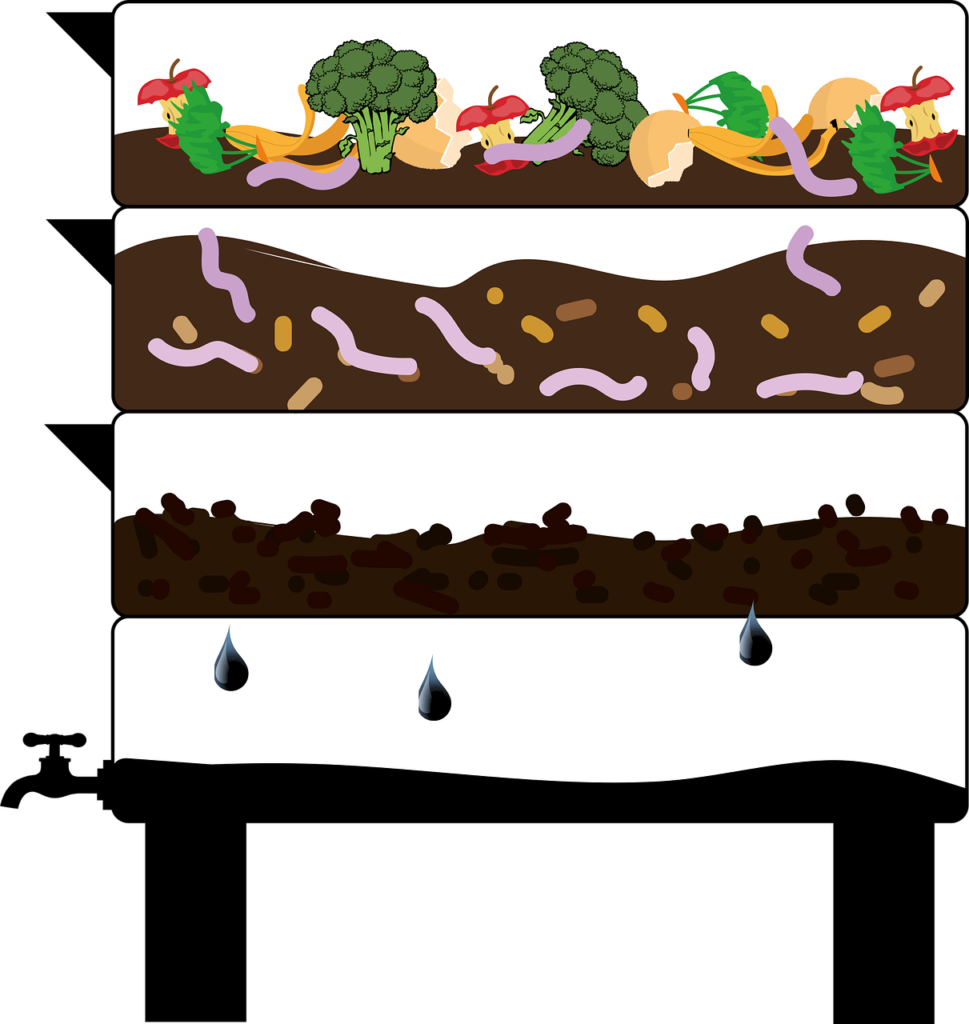
Vermicomposting or composting with worms is an easy indoor composting method that uses red composting worms and a worm bin to transform kitchen waste into garden-ready worm castings. Not only is vermicomposting super convenient, but it’s also a great solution for urban gardeners who don’t have the space for a large compost pile. In this guide, you’ll find an easy worm composting bin DIY, as well as beginner-friendly tips for using and maintaining an indoor worm bin year round!
Affiliate disclosure: As an Amazon Associate, I may earn commissions from qualifying purchases.
Why Should I Try Indoor Worm Composting?
Starting a worm farm is a bit like a science experiment and adults and children can learn a lot about soil health and the composting process by watching vermicomposting worms wriggle about their work. But beyond how interesting worm bins can be, there are many tangible benefits to worm farming as well!
- Worm bins are ideal for small spaces.
While you can create an outdoor worm composting bin, indoor vermicomposters are especially good for urban gardeners, apartment dwellers and anyone living in a small space. Like bokashi composting, indoor worm bins don’t take up much room and they can often fit in a small closet, under the kitchen sink or in an out-of-the way laundry room.
- They’re eco-friendly!
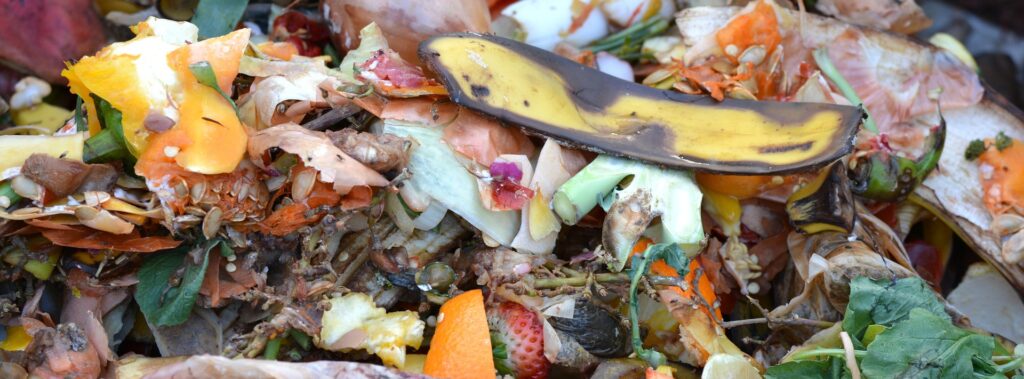
When food waste breaks down in low oxygen landfills, it releases methane and other greenhouse gasses that contribute to climate change. In fact, up to 8% of greenhouse gasses are produced from food waste. By redirecting kitchen scraps into worm bins, we can put vegetable peels and apple cores to good use and reduce our carbon footprint at the same time!
- Free worm castings!
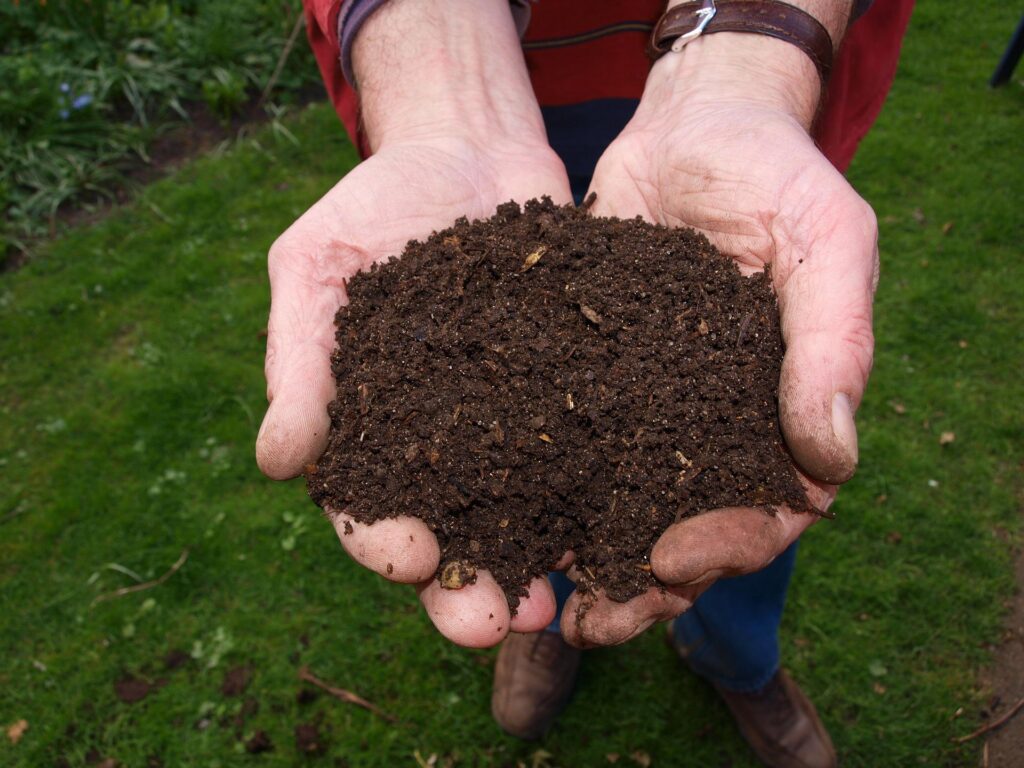
Worm castings (more indelicately known as “worm poop”) are rich in the nutrients plants need and they can be used as an organic fertilizer for houseplants, lawns and gardens. For even more options, worm castings can also be steeped in water to create worm compost tea, which makes a mighty fine foliar spray or organic liquid vermicompost fertilizer!
- Year round composting.
Outdoor composting typically slows to a stop in cool weather, but you can keep composting all year round with an indoor worm bucket. This means more worm castings for your garden and less waste in your garbage can!
- You may be able to sell extra worm castings!
Happy worms can be very productive! In fact, some gardeners sell extra vermicompost worm castings at farmer’s markets and local plant nurseries for some extra pocket change.
What Are the Best Worms for Composting?
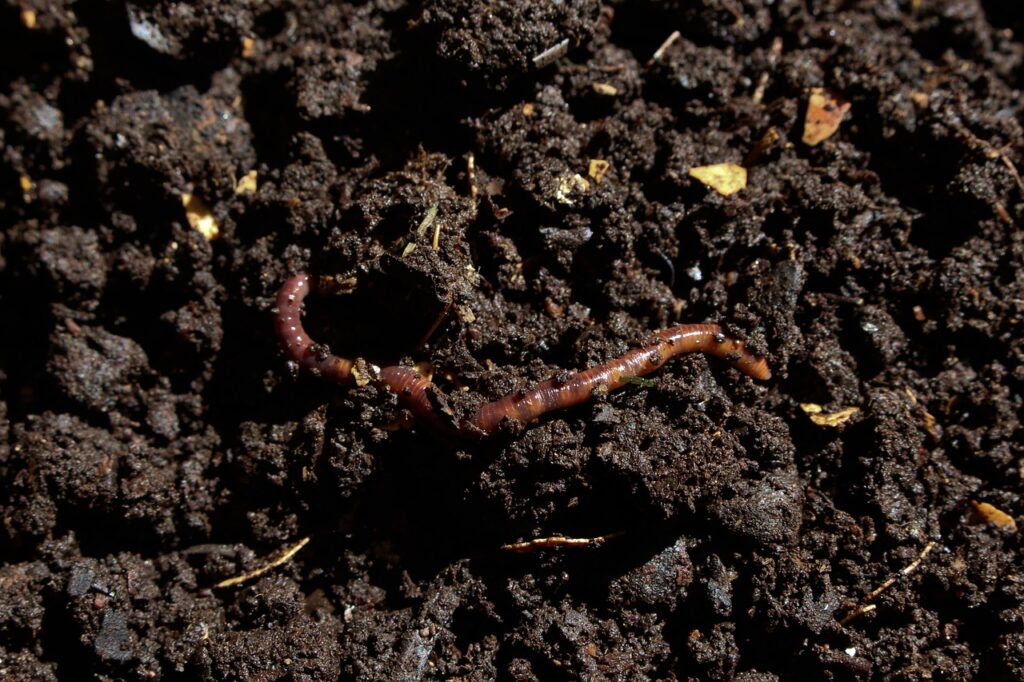
Earthworms are called a “gardener’s best friend” for a good reason. They aerate garden soil, break down old plant matter and make garden beds more hospitable to plant roots. However, earthworms aren’t the worms you want for a worm bin!
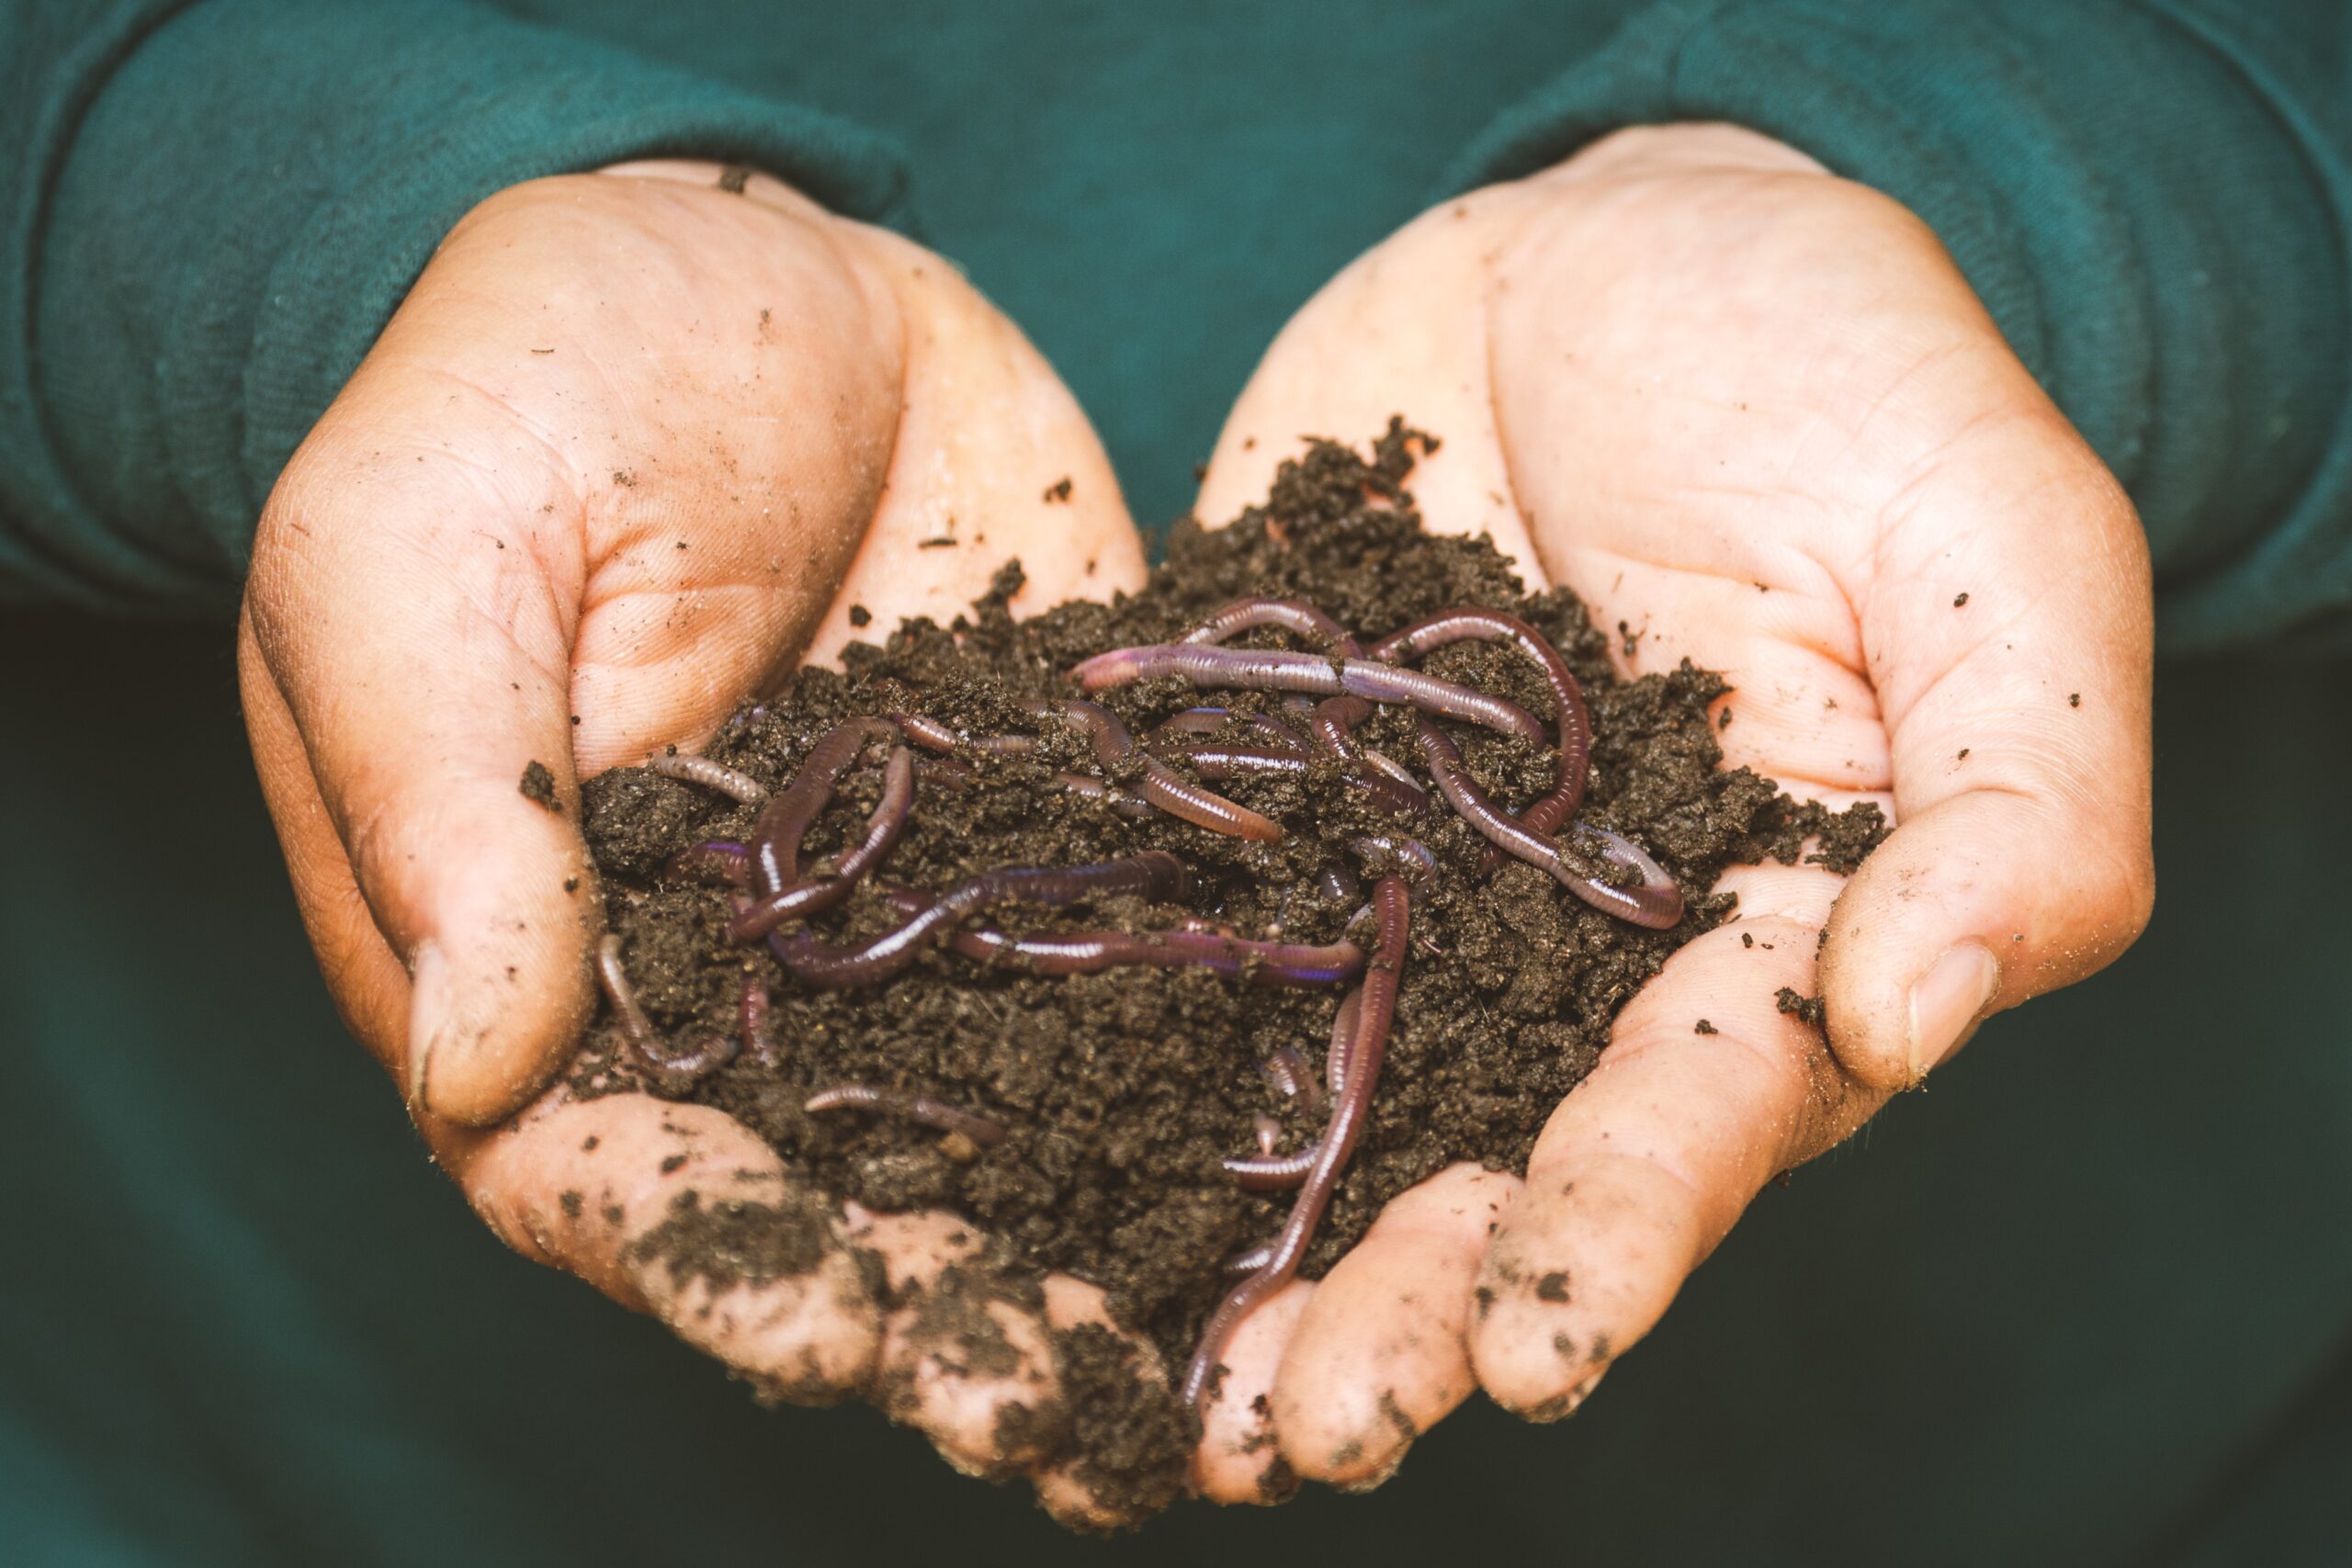
Earthworms and nightcrawlers need deep soil to thrive and they aren’t that efficient at breaking down food scraps. But red wiggler worms (Eisenia fetida) are THE BEST worms for worm farm purposes. Not only do these efficient eating machines munch through food waste , but red wigglers are also perfectly suited for living in small worm bins!
Red wigglers are typically sold online, although you may be able to buy composting worms at your local garden center. Vermicomposting worms are usually sold in quantities ranging from 250 to 5000 worms; however, 1 pound or 1000 red wigglers works well for most home composting systems.
Tip: If you’re buying composting worms online, schedule your delivery for a period of the year when temperatures aren’t extreme. While worms are quite tough, extreme temperatures cause stress to wormies and no one wants that!
How to Set Up an Indoor Worm Farm
If you’re in rush or you’re not big on DIY, you can purchase a premade worm bin online, like The Worm Factory 360 or the VermiHut composter. These indoor composters are both super compact and they have efficient stacking trays, which makes harvesting worm castings a breeze. On the other hand, if you’re not keen on keeping “creepy crawlies” indoors, you may prefer to use an outdoor, in ground worm composter.
Personally, I like to make my own DIY vermicomposting bin and I’ll teach you how to make the easiest worm bin ever in step 1 below. Steps 2 through 4 (below) will help you set up both store-bought and DIY worm bins!
Worm Farming Supplies for a DIY bin:
- Plastic storage tote, about 15 to 20 gallons should do. Worms don’t like light, so be sure to choose an opaque tote and lid!
- A power drill
- Plastic canvas or other screening material (optional)
- Super glue (optional)
Other Worm Farming Supplies for both DIY and Store-bought Setups:
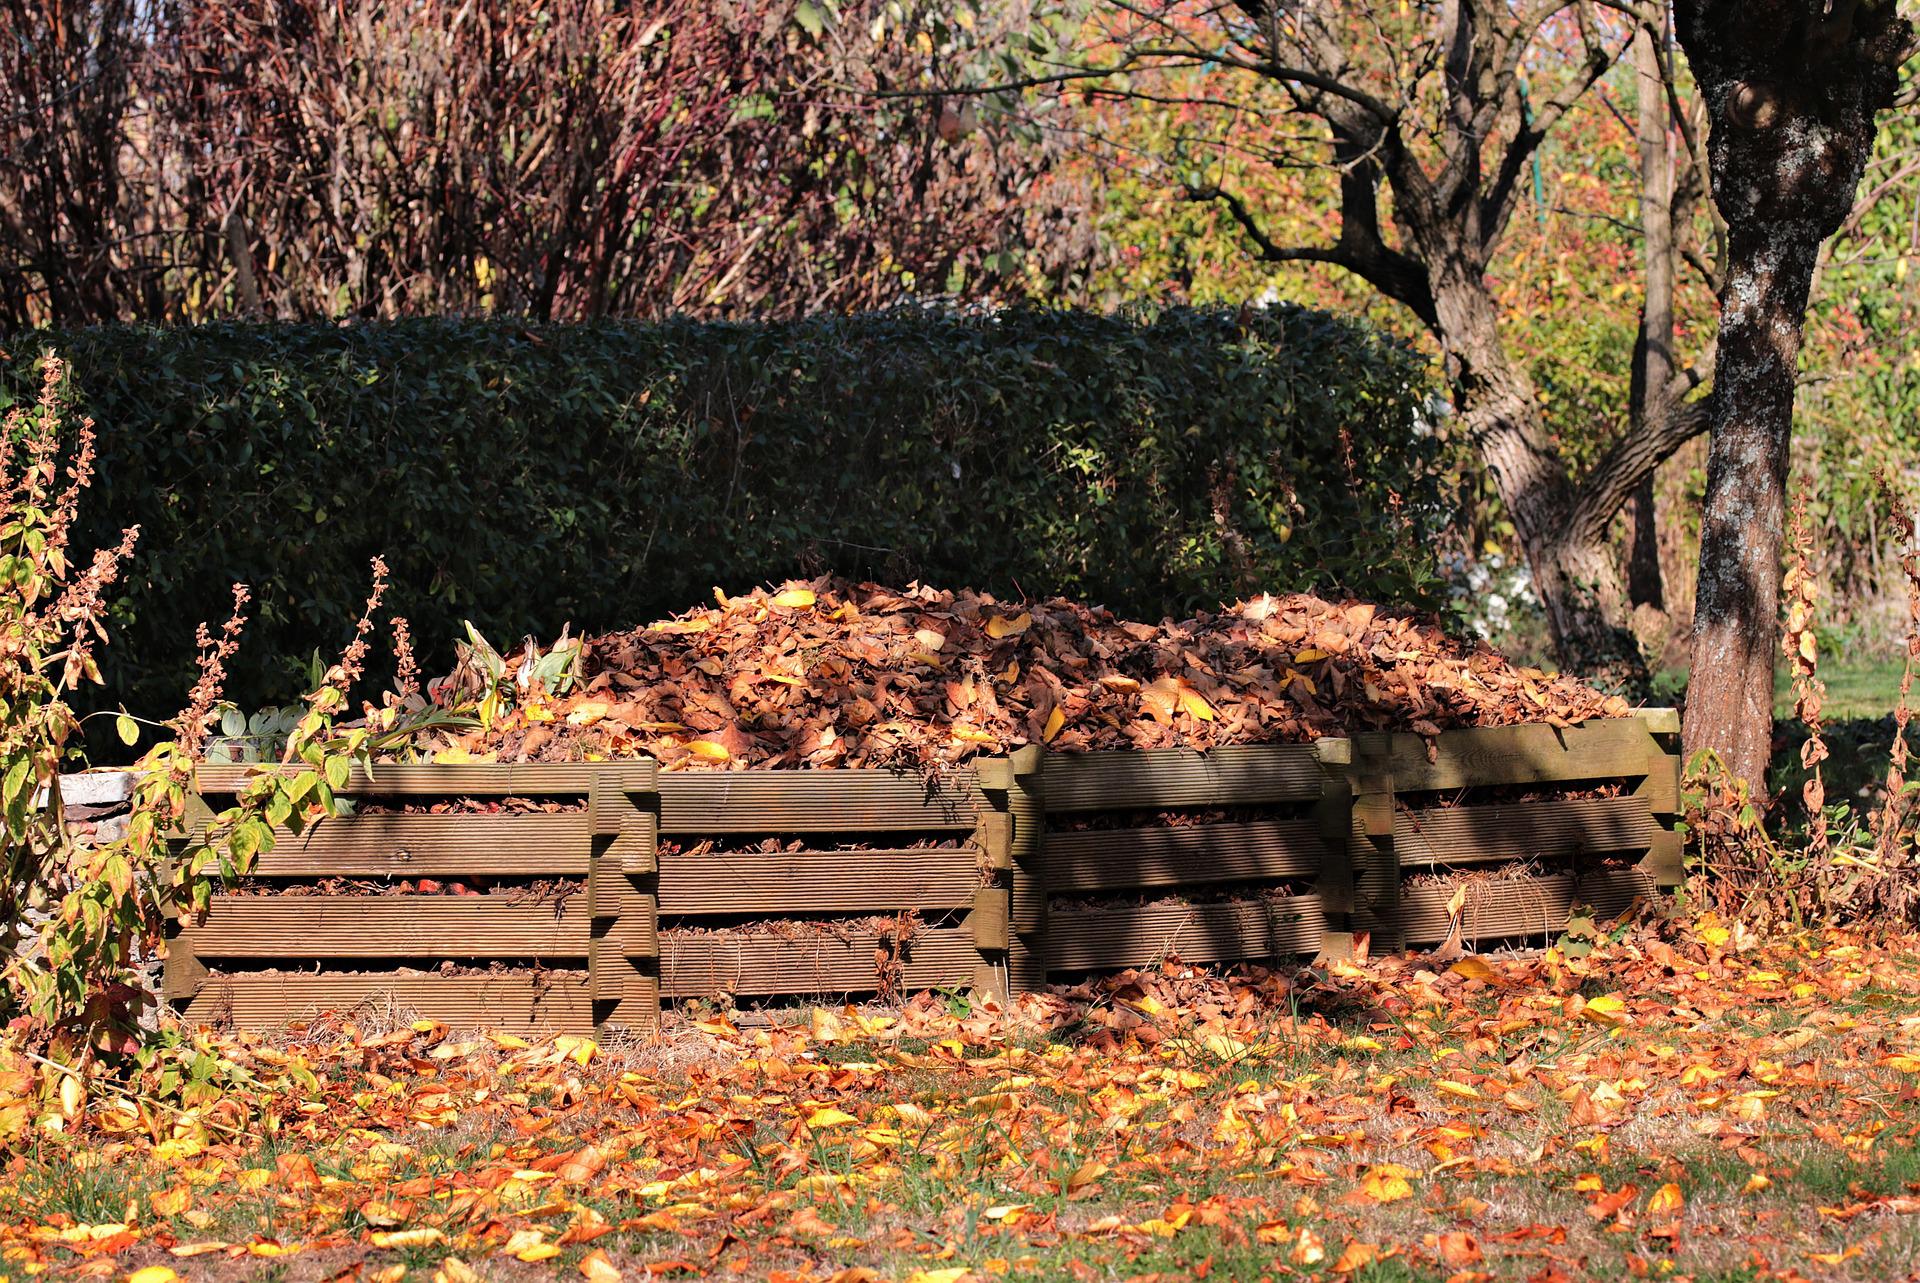
- Substrate or “worm bedding,” such as shredded newspaper (without colored inks), chopped cardboard (without colored inks), rehydrated coconut coir or dried and crumbled autumn leaves.
- A handful or two of pesticide-free garden soil
Creating a Worm Farm (for Beginners!):
1. How to make a cheap DIY worm bin.
To make a DIY vermicompost bin, take your plastic tote and drill a series of holes along the top sides of the tote… and all over the lid too. Worms need lots of air flow and these holes are key for keeping worms healthy!
If you want to discourage worms from escaping, you can cover the drilled holes with screening or plastic canvas adhered with super glue. However, this really shouldn’t be necessary. If you take care of your worms, they won’t want to escape!
2. Add the substrate.
Next, fill the tote or bin about 2/3 of the way up with the substrate of your choice, or add at least 6 to 8″ of substrate if you’re using a very large tote. For best results, use a combination of different substrates and moisten them so the substrate is as moist as a wrung out sponge.
Tip: I personally like using coconut coir with chopped autumn leaves and some shredded newspaper. I find that the coconut coir locks in moisture and keeps my bin from drying out too quickly.
3. Mix in some grit.
Stir a few handfuls of garden soil into the substrate. Garden soil contains fine particles of sand and other “grit,” which helps worms digest food scraps!
4. Add the composting worms!
Composting worms usually arrive in a cloth bag and they should be added to your bin as soon as possible. After shipping, worms are usually stressed (and sometimes a little dehydrated), so you’ll want to get them settled in.
To add the worms, scoop away some of the substrate on one side of the bin and gently pour in the worms. Cover the worms up lightly with the substrate and then pop the lid on your worm bin. After the stress of shipping, worms need a few days to “decompress” and there is no need to feed your worms for the first two days after they arrive.
Tip: During the first week, it’s totally normal if some worms try to escape. You can discourage this by keeping your worm bin in a dark location and covering the top of the substrate with a sheet of damp newspaper.
Using and Maintaining a Healthy Homemade Worm Bin
After the composting worms have had a few days to adjust, it’s time to start composting!
How to feed composting worms:
To feed composting worms, dig into the substrate on one side of your worm bin, add food scraps to the hole and then cover the scraps up with a layer of substrate to discourage fruit flies. The next time you add scraps, dig the scraps into the opposite side of the bin and continue alternating sides every time you add more scraps.
Feeding frequency:
How often you should feed composting worms will depend on how many worms you have and how hungry they are! It’s usually easiest to gather food scraps in a countertop compost bin and then add them to your worm bin once a week.
How much to feed:
Composting worms should only be fed as much as they can eat in one week. Keep track of how much food your worms eat and adjust your feedings accordingly. If there is still a lot of food left over at the end of one week, remove the old food to prevent mold and reduce how much food you add the next time!
Water:
Food scraps usually provide enough moisture to worm bins to keep worm happy. But if your bin seems dry, add water so that the substrate stays about as moist as a wrung out sponge.
Temperature:
Normal household temperatures work for red wigglers, with 50°F to 85°F being ideal. Temperatures above or below this range can stress out or even kill composting worms.
What Can You Feed Red Worms for Composting?
Composting worms aren’t picky and they will eat most food scraps and some yard waste, including:
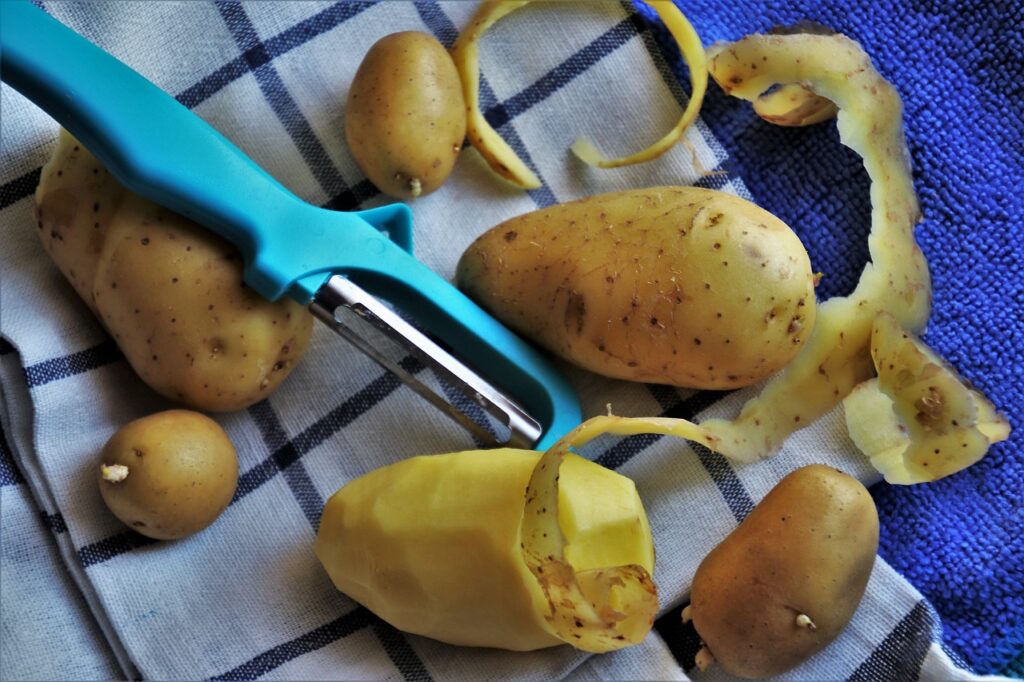
- Vegetable and fruit scraps, peels and cores
- Bread and leftover pasta
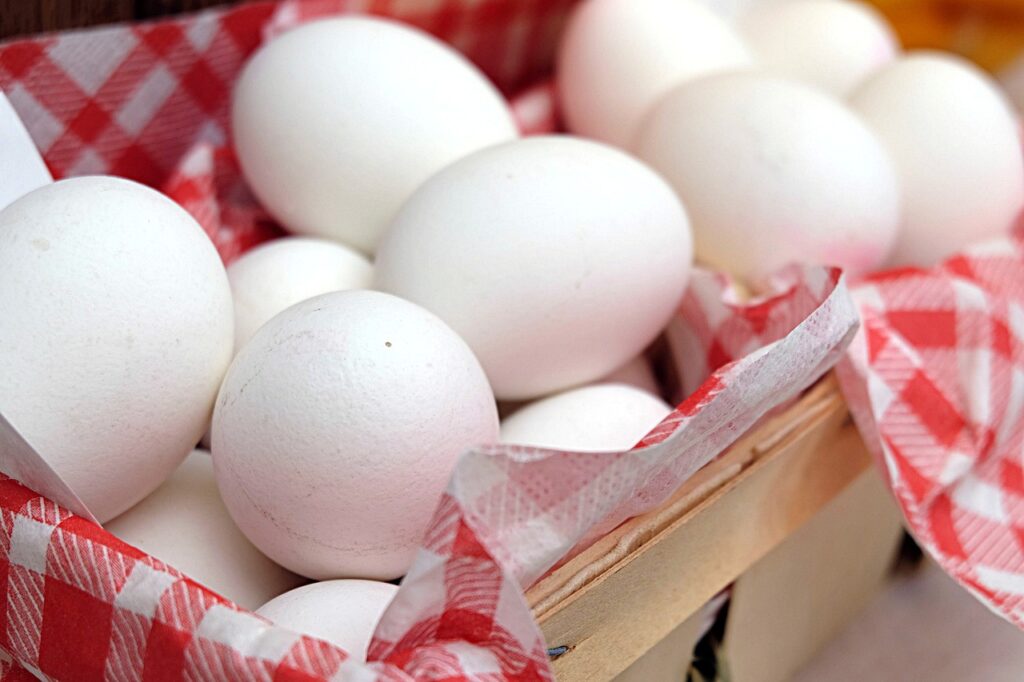
- Eggshells
- Loose leaf tea and coffee grounds
- Pesticide-free grass clippings and other plant debris
- Shredded paper (no colored inks)
Tip: For quicker composting, cut large food pieces into small, 1” chunks.
What Food Shouldn’t You Put in a Worm Farm Bin?
While composting worms will eat most food scraps, there are a few exceptions, including:
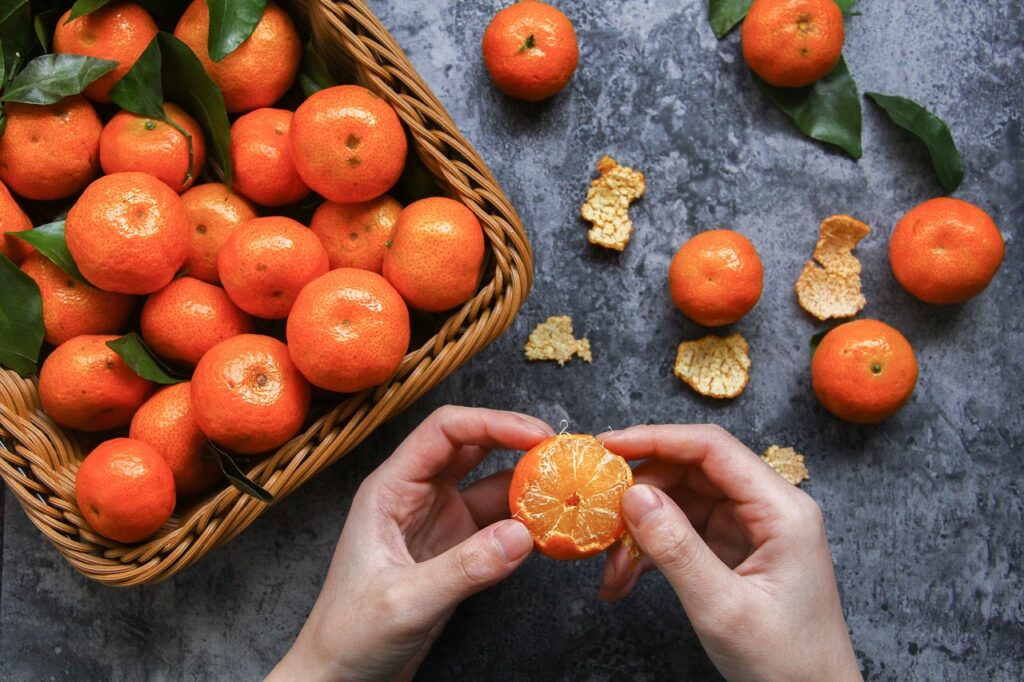
- Citrus
- Very spicy foods
- Onions
- Meat and bones (Psst. If you want to compost meat and dairy, Bokashi composting can help with that!)
- Dairy
- Overly processed foods
- Animal manure
- Glossy paper or paper with colored inks
- Moldy food
How to Harvest Worm Casting Compost
You’ll know it’s time to harvest worm castings when most of the worm bin substrate has been replaced with dark, rich worm castings.
To harvest worm castings, feed your worms only on one side of your bin for several weeks to encourage them to migrate. Then, scoop out the castings from the opposite side of the bin and return any straggling worms you find to your worm farm. After you’ve removed as much of the worm castings as possible, add new substrate to the bin and feed the worms as usual!
Tip: For even easier harvesting, try sifting worm castings with a store-bought or DIY sifter made of scrap wood and screening!
Frequently Asked Questions About Indoor Worm Composting
Why are my compost worms escaping?
It’s common for new composting worms to try to escape a worm bin after they arrive. However, if worms try to escape an established bin, this usually means that something is amiss! Too much or too little moisture or food, extreme temperatures and overly acidic conditions can cause worms to flee and escaping worms may also signify that it’s time to harvest worm castings.
Why have the worms in my worm farm disappeared?
Disappearing worm means that something is wrong with your worm bin and it’s either causing worms to escape or die off. If this occurs, check the moisture and temperature levels in your bin, refresh the substrate, reconsider your feeding schedule and start over with new worms if necessary.
Are mites OK in worm bin?
Worm bin mites are relatively common and they won’t harm you, pets, plants or composting worms. Worm bin mites eat old food scraps and they can live in harmony with composting worms as long as mite populations don’t get out of hand. If large populations of mites occur, it usually means that your bin is either too moist, too acidic or that there’s too much uneaten food and you should allow the bin to dry out, reduce feedings and, perhaps, add some crumbled eggshells to neutralize the substrate pH.