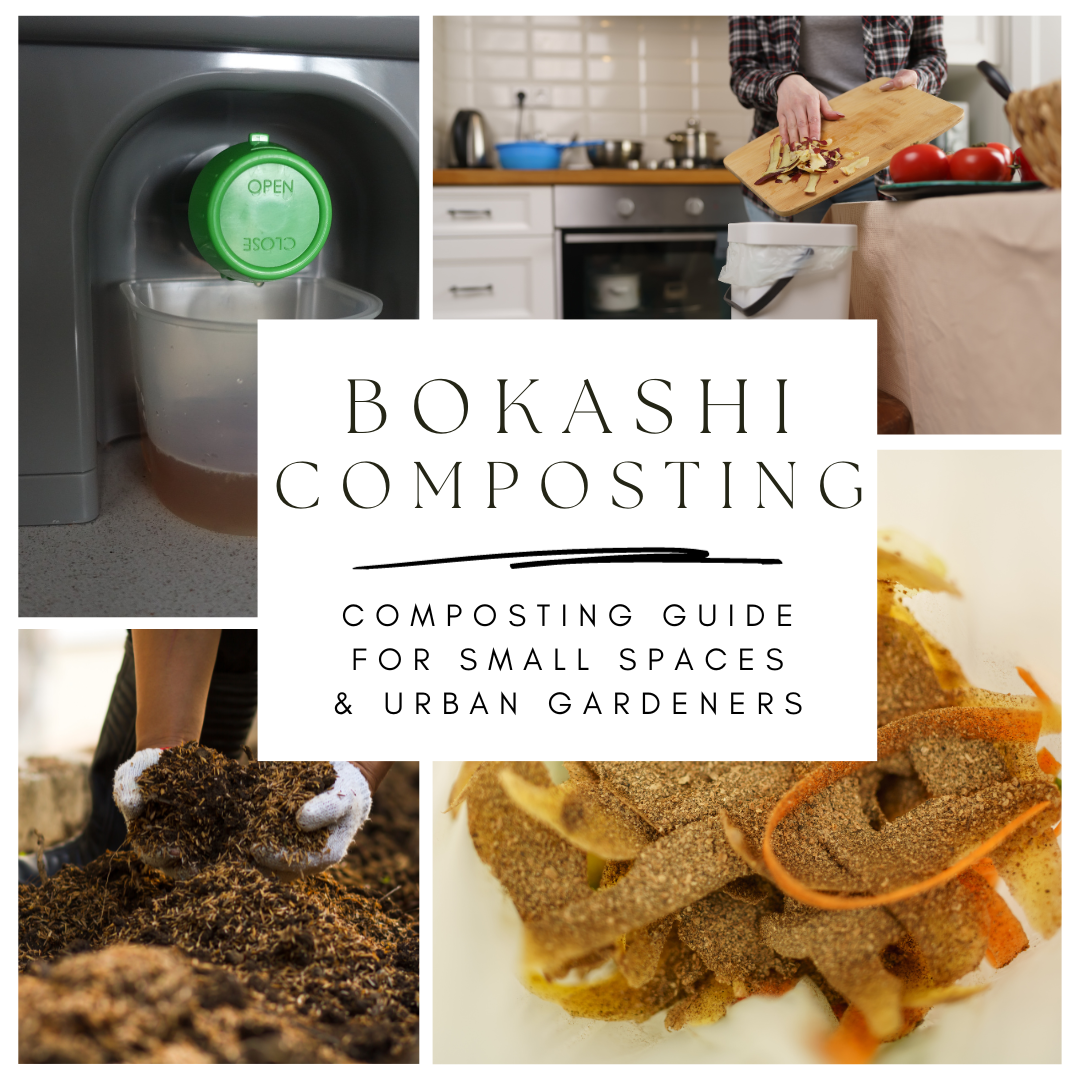
Master urban composting with an indoor Bokashi composting system!
Composting in a city can be a challenge. But if you have a small urban garden or a few houseplants you’d like to enhance with compost, you can still make your own compost in a small space with a bokashi compost kit!
Bokashi is a unique composting method, which allows gardeners to compost at any time of the year. Even better, bokashi systems can handle hard to compost foods, like meat and dairy, and they’re small enough to slip under the kitchen sink. If you’re curious about using bokashi to reduce food waste and create a rich compost for plants, read on!
Affiliate disclosure: As an Amazon Associate, I may earn commissions from qualifying purchases.
What is Bokashi Compost?
Bokashi composting was first invented in ancient Korea, but it’s been gaining popularity in recent years across the gardening world. Unlike outdoor compost piles that need to be aerated, bokashi composting takes place in a small, airtight bucket. This creates an anaerobic (air-free) environment where food scraps and yard waste are fermented or pickled with bran inoculated with beneficial microorganisms.
Why Use a Bokashi Compost Bin
If you’re new to composting, you may be unsure what composting method to use. Outdoor composting and vermicomposting both have their charms, but bokashi offers unique benefits to the home gardener. Some of the main reasons why you may want to switch to bokashi include:
- It’s fast.
Because food ferments (rather than decomposes) in a bokashi bucket, bokashi creates a finished compost or “bokashi ferment” in a fraction of the time compared to other composting techniques. Typically, bokashi compost will be ready to use in just 4 weeks!
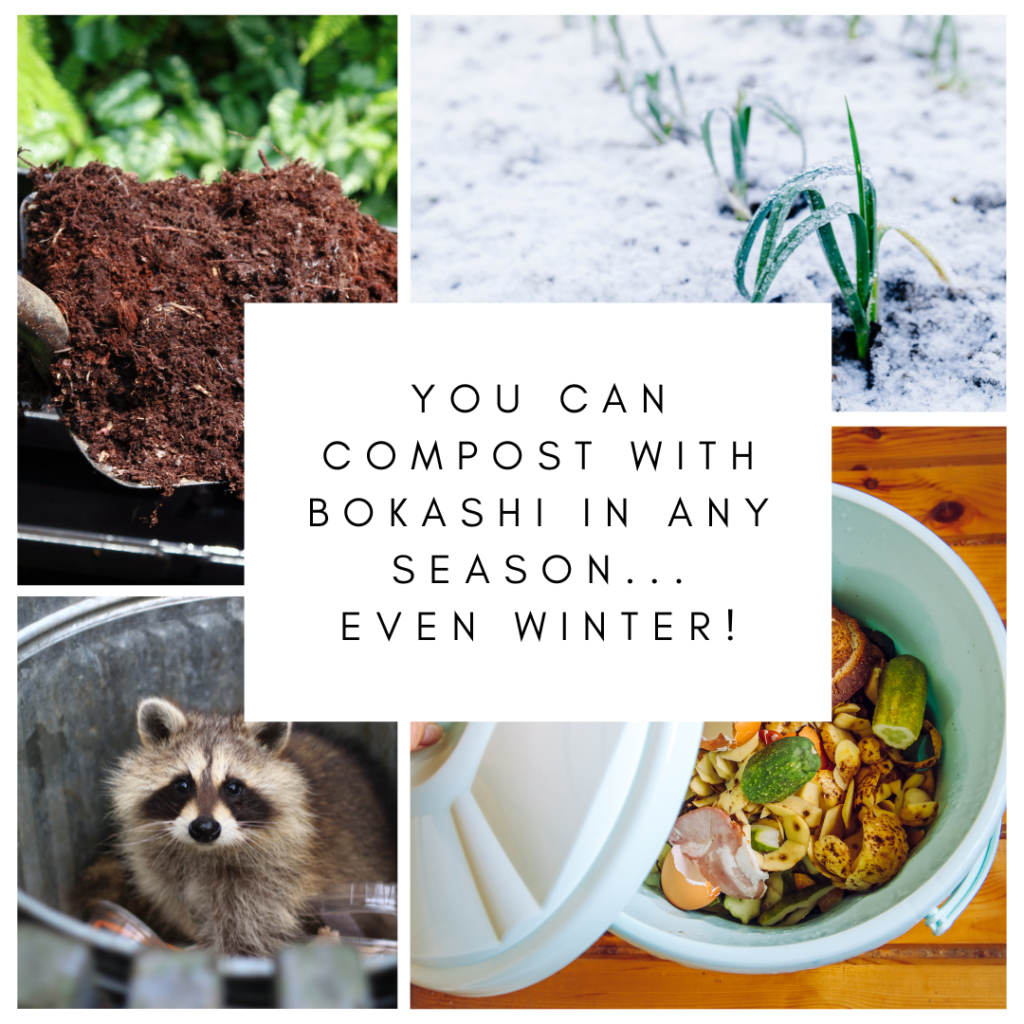
- Year round composting.
Outdoor compost bins work beautifully during the summer, but they don’t compost as quickly (or at all!) in cool weather. This isn’t a problem for bokashi though. Bokashi is an all-season composting method that can be used at any time of the year.
- It deters garden pests.
Compost piles often attract animals, like raccoons, that rummage about for food scraps. However, bokashi has a high level of acidity, which makes it much less attractive to scavengers.
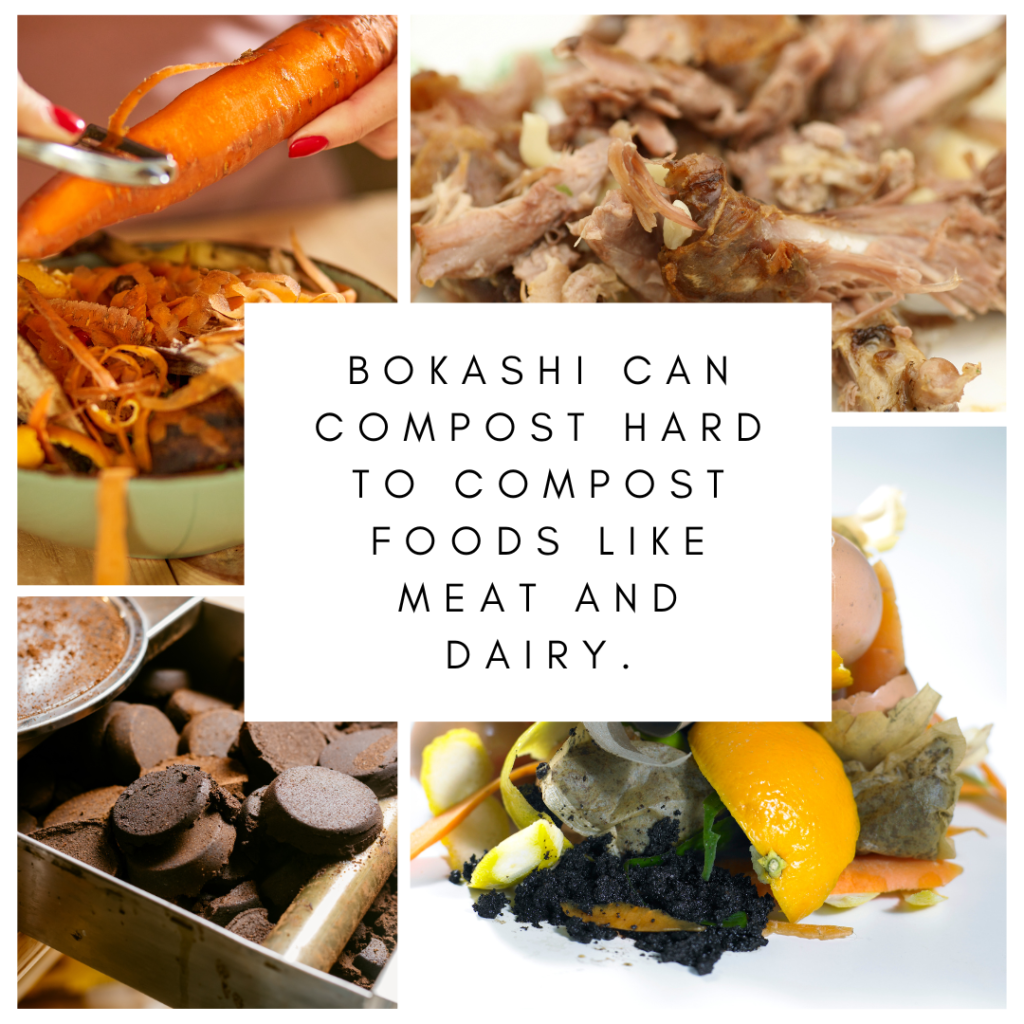
- It can handle meat and dairy.
Unlike other composters, bokashi can compost all food waste, including meat and dairy!
- It’s great for small spaces.
A standard bokashi kit consists of a 5-gallon indoor compost bin and a well-fitting lid. When properly maintained, bokashi setups are tidy and odorless and they can easily fit under the kitchen sink!
How to Compost with a Bokashi Bucket
To get started with bokashi, you’ll need a bokashi bin and bokashi starter (aka inoculated bran). You can purchase both the bin and bran online, or you can make your own. After that, all you need to do is place your bokashi bin in a handy location and start composting!
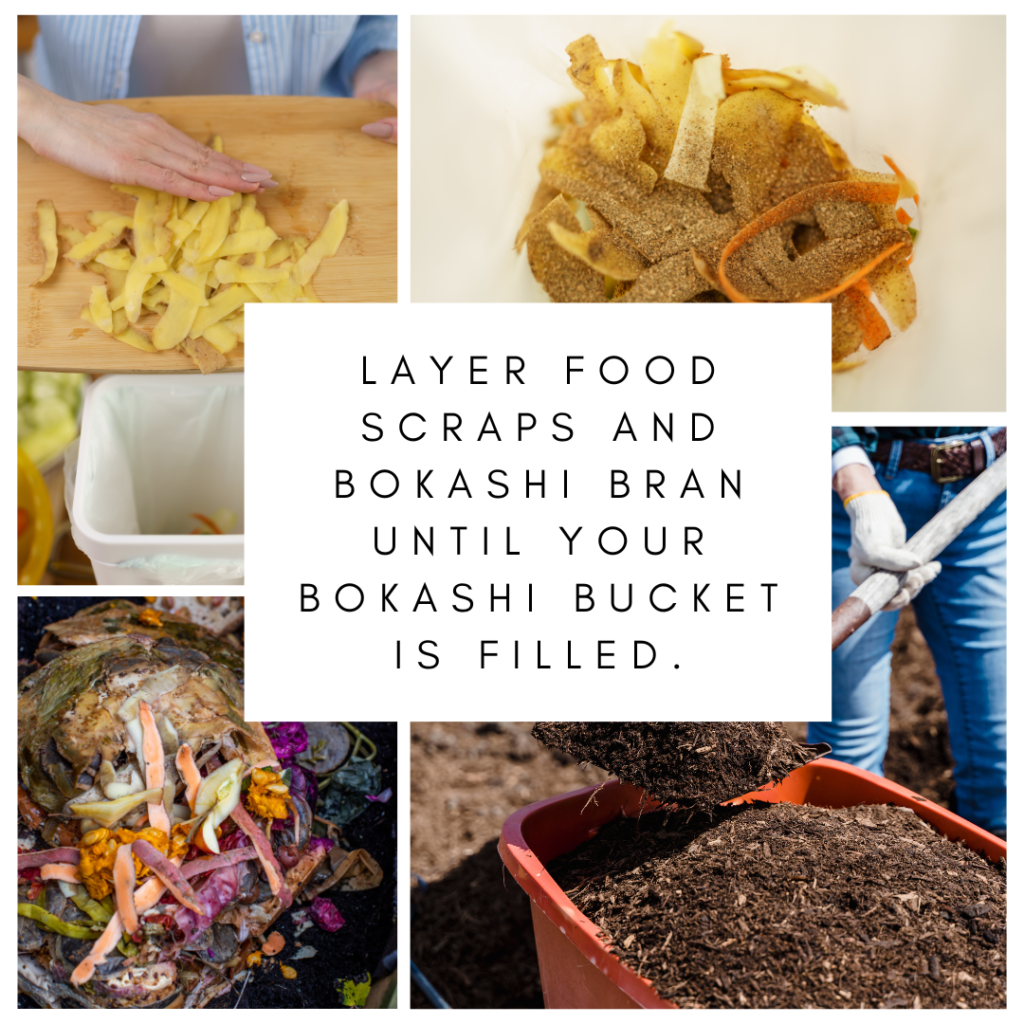
Step 1: Fill up your bokashi bucket.
To get started, lightly cover the bottom of your bucket with a layer of bokashi bran. Then add a thin, 1 to 2” layer of food scraps and sprinkle more bran on top of the food. As you accumulate more kitchen scraps, repeat this process until the bucket is full.
Step 2: Ferment.
Once the bucket is filled up, tightly seal the lid and allow the food scraps to ferment for two weeks. During this time, resist the impulse to open the bin. You don’t want to let air in!
Step 3: Harvest your compost.
After two weeks, your food scraps will look the same. But don’t be fooled. Those scraps have changed on a structural level!
At this point of the process, your old food pieces have been predigested or pickled by the beneficial microorganisms in the bokashi bran. However, this precompost is still too acidic to use on your plants.
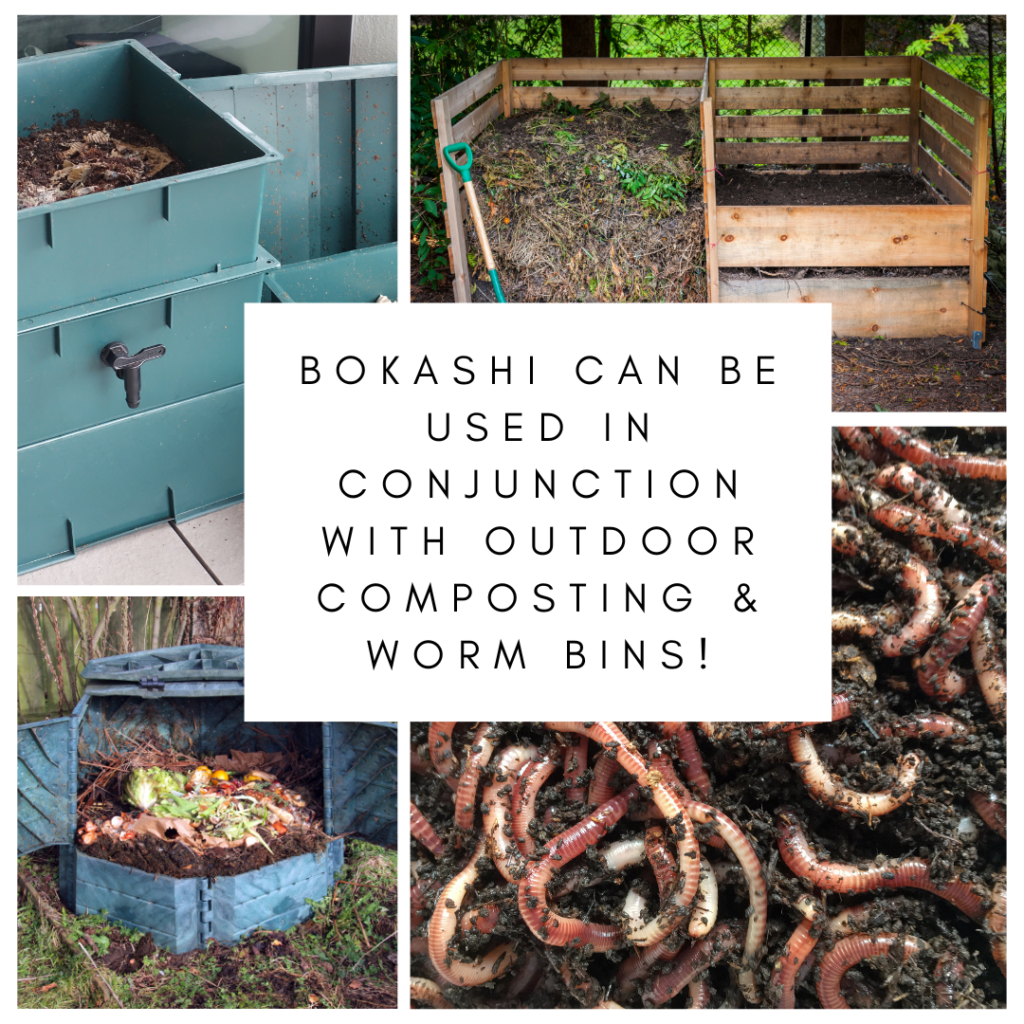
If you want to use the bokashi compost in your garden, leave the precompost in your bucket or pour it into a compost pile and allow it to continue fermenting for 2 more weeks. This will allow the pH to stabilize and make the nutrients more bioavailable for plant absorption. Once the food scraps have fermented for a total of 4 weeks, your compost is finished and it can be used on gardens or houseplants as a side dressing or top dressing (or it can be brewed into compost tea)!
Alternatively, if you have a vermicompost bin, you can feed bokashi precompost to composting worms right away. Or you can trench compost the precompost directly in your garden by burying it 12” deep in trenches. Just keep in mind that if you choose trench composting, you’ll still want to wait 2 weeks before sowing plants on top of that precompost!
Tips for Maintaining a Healthy Bokashi Bin
Well-maintained bokashi bins should be odor-free and easy to use. But if you want to get the most out of your bin, keep these simple tips in mind.
- Always securely fasten your bokashi lid after adding food scraps. Bokashi is an anaerobic process and you should minimize the amount of air that gets into your bin.
- Use a countertop composter to collect food scraps. It’s best to only open your bokashi bin once a day (or less) to keep the system as air-free as possible. In the meantime, collect your food scraps in a countertop composter and then add the scraps to your bokashi bucket all at once.
- Steer clear of moldy foods. While all food scraps can be added to a bokashi bin, it’s best to avoid adding moldy food or excess liquid as these products can interrupt the bokashi fermentation process.
- Cut up large pieces of food. Foods will break down faster if you cut them up into small 1” chunks.
- Mold isn’t always a bad thing! Don’t worry if you see white mold forming in your bokashi bucket. This is a normal part of the composting process and it means that your composter is working correctly!
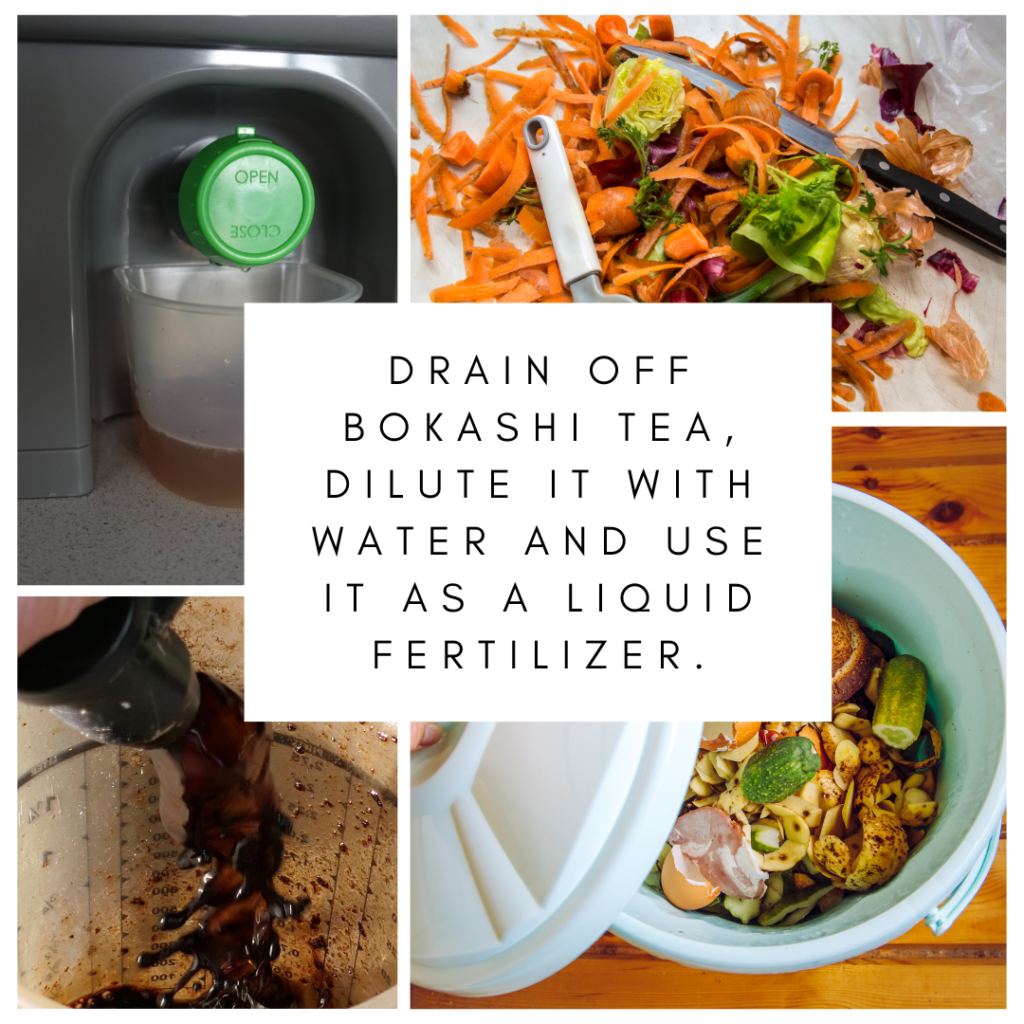
- Draw off the bokashi tea. While your bin is hard at work, liquid (aka bokashi tea) will accumulate at the bottom of the composter. This liquid should be drawn off from time to time by gently tipping the composting bucket to one side or by draining it away with the spigot on your bucket (if your composter has one.)
- Don’t throw that bokashi tea away! Bokashi tea makes a fabulous organic liquid fertilizer and it can also be used as a foliar spray and compost accelerator. However, this tea is very acidic and should be diluted with water at a ratio of 1:100 before you use it on plants!
Frequently Asked Questions About Indoor Composting with Bokashi
Can you put coffee grounds in bokashi?
Yes you can! Coffee grounds can be added to your bokashi bin when you add your regular kitchen scraps.
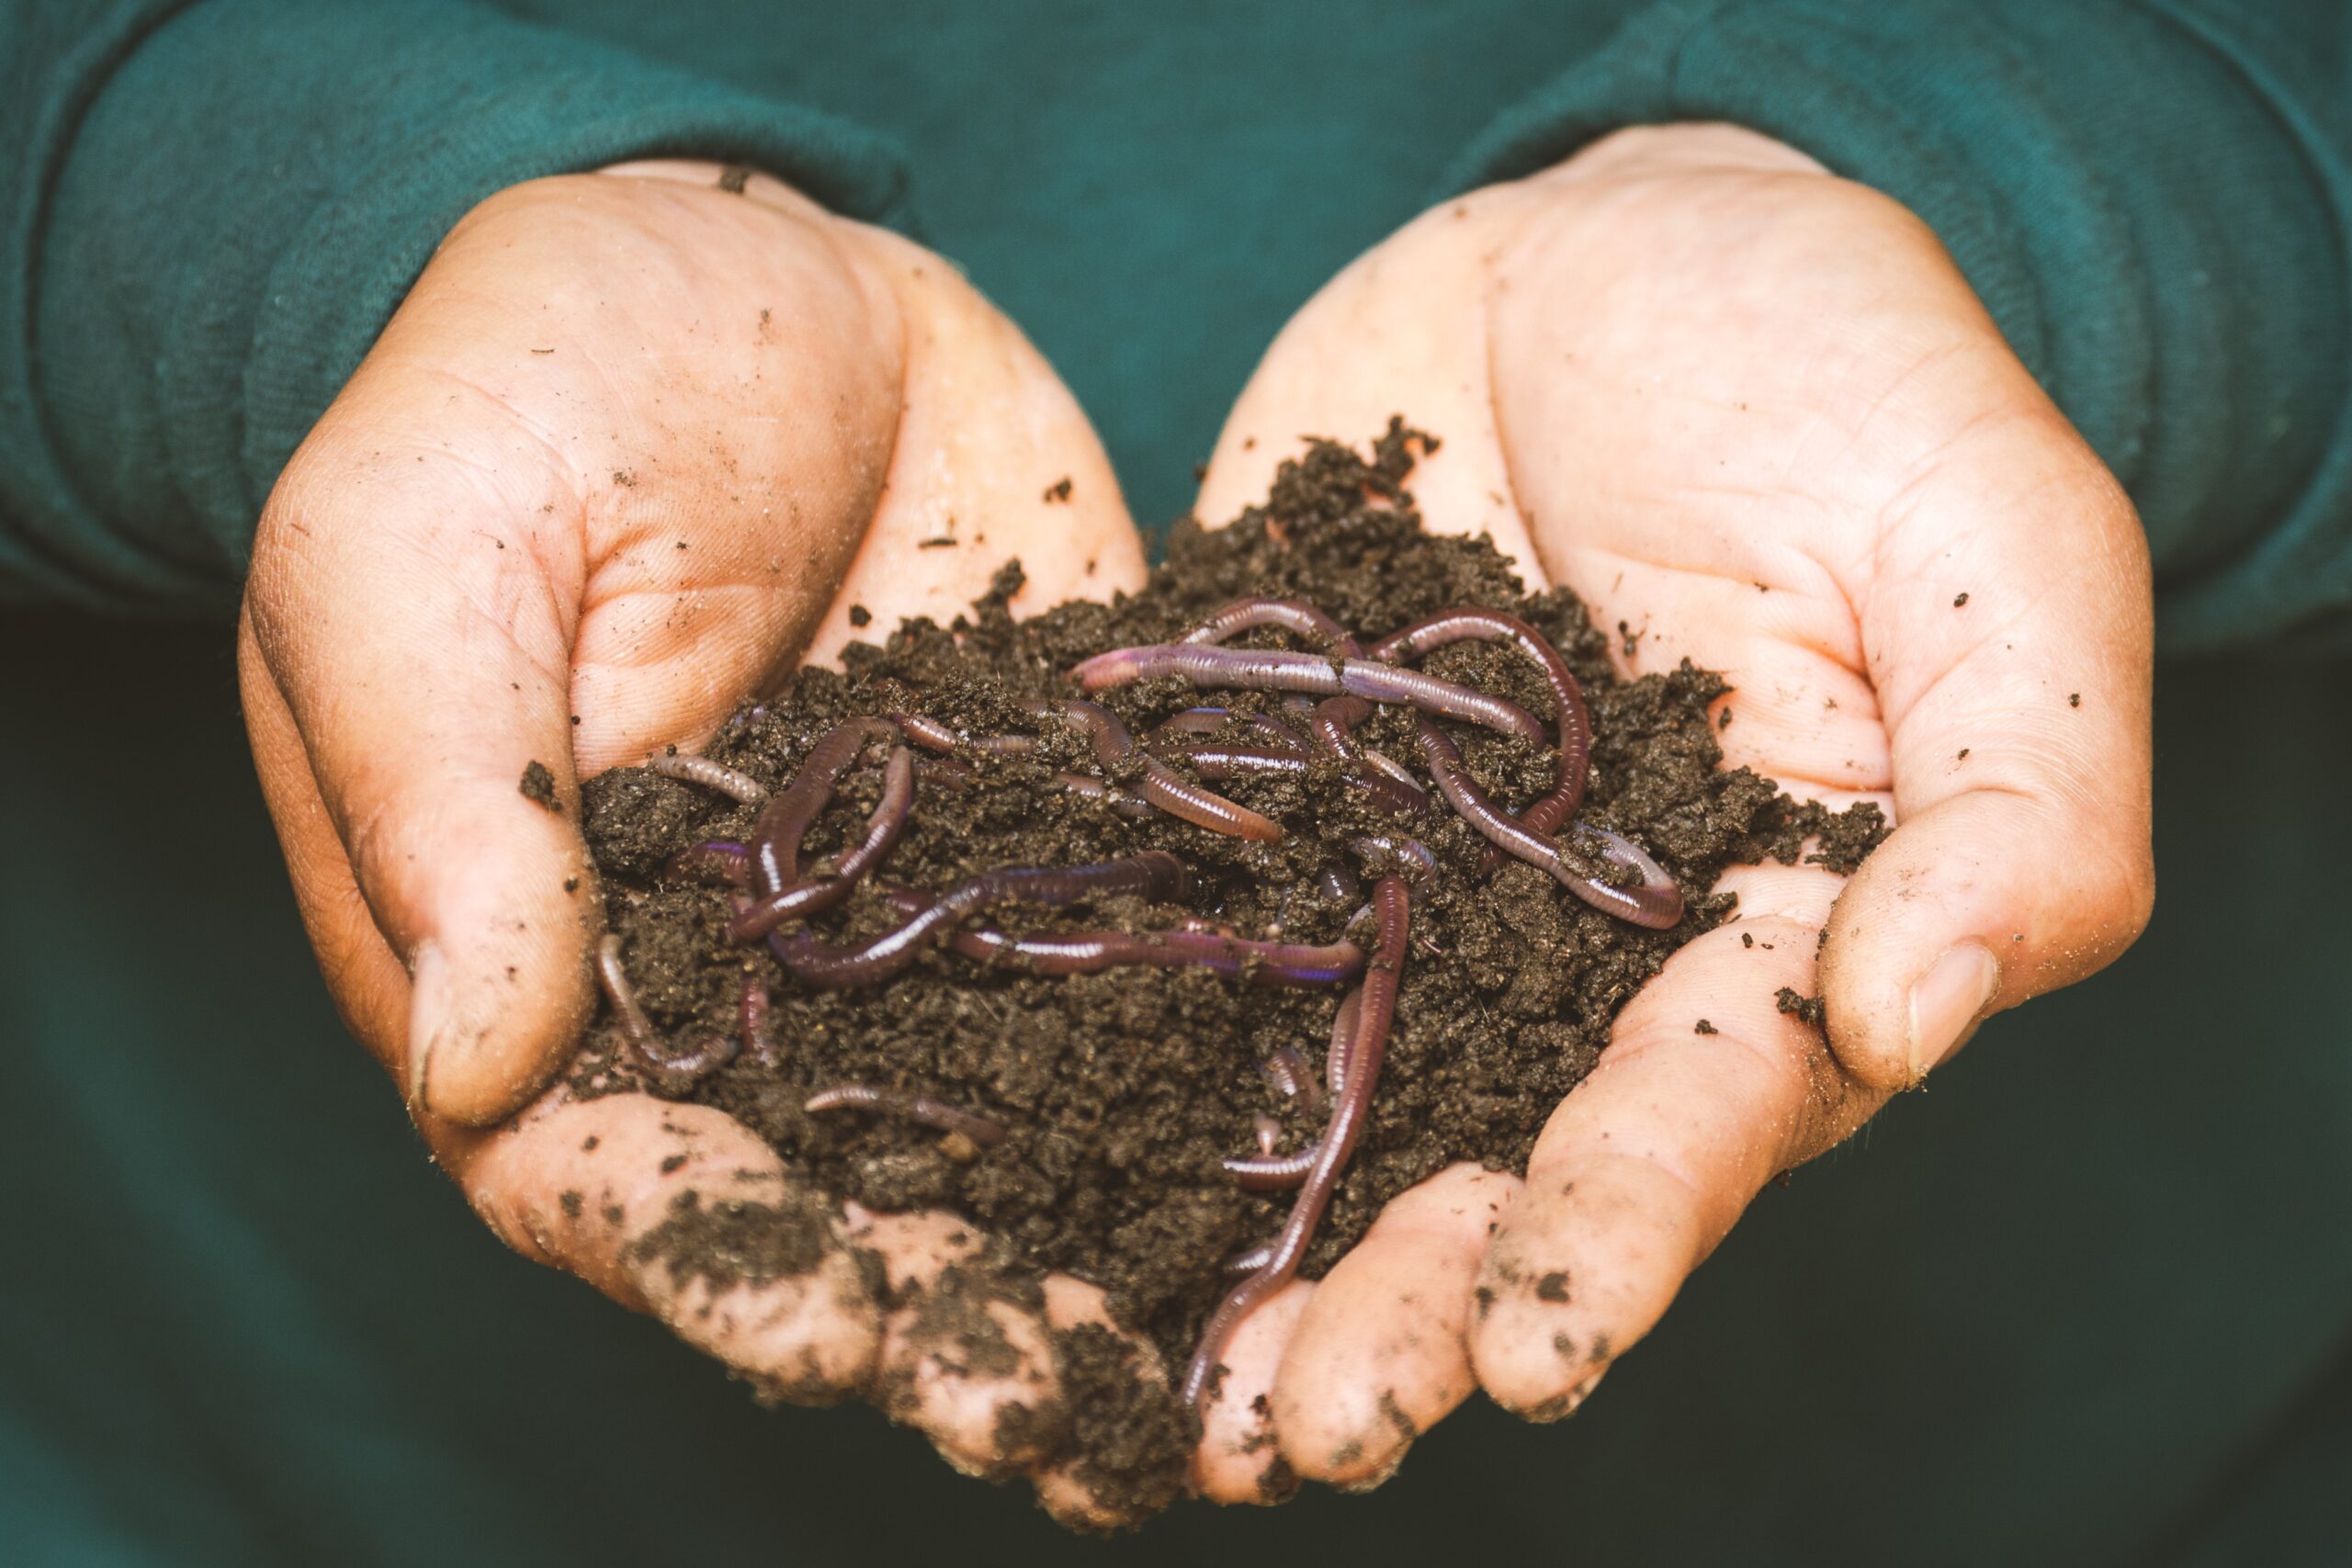
Do worms like bokashi compost?
Yes! Composting worms will happily devour bokashi compost, but don’t add too much compost to your worm bin at once. Only add as much compost as your worms can eat in a week and bury the compost under at least 1” of worm substrate.
Can you put tea bags in bokashi?
Usually yes. Looseleaf tea and tea bags made of biodegradable materials can be added to bokashi composters. However, some teabags are made of plastic and these products won’t break down in a bokashi bin or standard composting system.