From propagation to harvest, learn how to grow elderberries at home with this easy guide!
Wild elderberry plants (Sambucus spp.) can be found growing throughout much of North America, but you can also try growing elderberries at home and gather organic elderberry harvests right from your garden. Elderberries are traditionally used to make elderberry syrup, but they can also be brewed into wine or cooked into jams and sauces. With fluffy white flowers and airy leaves, elderberries also make striking ornamental plants and they provide exceptional habitat and foraging sources for berry-eating songbirds and other wildlife.
I spoke to Christopher Chaisson, a seasoned elderberry grower and the founder of Eleven Acre Farm and Wild Branch Foods, to learn more about how to grow elderberries at home. Find all the elderberry plant care tips you need in the simple guide below!
Warning: Raw elderberries are toxic and they need to be cooked properly before use. Elderberry stems, leaves, and roots are toxic to humans and pets.
AFFILIATE DISCLOSURE: AS AN AMAZON ASSOCIATE, I MAY EARN COMMISSIONS FROM QUALIFYING PURCHASES.
Elderberry Growing Conditions in a Glance:
| Light | Full sun to part shade |
| Soil | Slightly acidic, moist, pH 5.5 to 6.5 |
| Water | Approximately 1 to 2” per week |
| Fertilizer | Annually in spring |
| Elderberry Growing Zone | 3 to 11 (USDA) |
| Common Pests & Diseases | Aphids, Mealybugs, Scale, Borers, Powdery Mildew |
| Harvest Time | July to September, depending on variety |
| Plant Size | 8 to 10’ high, 8’ wide |
| Recommended For | Edible foodscape gardens, wildlife gardens, ornamental gardens, native gardens |
Planting Elderberry Bushes
Elderberries are typically grown from either bare root or potted plants. Potted plants usually grow a little faster, but bare root plants can be more affordable. It’s best to plant potted plants outdoors in spring after the danger of frost has past, but bare root plants can be planted a little earlier – as soon as the soil is workable after winter.
Choose a sunny to part shade location, ideally with well-draining, yet moist, soil. Elderberry plants tend to fruit better when they receive at least 6 to 8 hours of bright light daily. Chaisson suggests growing elderberries in a spot that receives some light afternoon shade.
To plant, dig a hole that’s just a bit deeper than your plant’s root ball and about twice as wide. Soak bare root plants in water for 12 to 24 hours before planting and water potted plants well before removing them from their pots to reduce the chances of transplant shock. If potted plants have circling roots, tease them apart or carefully cut encircled roots with pruners to encourage healthy root development.
Amend the soil in the planting hole with a bit of compost or aged manure and, if you’re growing bare root plants, heap a bit of soil at the center of the hole to support the plant’s stem. Locate the elderberry plant in the hole so that it’s positioned an inch or two deeper than it was growing in its nursery pot, spread out the roots, and then backfill the hole halfway with soil. Add water to reduce air pockets and then fill in the rest of the soil with earth, firming the soil around the elderberry stems.
If you’re growing multiple elderberries together, space individual plants at least 8’ apart. Then spread a 2 to 3” layer of natural mulch – like bark mulch or straw – around the base of your plants to reduce watering needs and keep weeds at bay. Make sure the mulch line is a few inches away from your plant’s stem as mulch that’s too close to plant tissue can cause rot (I made this mistake once!)
Grower Tip: If you miss your spring planting window, elderberries can also be planted in fall, up to 6 weeks before frost is expected.
How to Grow Elderberry from Seed and Cuttings
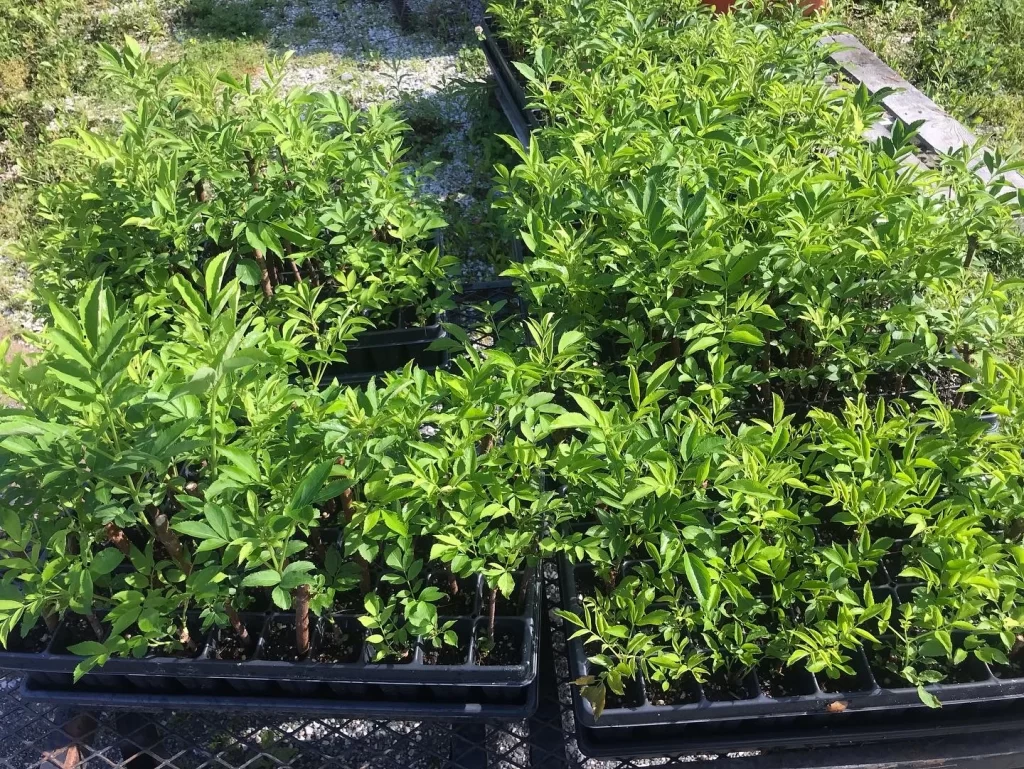
Wild elderberry seeds are naturally sown by birds, but it’s best to grow garden elderberries from pre-started plants or stem cuttings. Germination of elderberry seeds is relatively unreliable and, if elderberries do manage to sprout, they don’t resemble the parent plants. However, growing elderberries from cuttings (or prunings!) is totally do-able!
To propagate elderberry cuttings, take 4 to 6” long, softwood cuttings (softwood is bendable and not as woody as hardwood) in spring using pruners. Chaisson notes that each cutting should have 2 sets of nodes (that’s where the leaves emerge from the plant stem) and the cuttings should be cut at a 45 degree angle. Then gently strip away any leaves that are growing from the bottom portion of the cuttings.
Cuttings can be propagated in either soil or water. For water propagation, place the cut stems in a clean glass of water so that the stems are submerged but the leaves are kept dry. Position the propagation jar in bright, indirect light and transplant the cuttings into soil once their newly sprouted roots are at least 2” long.
For soil propagation (Chaisson’s recommended method), plant cuttings in moist potting mix, move them to bright, indirect light and water often to keep the soil moist, not soggy, until the roots emerge. You’ll know the cuttings have rooted when they start to produce new growth and they can’t be easily lifted from the soil.
Grower tip: Chaisson recommends removing elderberry flowers during the first 2 to 3 years after planting “for bigger and more abundant berries in the future!”
Growing Elderberry Bushes
Elderberry plants can be pruned or not – it’s up to you. If you’d like to prune elderberries, late winter to early spring is the time to do it. Prune away dead or damaged stems and suckers and clip back stems by up to 1/3 if you’d like to do a bit of reshaping – remember, elderberries fruit best on new growth, so old stems may become less productive over time!
Some elderberries are self-pollinating, but the most common elderberry bush varieties are not. To ensure you get a good harvest of berries, plant at least two elderberries near each other and make sure you’re growing elderberry varieties that are compatible. Different types of elderberries won’t always be able to cross-pollinate!
Grower tip: Elderberries have shallow roots that don’t compete well with weeds. Be vigilant about keeping weeds down. A layer of mulch can help!
Water
Elderberries are water-loving plants that grow well in consistently moist, but not soggy, soil. Young plants will usually need to be watered with about 1 to 2” of water per week for the first 1 to 2 years, while established plants may only need supplemental water during dry, hot weather.
Light
In the wild, elderberries grow in the light shade cast by larger trees. But in gardens, these plants do best with full sun to part shade. Fruit set will be best when plants receive at least 6 to 8 hours of light daily.
Soil and Fertilizer
Elderberries are relatively adaptable and they grow in different types of soil, although they prefer slightly acidic, moist soils with plenty of organic matter. Amending tough soils with compost before planting is generally a good idea.
After planting, elderberries should be fertilized about once a year in early spring with an organic, balanced fertilizer or compost. These plants aren’t heavy feeders, so don’t overdo it!
Grower tip: Chaisson notes that elderberries “can have wet feet, but they do bad in direct clay and compacted soil.” If your garden has heavy clay, amending with compost is advised!
Pests and Diseases
Elderberries are relatively resistant to pests, but they can sometimes attract aphids, voles, deer, moths, borers, scale, and mealybugs. Chaisson recommends utilizing an integrated pest management strategy (IPM) to keep these pests at bay.
Tall fencing is best for preventing deer, while loose tree guards can ward against voles. Companion planting with scented herbs and flowers can do wonders for insects too. Powdery mildew can sometimes infect elderberry plants as well, but this can be avoided by watering elderberries at the soil line and following proper spacing guidelines when planting.
During my first year of growing elderberries, I lost a few of my plants to borers, which drill their way through elderberry stems and leave tiny flakes of sawdust and dead elderberries in their wake. Pruning away dead or damaged elderberry canes and purchasing elderberries from reliable suppliers is the best way to keep these insects away from your plants!
Harvesting Elderberries
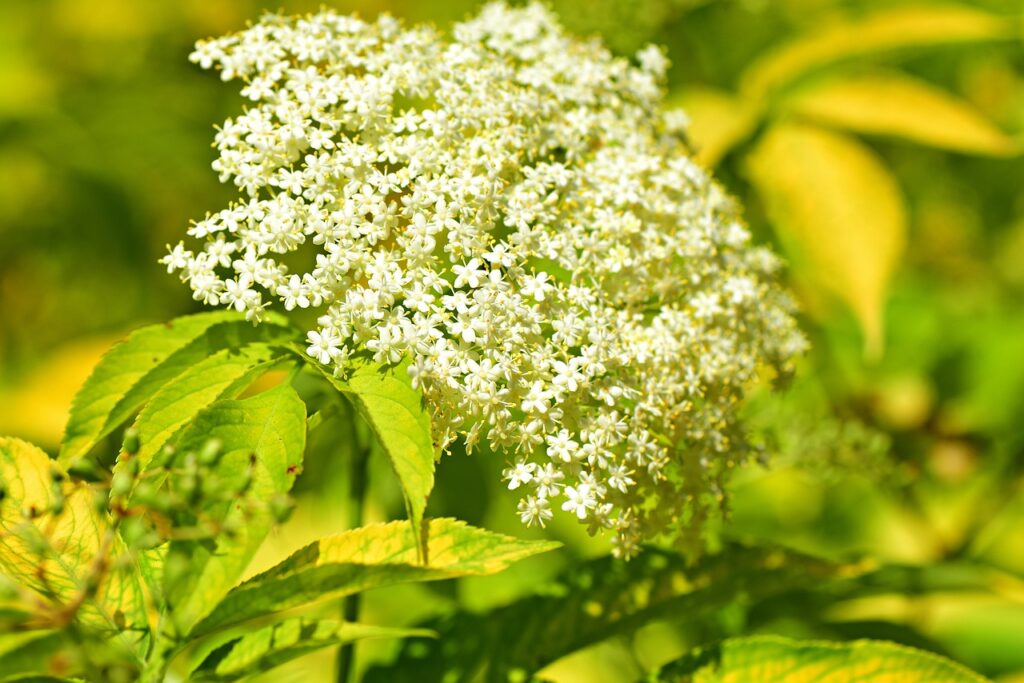
Elderberries produce clusters of white flowers (aka elderflowers) from early to mid-summer, which can be harvested in small quantities for potpourri making and other crafts. Just don’t harvest too many elderflowers from your shrubs, as this can impair fruiting!
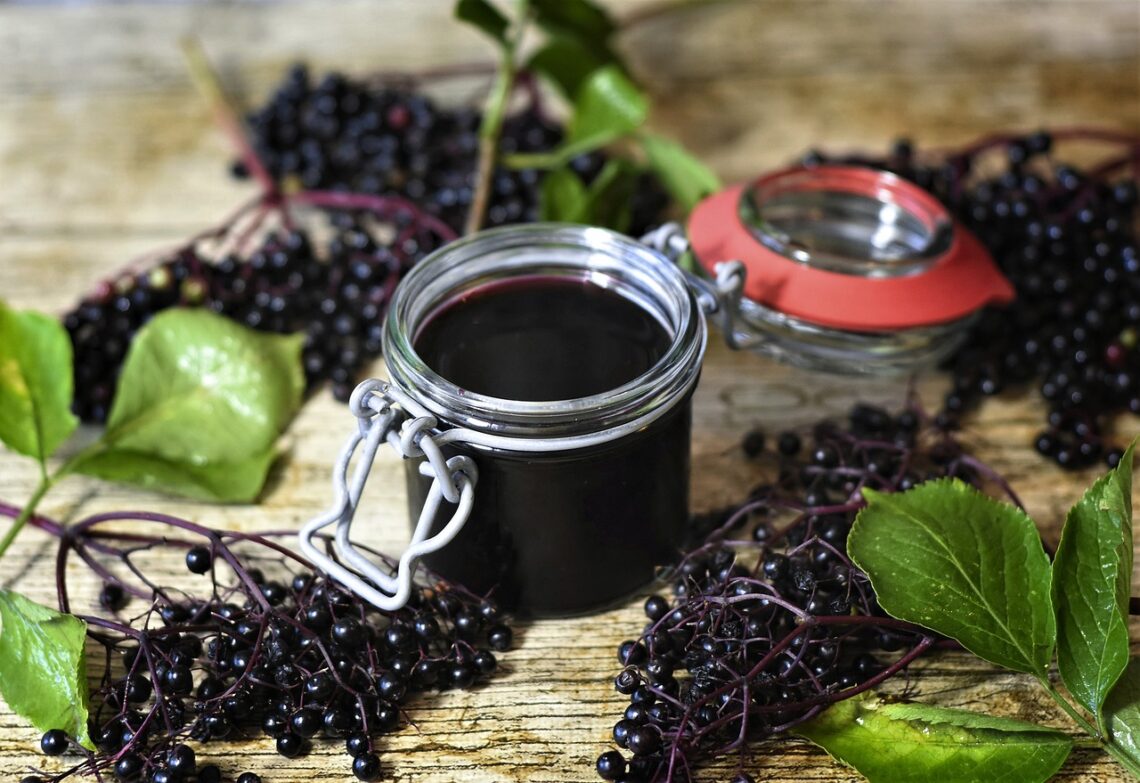
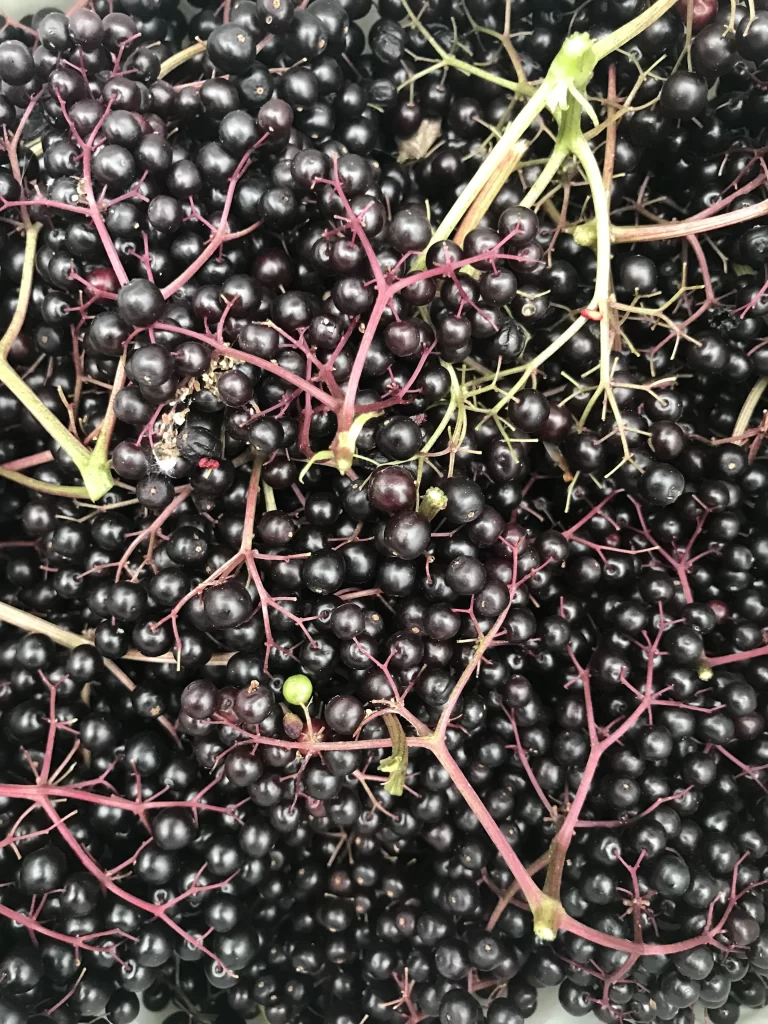
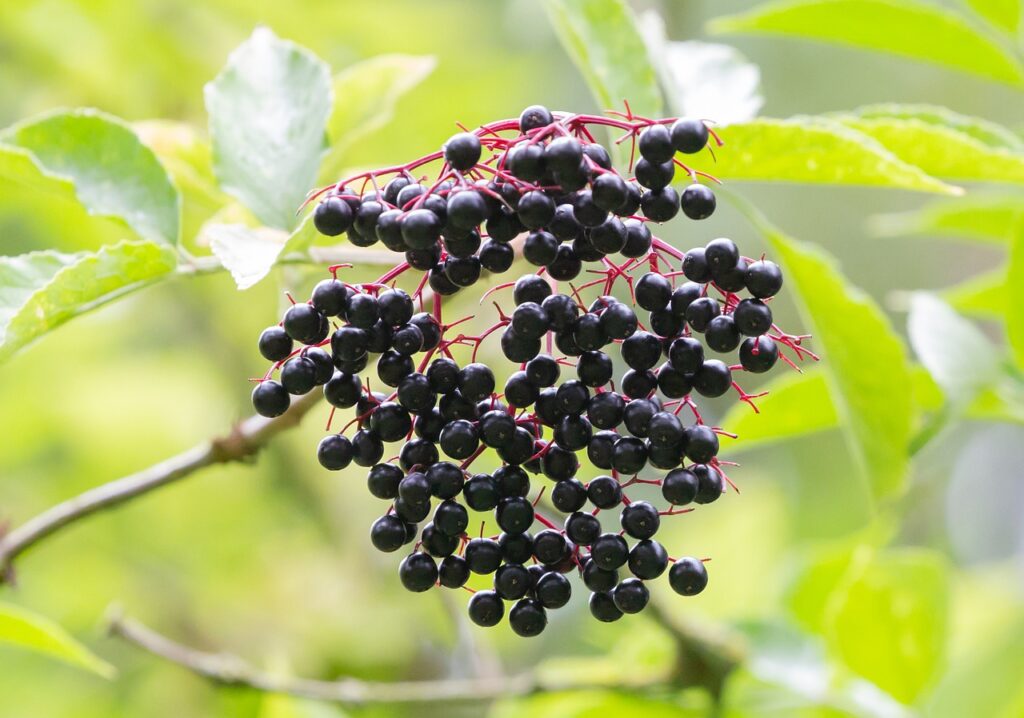
Later in the season, elderflowers mature into dark purple to near-black elderberries, which are generally harvested from July to September, depending on the elderberry variety. Chaisson notes that elderberries are ready when the “umbels (berry clusters) are drooping and upside down, have turned purple” and have become slightly soft.
Clip the entire cluster of berries from the plant with pruners and gently separate the berries from the stems before giving them a good wash. “You can use a 1/2 to 5/8 inch stainless steel hardware cloth to separate berries from the umbels and drop them into rinse water,” says Chaisson. “Alternatively you can freeze the berry-filled umbels and then sift off most of the umbels by tumbling or passing them through a screen.”
Fresh elderberries don’t last long, so be sure to use these tart berries right away or freeze or dehydrate them. Dried elderberries are often used for syrups, sauces, and jams. Just keep in mind that elderberries always need to be cooked properly before use as raw elderberries (or raw dried elderberries!) can be toxic.
Foraging tip: If you’d prefer to forage for wild elderberries rather than growing plants in your garden, that’s an option too! Wild elderberries are smaller and not quite as sweet as cultivated elderberries, but they have a similar look. Just make sure to invest in a good plant identification guide as elderberries do have a few non-edible lookalikes.
Elderberry Varieties to Try
Most gardeners grow either American elderberry (Sambucus canadensis) or European elderberry (Sambucus nigra). However, those two main groupings of elderberries contain an assortment of popular elderberry cultivars. If your goal is to harvest fruit, try out some of these popular varieties:
- ‘Adams’ is a prolific and reliable plant that produces heavy clusters of dark berries.
- ‘York’ is another vigorous grower that can be counted on for a big harvest.
- ‘Nova’ yields berries a bit earlier in the season – great for gardeners who want their berries fast!
For pollinator and native plant gardens, opt for elderberry varieties that are native to your particular growing region. However, if you’re looking for that “wow-factor,” these elderberries are particularly noteworthy for their ornamental appeal:
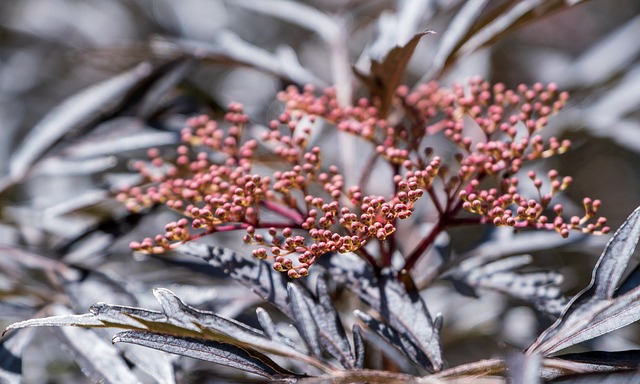
- ‘Black Lace’ is the perfect accent for “goth gardens.” It’s got deep, dark leaves and pinkish flowers!
- ‘Black Beauty’ has a similar look and feel to ‘Black Lace’ and makes a bold statement in flower beds.
- ‘Lemony Lace’ is ideal for gardeners who love bright colors. This plant has fantastically vivid, greenish-yellow leaves!
Frequently Asked Questions About Elderberry Bush Care
What do elderberry plants look like?
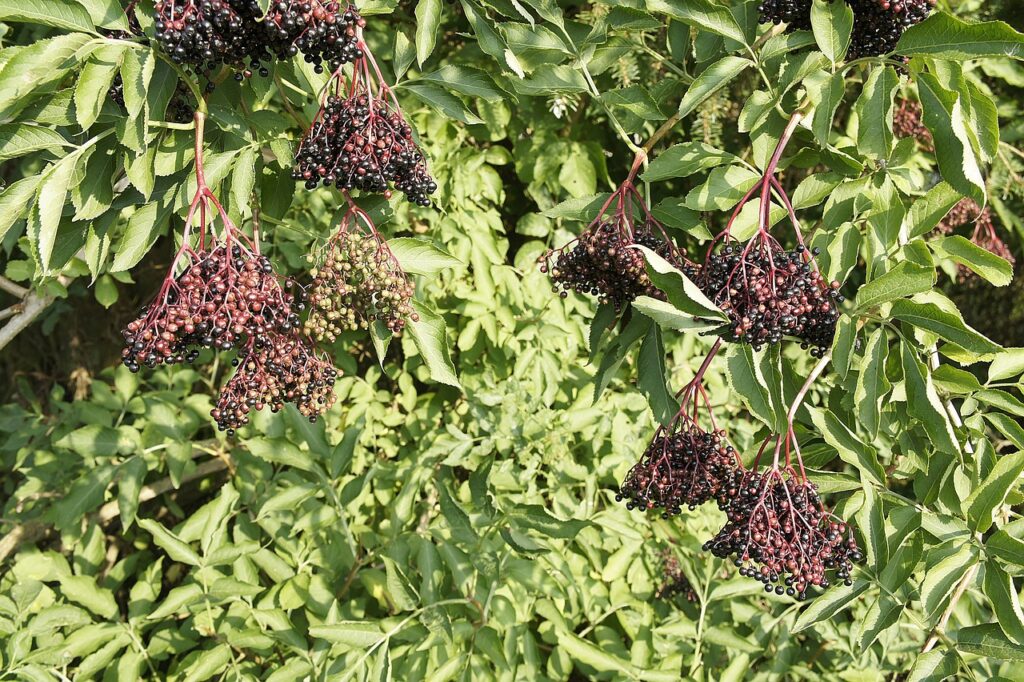
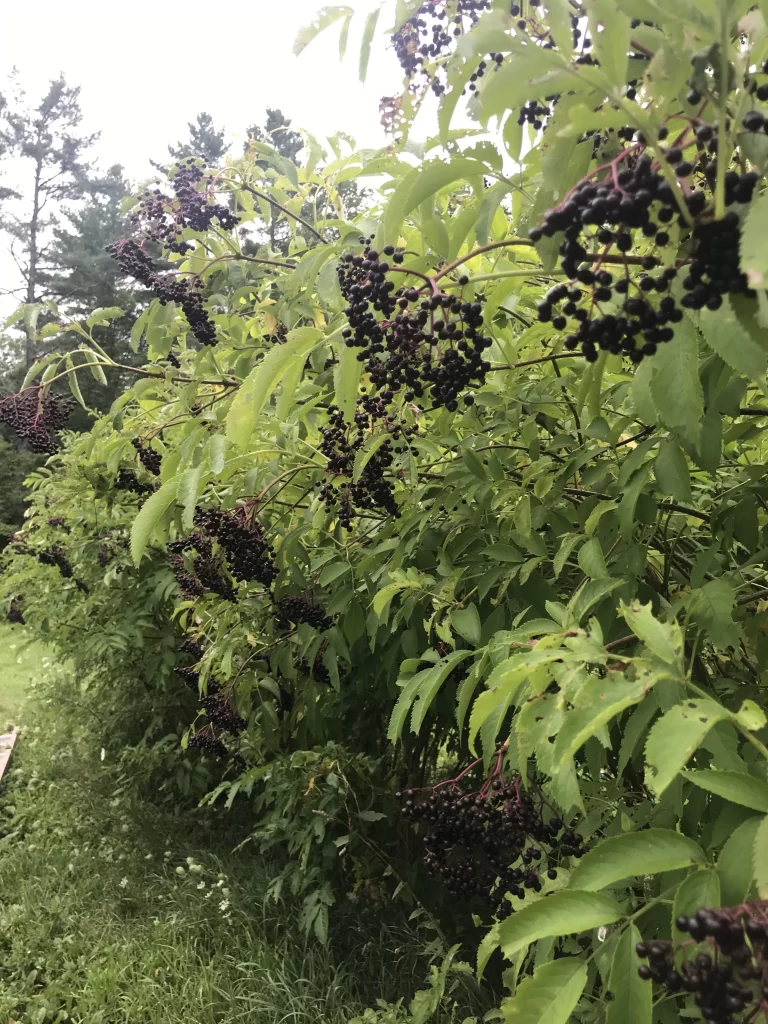
Elderberry plants are small, woody shrubs that usually grow to about 8 to 10’ tall. Leaves are lance-shaped with serrated margins and plants produce fluffy clouds of white flowers in early summer. In fall, clusters of red to purple berries emerge and draw birds (and foragers!) to visit.
Where to buy elderberry plants?
Bare root elderberry plants can be ordered from some seed catalogs, but they are also available online. If you want potted plants, local greenhouses are your best bet.
How long does it take for an elderberry bush to produce fruit?
Elderberries usually take about 2 to 3 years to fruit after planting.
