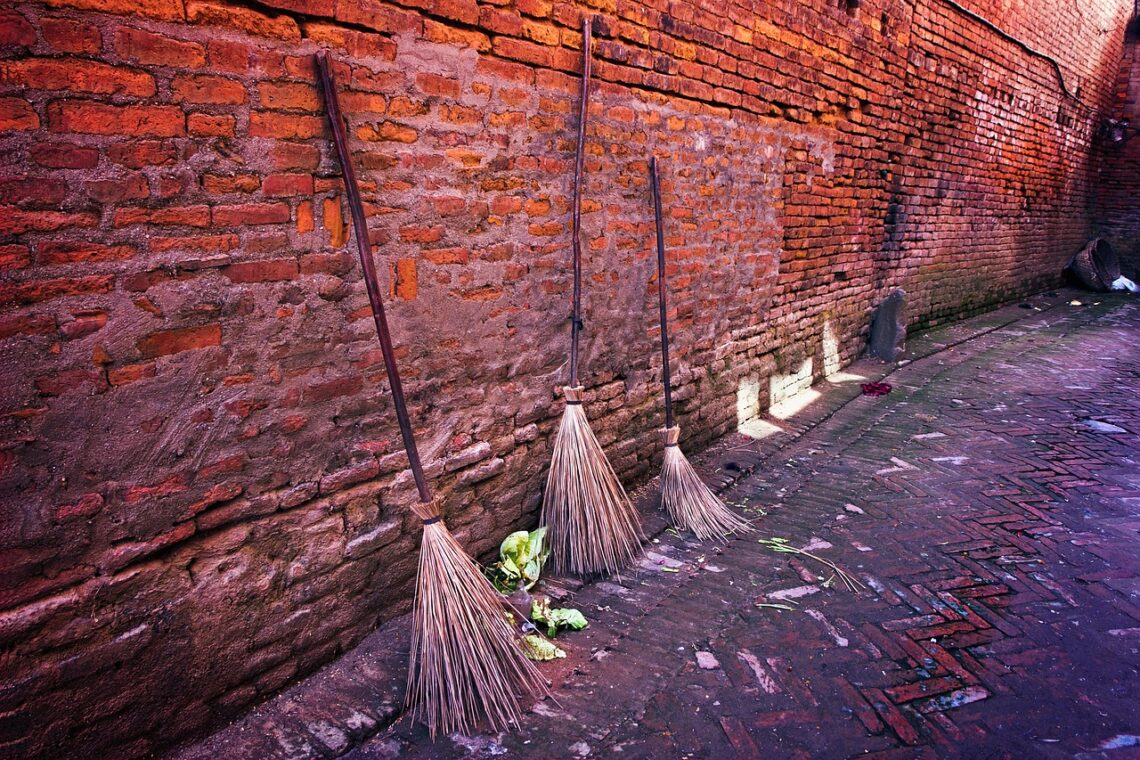
Make a witch broom or homemade broom for any occasion… using homegrown plants!
While modern brooms are typically constructed from nylon, plastic, and other synthetic fibers, traditional brooms were usually made from plants – many of which can be grown at home. Below, you’ll find a list of 7 plants for DIY broom handles and bristles, as well as a simple tutorial to craft your own broom. Whether you’re making a homemade broomstick for Halloween or a DIY broom for everyday use, this guide is for you!
Affiliate disclosure: As an Amazon Associate, I may earn commissions from qualifying purchases.
7 Plants to Grow for a DIY Witch Broom
If you want to get into making brooms, but your thumb is a little too brown to grow your own broom making supplies, you can buy broom bristles online and forage for a broom handle on your next hiking adventure. But if you want to try your hand at growing broom making materials at home, here are a few plants that have traditionally been used for broom bristles and handles. Adding these broom plants to your garden or landscape can allow you to harvest your own broom materials for free!
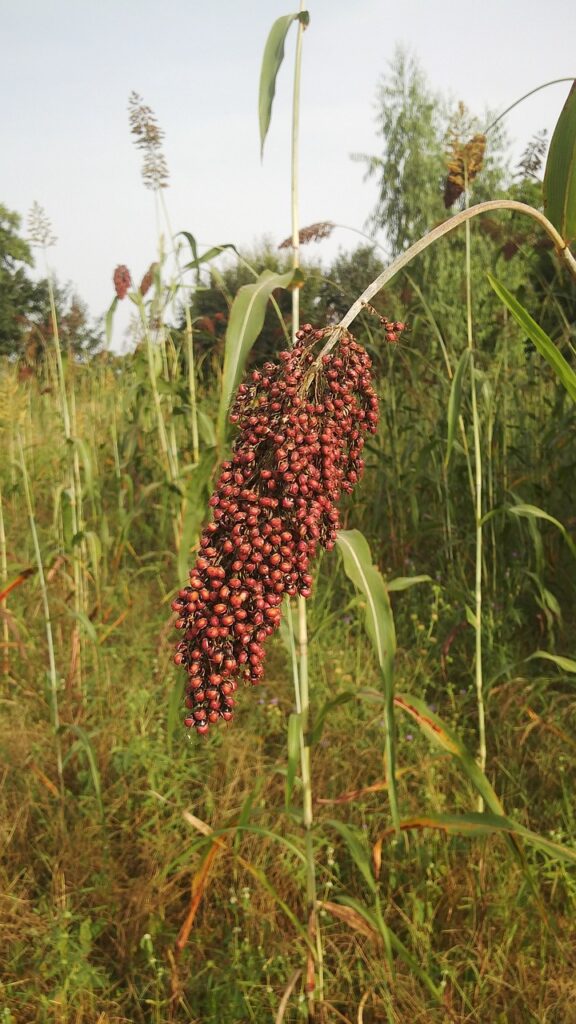
1. Broomcorn (Sorghum vulgare)
One of the easiest to grow broom plants, broomcorn produces long, tassel-like flowerheads, which were traditionally used as broom bristles. These plants have similar growing needs to corn and they only grow as annuals, so you won’t need to worry about overwintering them. Just be sure to grow broom corn for broom making in a roomy area … these plants can grow over 12 feet tall in a season!
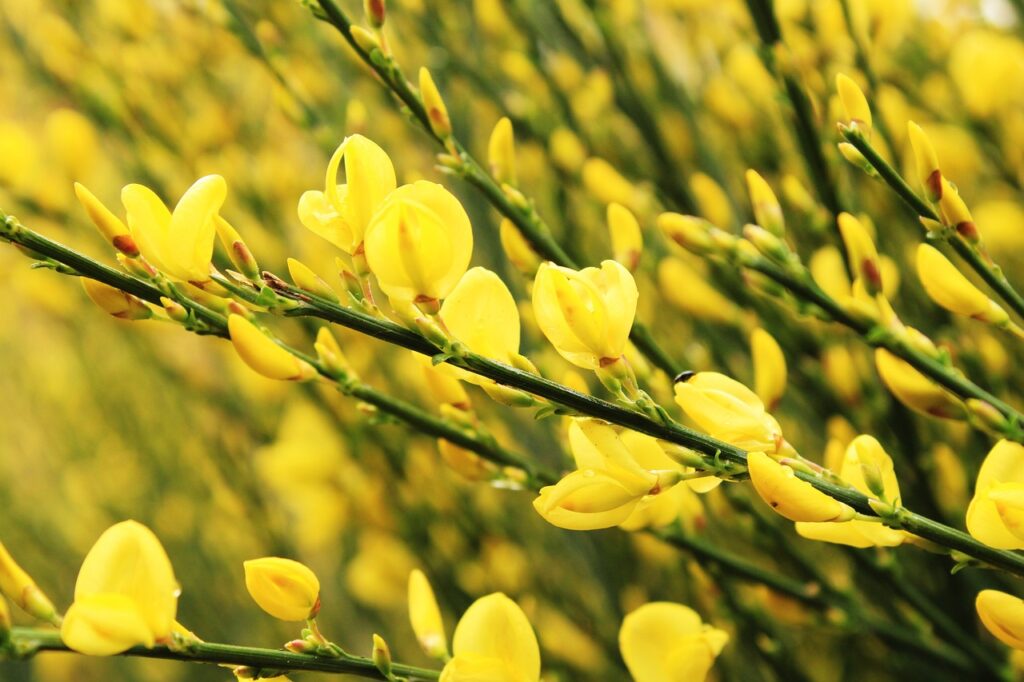
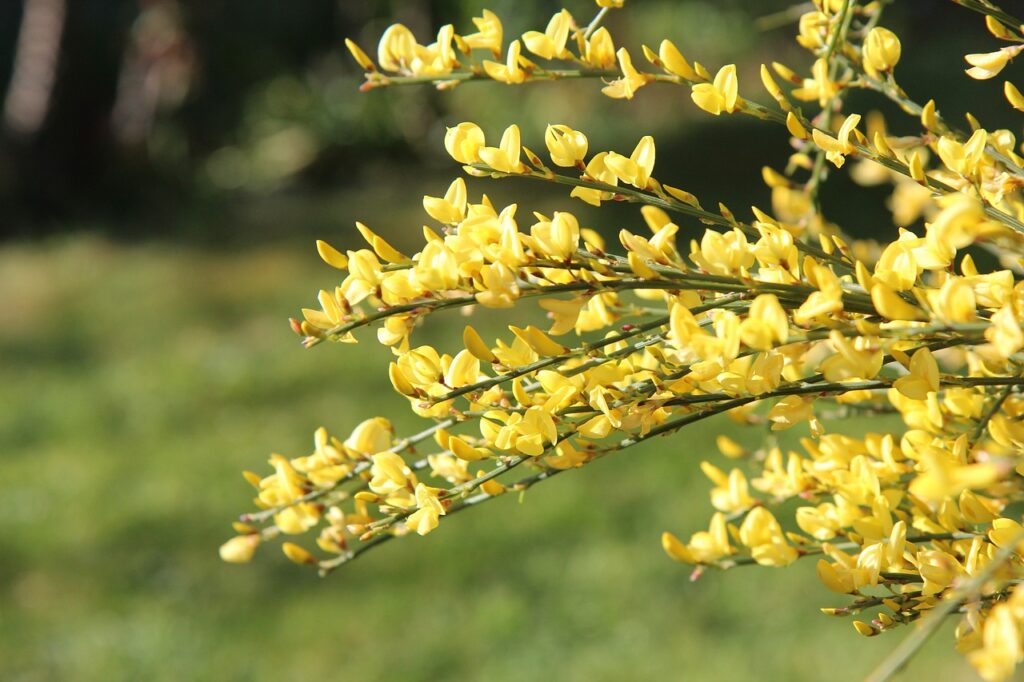
2. Scotch Broom (Cytisus or Genista spp.)
Native to Europe and the British Isles, Scotch or common broom is a small, bush-like shrub with slender branches that make fantastic broom bristles. These plants can be evergreen or deciduous and their yellow, pea-like flowers are always enticing to pollinators. However, Scotch broom plants are invasive in some areas and they shouldn’t be planted in spots where they may prove difficult to manage.

3. Birch (Betula spp.)
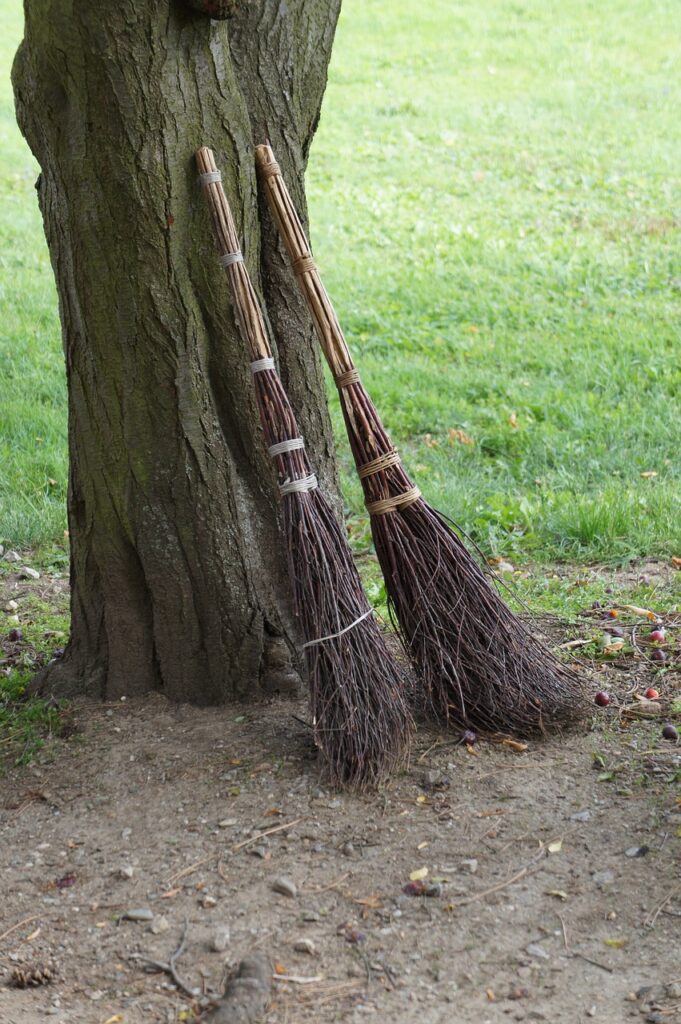
When it comes to broom making plants, birch trees are especially versatile. You can coppice birch trees and grow multiple broom handles from a single root system or use smaller birch twigs for broom bristles. Coppiced silver birch trees that are around 3 to 5 years old are the usual choice for broom handles, but you can try crafting brooms from other birch varieties too.
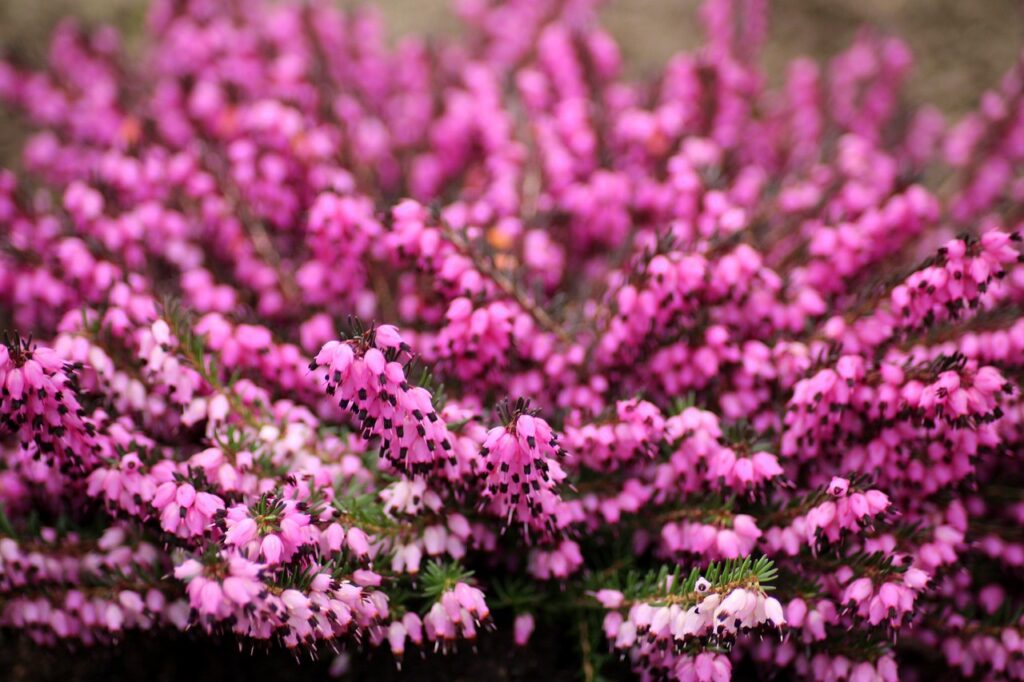
4. Heather (Calluna vulgaris)
Birch twigs are one of the most classic materials for broom bristles, but in Wales and parts of England, heather was more commonly used for broom crafting. Heather plants grow best in acidic soil and they are likely to thrive in any area where blueberries naturally grow. Among their many charms, heather plants attract bees with their white, purple, or pink flowers and their bell-shaped blooms make a gentle, “shushing” sound when the wind blows!

5. Reeds (Ruscus spp.)
Reeds are one of the top plants for basket making, but some types of reeds lend themselves to broom making too! These plants generally have high water needs and usually grow best in soggy soil. If you have a poorly draining area in your garden or want to try your hand at keeping a rain garden, try growing some reeds.

6. Willow (Salix spp.)
Like birch, various species of willow can be used in different ways when crafting a handmade homemade witch broom! You can use sturdier sections of willow branches as broom handles, willow twigs as bristles, or hold your broom together with willow bark cordage. Better still, many species of willow serve as host plants for butterflies and they do well in moist soils.
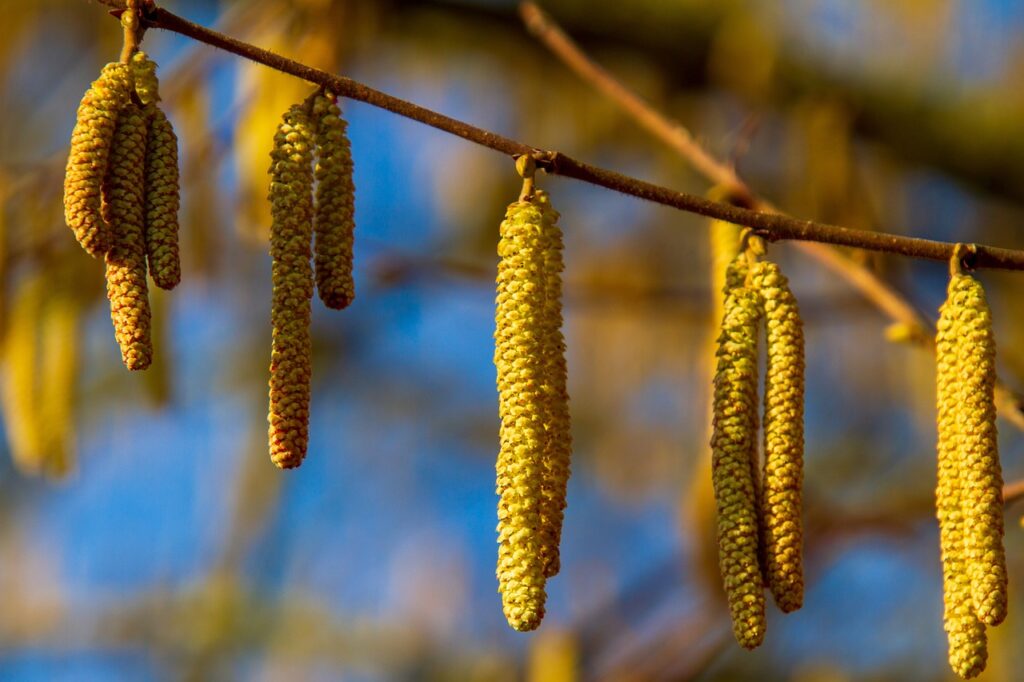
7. Hazel (Corylus avellana)
Common hazel has traditionally been used for broom crafting because these trees take well to coppicing. Coppicing hazel down low to the ground in late spring encourages these trees to produce lots of bushy side shoots, rather than one main trunk. For best results (and lots of broom handles), plan to coppice your hazel trees once every 5 to 10 years and harvest broom handles when they reach a usable size.
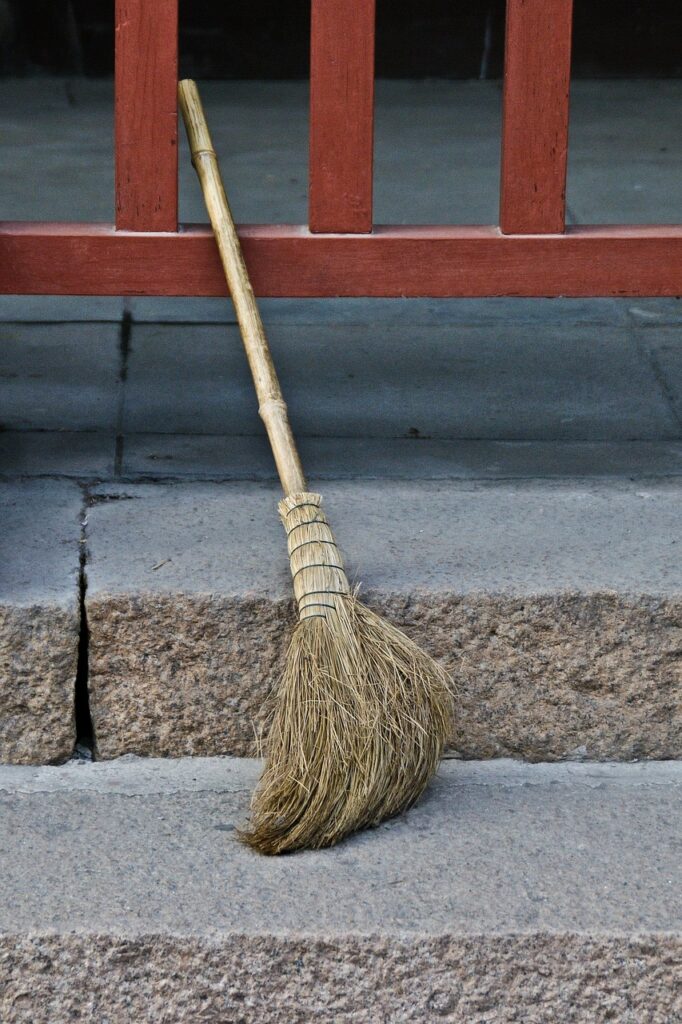
How to Make a DIY Broom
Broom making is a true art that can take a long time to master. If you’re interested in the craft, I definitely encourage you to do further research and take a more in-depth class (either locally or online). However, if you just want to create a simple broom for a costume or to sweep around your hearth, here’s how to get started.
What You’ll Need:
- A broom handle, often of birch or hazel.
- Broom bristles, these can be broomcorn, reeds, birch twigs, etc.
- Waxed twine.
- Small nail.
- Scissors, pruners, or a utility knife.
- Shellac (optional).
The Process:
1. Harvest your supplies.
Use a small handsaw to harvest your broom handle and pruners to harvest your broom bristles. Broom handles are generally about 1 inch in diameter by 4 to 5 feet long, but you can vary these measurements to ensure your broom handle is perfectly suited to you. You’ll need about 2 to 3 pounds of broomcorn for one standard-sized broom, or less if you’re crafting a smaller broom.
2. Dry your materials.
Broom bristles should be good and dry before you shape them into your broom. You can achieve this by hanging your bristles in loose bundles in a cool, dry place with good airflow, or by spreading the bristles out on drying screens.
3. Prep your handle.
While you’re waiting for your bristles to dry, prepare your broom handle by peeling or sanding away the bark and smoothing the broom handle with sand paper. If desired, use your sandpaper to sand one end of your broom handle into a rounded handle shape. Then, on the opposite end of the handle, secure one small nail several inches below the broom handle end.
4. Start wrapping.
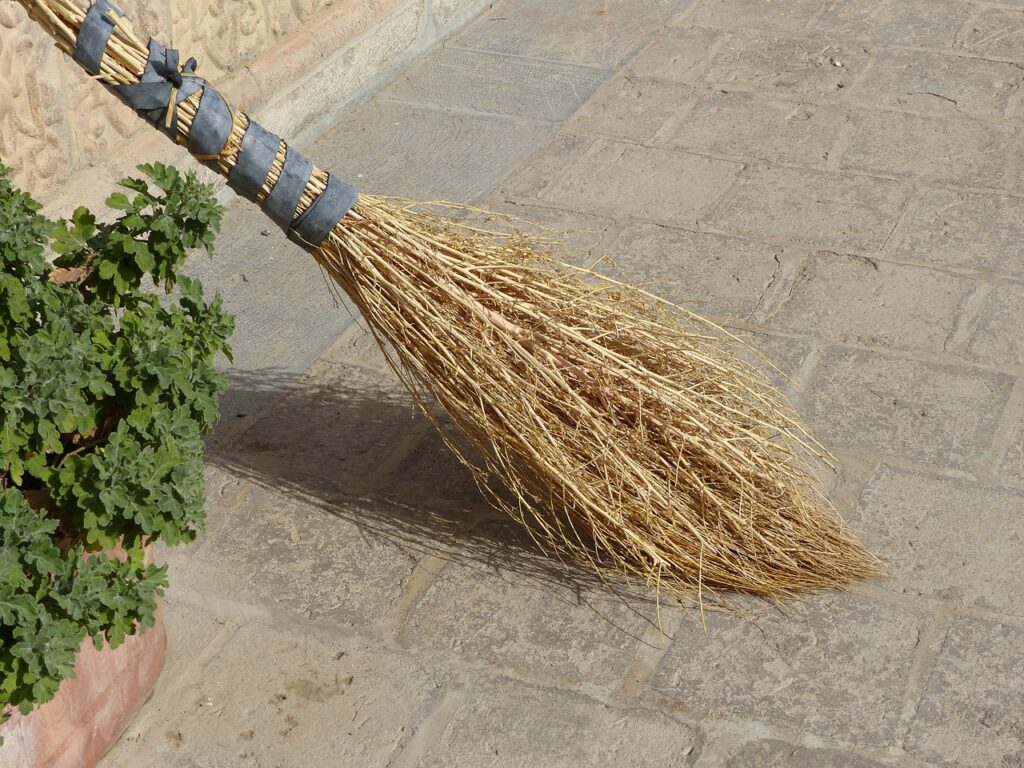
Tie one end of the waxed twine around the nail head and firmly wrap the twine around the broom handle several times. Working in clumps, grab one handful of bristle materials and locate it on the broom handle so that several inches of the bristles are above the twine wrapping and the bristles extend well below the end of the broom handle. Firmly hold the bristles against the broom handle as you wrap the twine tightly several times around the bristles until their secure.
Continue this process by adding more handfuls of bristles at the same level on your broom handle and wrapping them tightly against the handle. Once all of the bristles have been added, stretch the twine up about 1 inch above the band of twine you just wrapped, and wrap a second parallel band of twine around your bristles. For extra security, you can repeat this process and wrap a third or fourth band of twine to ensure your bristles are nice and snug.
It’s important to wrap as tightly as possible during this entire process.
5. Secure the bristles.
To finish, snip the thread from your thread roll leaving several inches of thread free. Poke this loose thread end under your last band of thread wrapping and pull it as snug as possible to keep the bristles in place. You may want to use a needle or needle-nosed pliers to slide the thread under the thread band and pull it tight.
6. Give it a trim.
When your broom bristles are secure, use scissors, a utility knife, or pruners to trim the top of the bristles into a straight light, about 1 to 3 inches above the uppermost thread band. You can leave the bottom of the bristles untrimmed or trim them into a straight line too.
7. Add a coating (optional).
If desired, apply a coat of shellac to your broom handle and the upper portion of your broom bristles to preserve them. Just avoid applying the shellac to the bottom of the broom bristles as it can interfere with sweeping!
Foraging Guidelines to Remember
If you’re foraging for birch, willow, or other broom making supplies in the wild, remember to:
- Always ask for permission if you’re foraging on land that isn’t your own.
- Never harvest more than 1/10 of the materials you find.
- Leave no trace.
Besoms vs. Brooms: What’s the Difference?
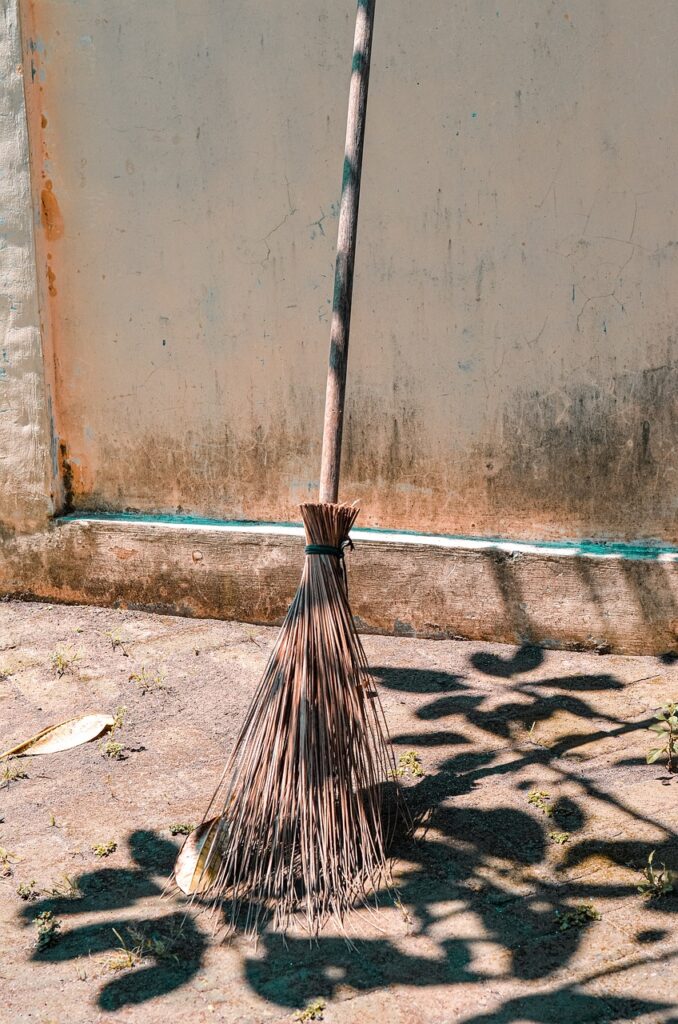
That’s a trick question! Besoms are brooms, but the term “besom” is more traditional and is generally reserved for brooms made of natural materials, like twigs and grasses. If you make your own broom with homegrown materials, you’re making a besom.
