At this point in my gardening adventure, I know a thing or two about plants and I can make a mean batch of homemade compost… but that wasn’t always the case. Not that long ago, I was the absolute greenest of green thumbs and I couldn’t have told you the difference between a turnip and a rutabaga if my life depended on it. So, of course, I made a few (ahem, a lot) of beginner gardening mistakes.
Some of those gardening whoopsies were minor, but some of those blunders cost me seeds, soil and an expensive nursery plant or ten. As the saying goes, “the road to Hell is paved with good intentions,” but my road to gardening was paved with the shriveled remains of plant seeds and caterpillar-riddled brassicas.
Despite it all, I managed to grow a few decent gardens over the years and now, as a Master Gardener, I spend a lot of my time advising beginners on planting and plant care. But that all makes me think about my first garden and all of those mistakes I made that first growing season. So, I decided to write this quick blog on the most common gardening mistakes beginner gardeners make in the hopes that I can spare at least one person a few beginner gardening pitfalls!
AFFILIATE DISCLOSURE: AS AN AMAZON ASSOCIATE, I MAY EARN COMMISSIONS FROM QUALIFYING PURCHASES.
12 beginner gardening mistakes I made (so you don’t have to)
New gardens are brimming with promise and it’s very common for gardeners to rush out and start planting anything and everything before they read a single tutorial or seed planting tip. In a way, I consider that newbie verve to be part of the gardening initiation process and we’re all entitled to our host of garden experiments. But here you are reading a gardening article, so I suspect that you want to learn how to avoid the worst gardening mistakes!
I can’t promise you this guide will steer you straight into gardening bliss during your first year of growing, but I can tell you that these tips are the tips I wish I’d read before I’d picked up a shovel or a seed packet. I hope they guide you in your gardening adventures (and maybe they’ll even spare a tomato plant some indignities too!)
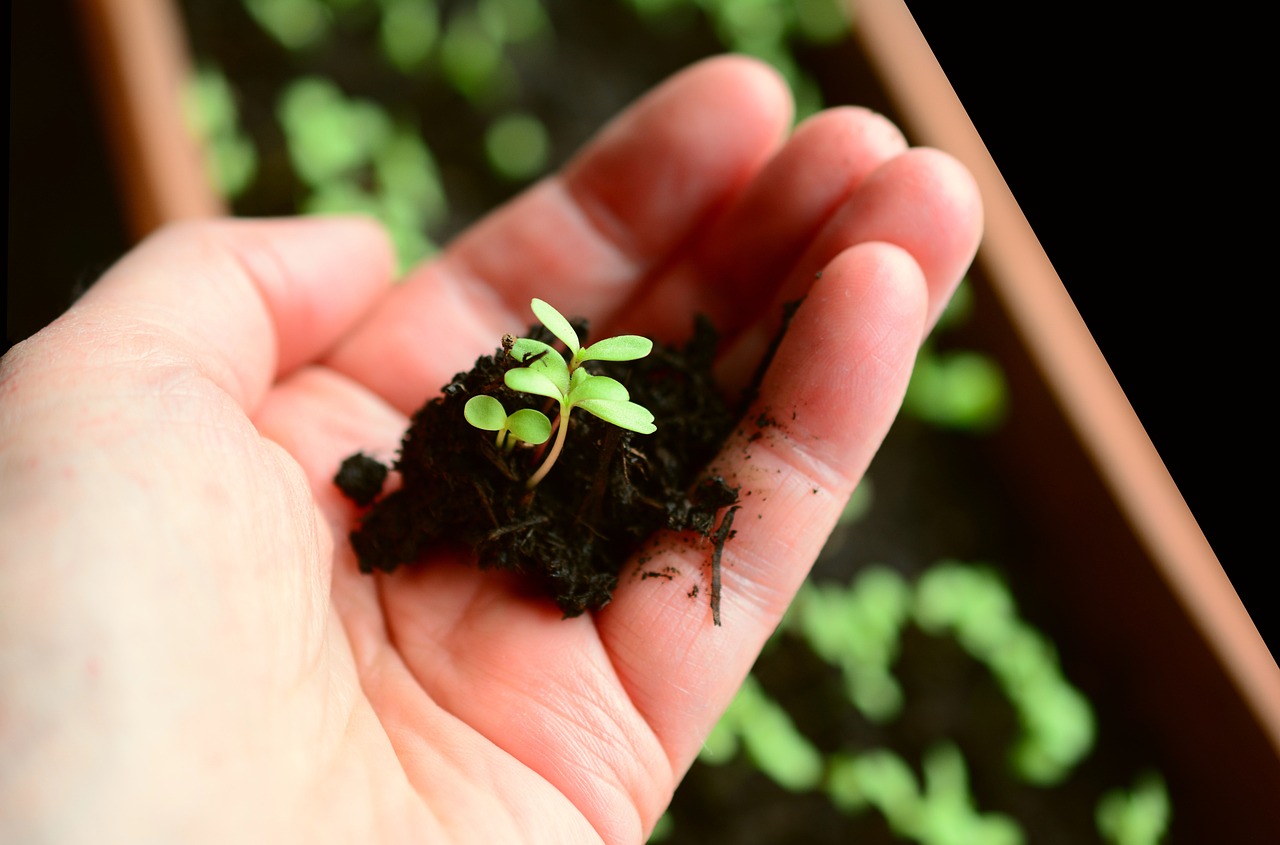
1. Invest in quality seeds.
When I first started gardening, I assumed that a bean seed was pretty much the same no matter where you purchased it. But over the years, I’ve definitely changed my tune!
I think the change happened a few years ago when I started keeping a garden journal and I jotted down what seeds germinated and produced the nicest harvest. But when I started keeping track of things, I noticed that seeds from certain seed companies definitely sprouted and performed better overall than seeds from other companies!
While I think every gardener has their own favorite seed companies, I encourage you to purchase seeds from reliable suppliers and keep track of how seeds grow in your space. After a few years, you’ll know exactly where you want to order seeds from!
Beyond personal preferences, I’ve also heard plenty of horror stories from gardeners who thought they planted bell peppers but ended up with a patch of habaneros… or eggplants. Buying seeds from questionable sources can present you with a lot of garden surprises, and not all of those surprises are good ones!
2. Test soil first.
The single best way to ensure your plants will grow well is to start your garden off with quality soil. Unfortunately, when I started gardening, I definitely didn’t have a clue about soil quality, nutrient content or soil structure, so I just threw some plants into the ground and crossed my fingers.
Of course, despite my best intentions, that plan didn’t work out that well and I lost a lot of seeds and plant starts due to what turned out to be low quality soil. When I finally got around to testing the soil in my flower bed, I discovered that the soil was very acidic (surprise!) I could have saved my myself a lot of heartache (and some money too!) by testing my soil at the outset.
Most garden resources recommend that you test your soil about once every 3 years and you should always test new garden soil at least once. If you like doing things yourself, you can test your soil with a home test kit, but you’ll get more in-depth results if you have your soil tested by your local cooperative extension office.
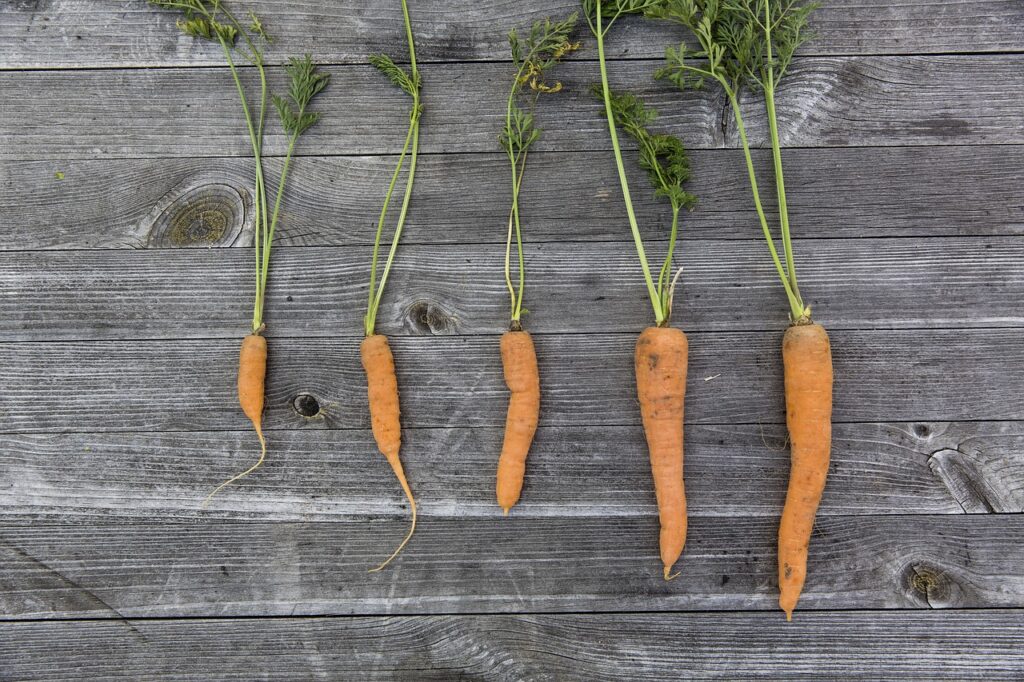
3. Actually follow spacing recommendations.
To say I was really excited about my first garden is a bit of an understatement. Before I’d even picked up a shovel, I already had the whole garden planned out and my garden plan basically boiled down to one premise: squeeze as many plants into my beds as humanely possible.
Of course, if you’ve done any gardening over the years, you know that wasn’t exactly the best course of action. As it turns out, those plant spacing recommendations on seed packets and nursery tags actually have a purpose and they’re meant to be followed!
Fast forward a few months and my cramped squash and bean plants were covered in powdery mildew because they had no air flow around them. Even worse, when I went to pull up my overstuffed rows of carrots and beets, I found that I’d managed to grow a bunch of thread-like carrots and root-less beets because the roots of my plants had no room to fill out!
If you’re new to gardening, it may seem like a good idea to overstuff your beds, but let my woeful experiences be a warning! Your plants won’t be as healthy and your harvests won’t be as large if you sow your plants too thickly together.
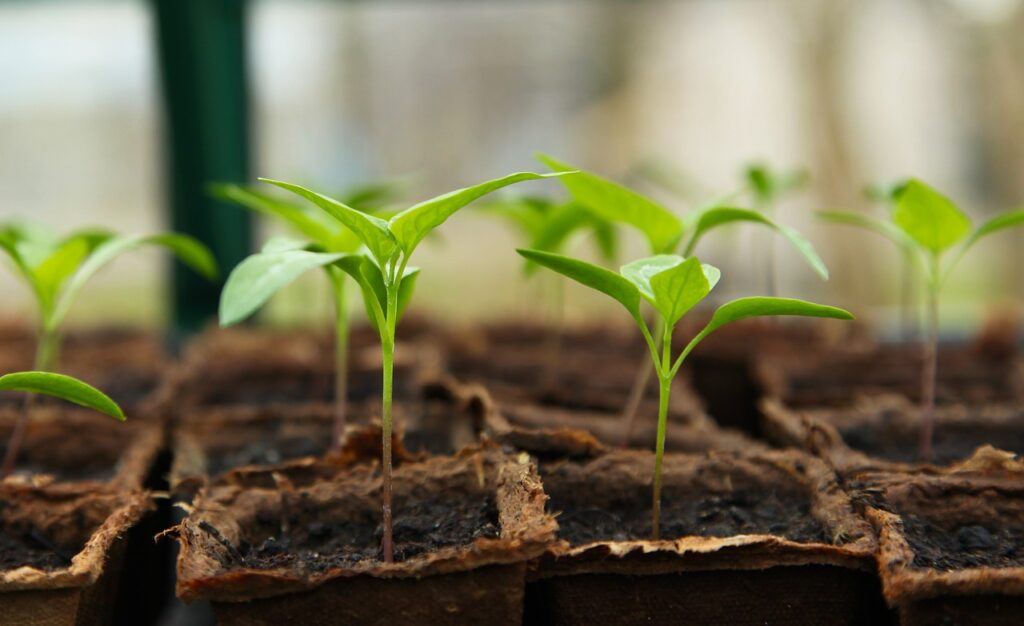
4. Add a fan to grow rooms.
“Now why would seeds need a fan?” novice gardener me asked herself, scratching her head. “Next they’ll want a beachside vacation!”
Well, I may not have thought much of putting a fan near my indoor seedlings at first, but I definitely see the wisdom of it now. As I’ve learned over the years, seedling grow rooms can be very steamy places and, while a certain level of humidity can benefit young plant starts, too much of a good thing is, well… too much!
In grow rooms, excess humidity can promote mildew issues and encourage common plant issues like damping off. On top of that, you may end up (as I did) with lumpy and distorted leaves on your tomato and tomatillo seedlings, which turned out to be plant edema. Eventually those nightshade plants did recover when I moved them outdoors, but I could have avoided the whole messy plant edema situation by just installing a small fan near my seedlings to begin with!
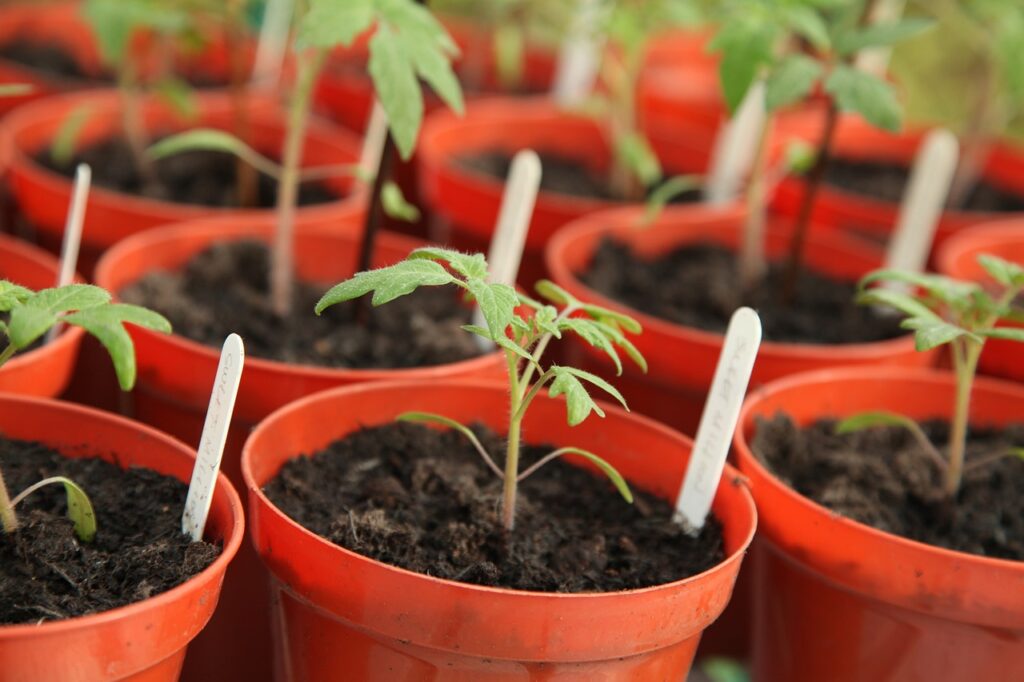
5. Get quality plant labels.
I might not have known much about gardening when I started out, but I knew enough to use plant labels. What I didn’t know, however, is that many plant labels aren’t that great and permanent markers don’t hold up to the elements!
My first plant labels were lovingly pyrographed wood labels that were definitely artfully crafted. But what those labels weren’t was weather proof! A few months later and those labels had split into splinters, leaving me alone to guess what I planted where.
After that failure, I decided to pull out the “big guns” and I went out and purchased the real deal: plastic plant labels. And then… I made the newbie error of writing on them with permanent markers. Not a good idea!
By the end of the season, all of those plant names (scrawled with allegedly permanent marker) had faded into oblivion. The lesson: write plant names on plastic labels with pencil. (Honestly, who would have though pencil would outlast permanent markers?)
6. Focus on weed prevention.
I’ve been gardening for a few years now and, over that time, I’ve picked up a few handy tactics, like no-till gardening. But when I was just starting out, I’d never heard of no-till gardening, so of course I rented a tiller!
After the initial bed was all tilled up, I sat back and admired the barren space of soil thinking I’d finally bested all of the weeds that had previously been growing there. (Cue the weed seeds quietly chuckling at me from my newly tilled garden bed!)
As it turned out, all I’d managed to do with my tilling was work up a sweat and till weed seeds into my soil so they could sprout more vigorously than ever before! A few months later and I had a nice crop of weeds and some very spindly and unhappy veggies that were totally consumed by a jungle of grasses and other plant nonsense by the end of the growing season.
While that garden season was an absolute failure, it did help me grow as a gardener. Firstly, that weed mess taught me that I have absolutely no interest in tilling a garden ever again. Secondly, it pushed me to pick up one of my favorite gardening books of all time: Weedless Gardening by Lee Reich.
I read that book over the winter, nursing my emotional gardening wounds after my weedy failure. But by spring, I was ready to start over again with no-dig gardening methods, which included a new raised bed installation, a drip line system and plenty of recycled cardboard for weed suppression!

7. Start brassicas off with extra protection.
“What could be better than homegrown Brussel sprouts, plump cabbages and luscious broccoli crowns?” said the cabbage loopers, slugs and other beasties living in my garden. “Nothing!” they chimed in unison.
A few months earlier, I had started off the growing season by lovingly tucking my brassica seeds into a quality seed starting mix. I’d tended them for weeks indoors, intent on extending my growing season, and then I’d carefully hardened them off in spring as the gardening articles told me to. By April, my new plant starts were happily growing in my garden and I had a smug gardening smile on face, certain I was about to harvest a massive cole crop.
False! As soon as the temperatures warmed up, I noticed a few holes on my veggies. “Ah, that’s nothing to worry about,” thought I.
False again! Because what I’d failed to realize was that brassicas are one of the most targeted veggies around and pretty much everything loves to eat them before humans get a chance to!
By the time my vegetables were theoretically large enough to harvest, they had been so demolished by garden pests that they looked like pretty little lace samplers straight from Burano. And there I was, sans broccoli, sans bok choy, sans Brussel sprouts and most definitely sans cabbage for sauerkraut making! However, I was left with something important: another gardening lesson.
Since that year, I don’t even bother growing brassica crops unless I’m ready to install floating row covers immediately after transplanting. I also always make sure I have a bottle of BT thuricide on hand (and a few slug pubs too) to treat for any pests that manage to squeeze under the row covers!
8. Don’t attempt to grow cool weather crops in heat.
For some gardeners this is most definitely a duh moment, but not for me! Just as I blithely skipped over the spacing instructions on my seed packets, I also decided those little temperature “suggestions” on the planting instructions were optional too. Oops!
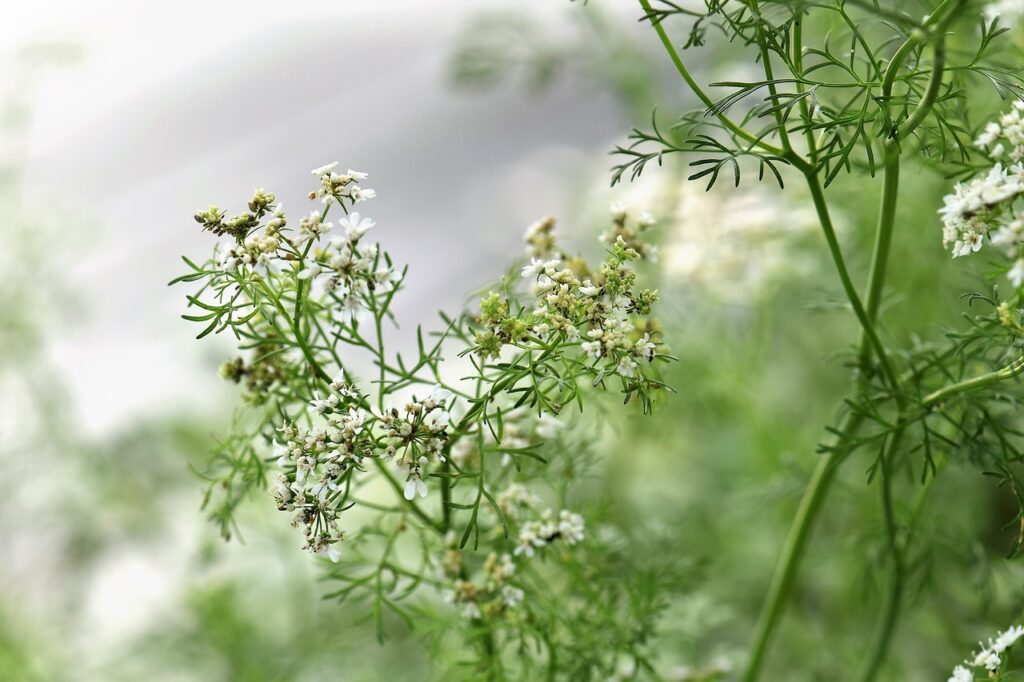
If you’ve grown vegetables before, you know that cilantro, dill and spinach throw up flowers as soon as temperatures rise. Carrots, beets and many root crops stop growing too and brassica crops are stunted by heat as well.
But when I started gardening, I hadn’t grown a thing except a few houseplants, so I really didn’t appreciate what bolting meant. And when I saw those suggested “temperature ranges” listed on my seed packets, I shrugged my shoulders and assumed someone somewhere was being a bit fussy. I mean, after all, I too would prefer if it was 75F and balmy all the time, but I make do somehow!
So I planted my seeds dutifully in spring and, by summer, everything seemed a bit stunted (*cough, cough* I had poor soil). Hmm, they must need a few more weeks to grow! I smiled and turned away from my garden, content to leave the plants to grow a bit longer.
Wrong decision!
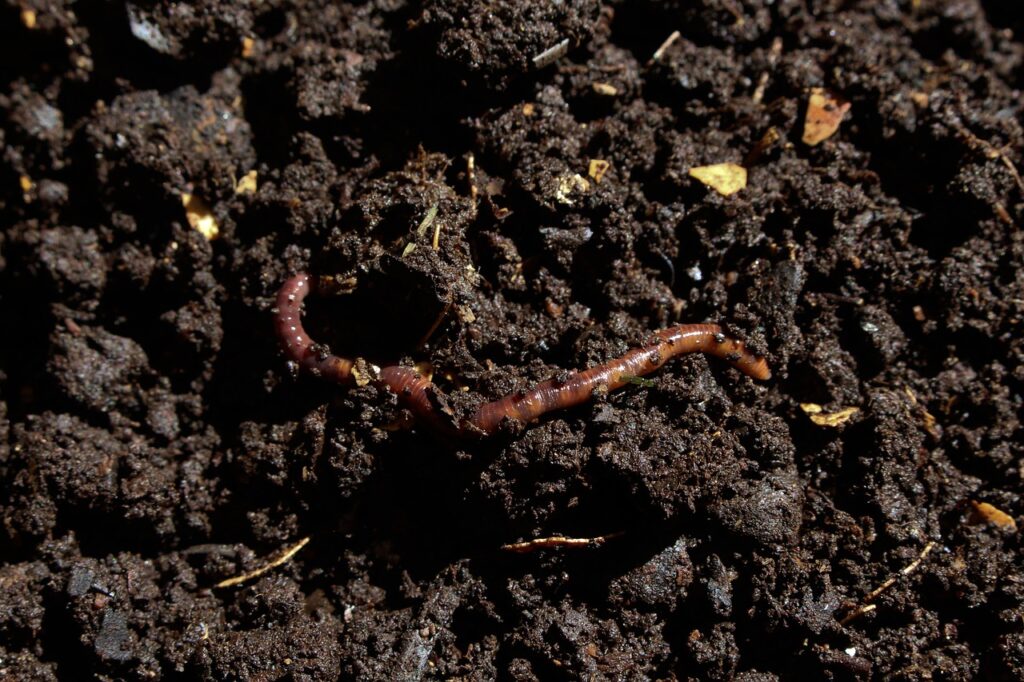
By summer I had a nice bouquet of dill and cilantro flowers, but no dill or cilantro leaves to speak of. By fall, my carrots, beets and cabbages were STILL puny (and worm eaten in the case of the cabbages).
What I failed to realize is that cold hardy vegetables REALLY don’t do well in the heat and they aren’t flexible about it either. Today, I only grow these crops in spring or fall. And if my cold weather crops are still “puny” by summertime, I harvest them anyway!
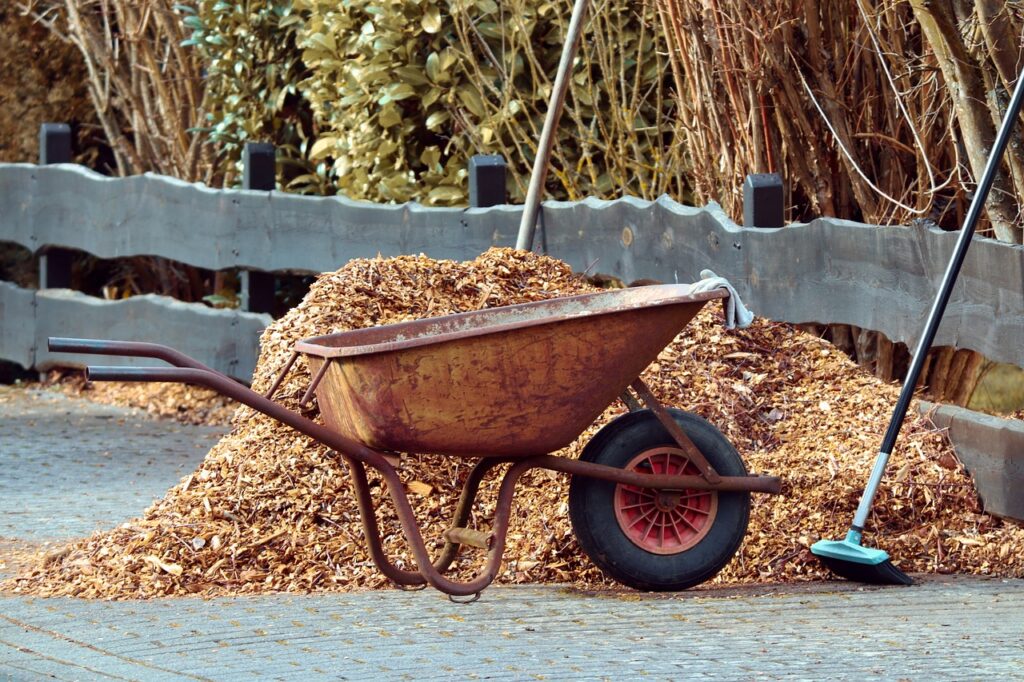
9. Stop buying compost.
I might not have known much about gardens at first, but I positively KNEW I needed a compost bin straight away. After it arrived, I started composting kitchen scraps, yard waste and any other natural items I could get my hands on in a flurry of excitement. However, while I was most definitely committed to composting, what I wasn’t committed to was actually using the compost I made!
Although my compost looked nice enough, for some reason I was a little wary of using my own homemade compost. So, I did the only reasonable thing I could think of and I continued to buy bagged compost for YEARS! Yea, don’t do that.
Today, I have both an indoor and an outdoor composting setup and I use the compost from both systems on my houseplants and garden beds. Making your own compost is a great way to save money AND it reduces food waste as well!
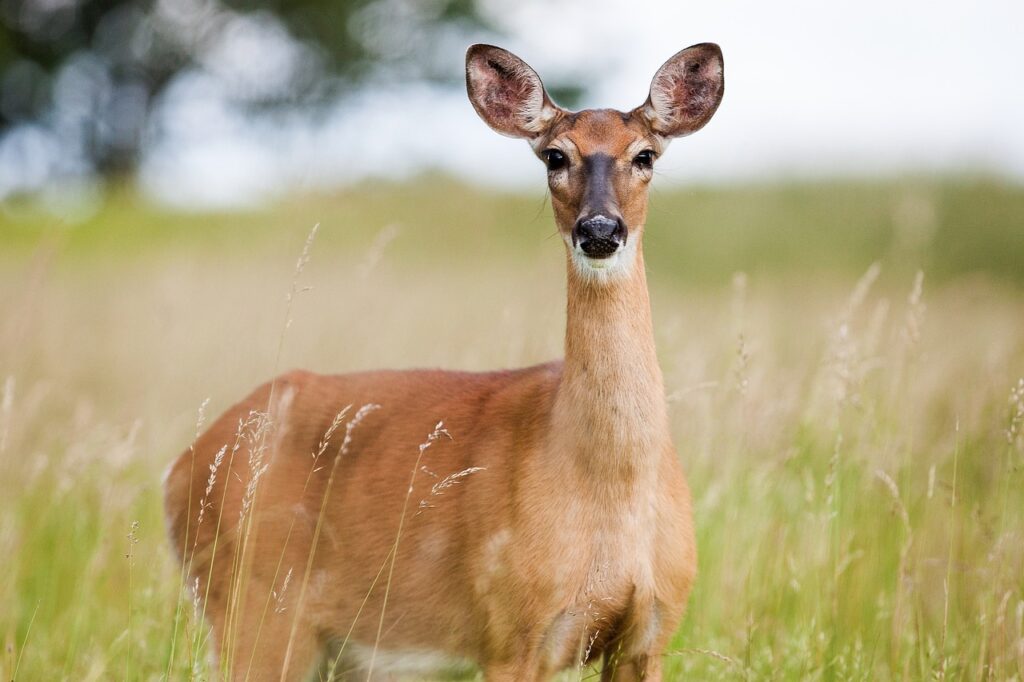
10. Don’t assume deer won’t eat something!
Even beginning-gardener-me knew that deer were potentially going to be a problem. But I pretty much assumed I knew what types of crops they’d like to eat and I figured they’d leave the other stuff alone.
So I tried to channel my inner ungulate and I made a mental list of what I, personally, would munch on if I were a deer. Lettuce, spinach, kale and other leafy greens made the list, so I focused my attention on protecting those crops. But I most definitely underestimated how gastronomically adventurous deer can be!
That summer, the deer had their way with my garden and I was surprised by the sheer variety of plants they sunk their teeth into. The most remarkable (in my mind, at least) was an eggplant I was letting ripen on the plant for a few extra days. That is, until I came out one morning and that eggplant had a nice little deer mouth print carved right through it!
The lesson: Deer will eat pretty much anything if they’re hungry enough.
The solution: Install fencing (at least 8′ tall) or accustom yourself to sharing some of your harvest with your furry (and ravenous) neighbors!

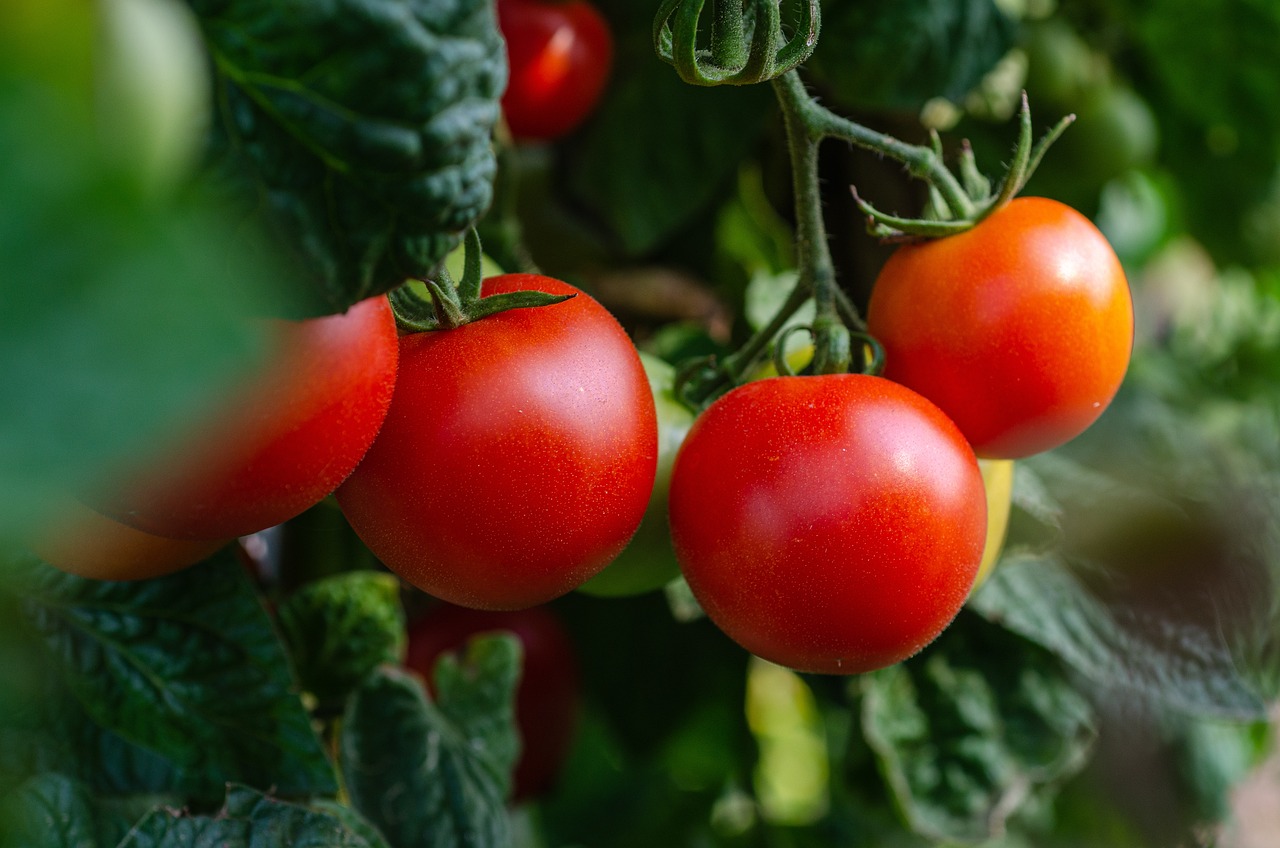
11. Keep local birds happy.
While the deer made merry with my eggplants, another garden visitor decided to sample my tomatoes (over and over again). And who, indeed, was the culprit you ask? The very birds I was trying to attract to my garden with my bird feeders!
Now I love birds. I write about them all the time, I have a bunch of bird feeders, I keep binoculars in my car, etc. But what I don’t love is discovering pointy bird beak holes in every single one of my tomatoes!
Why birds need to sample every tomato beats me… perhaps they’re connoisseurs of the tomatoey kind. Whatever the reason, the takeaway is this: keep the birds happy so they leave your produce alone!
Most of the time, birds eat juicy plants like tomatoes because they’re on the hunt for water, so installing a bird bath in your garden is a must. I also ALWAYS cover my tomatoes up with fruit protection bags when they start to develop a little color OR I bring my green tomatoes indoors to ripen on my counter.
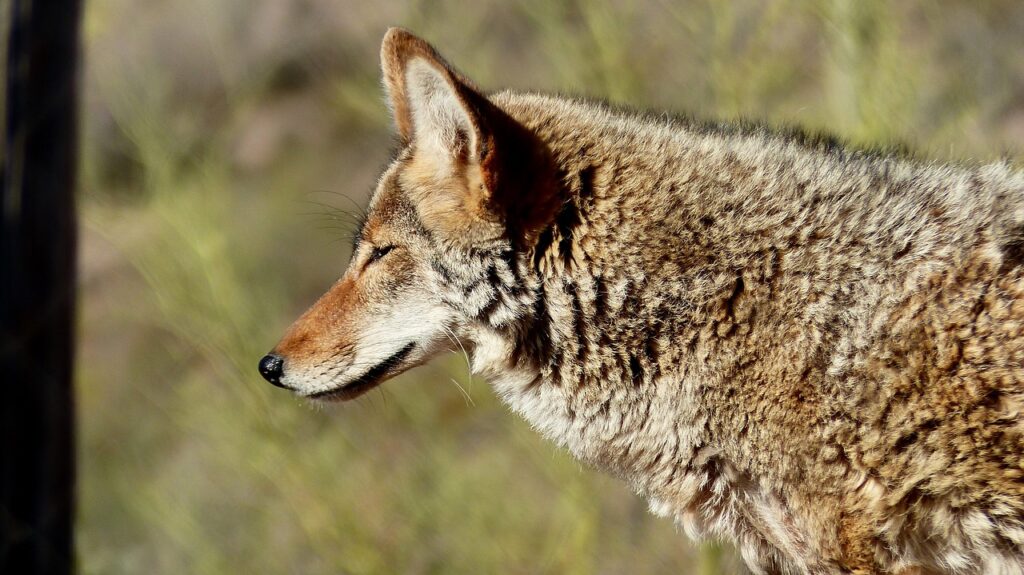
12. Watch out for smelly soil amendments.
From my very first year of gardening, I knew I wanted to grow organically, so I went to the garden center and picked up an assortment of organic soil additives. Blood meal, bone meal and fish emulsion all found their way into my cart and, eventually, into my garden.
After applying the products, my garden noticeably perked up, so I knew my plants were happy. However, this celebratory moment was quickly followed by another realization: coyotes love those products too! (Note: These fertilizers typically don’t smell like much to human noses, but super powered canine noses can detect them.)
Soon, I was finding giant holes dug all over my vegetable beds and my newly planted bulbs and tree saplings were dug completely out of the soil. Obviously, Mr. Wile E. Coyote was on the hunt for some smelly fish emulsion and he was certain I was hiding it somewhere. (I had this same experience when I trench composted food scraps and didn’t bury them deep enough!)
Depending on where you live, you may never encounter coyotes in your garden no matter what you add to your beds. However, if you live in an area where coyotes and other diggers are rampant, you may want to stay away from animal-based fertilizers. Eventually, I turned towards vegetable-based fertilizers, like kelp meal and soybean meal, which seemed to work just as well on my plants AND (even better) the coyotes weren’t interested in them!