Fall is the time to save native wildflower seeds. Here’s how!
Saving seeds in fall is easier than you think and it’s a budget-friendly way to get native plants for your garden. While vegetable seeds are often saved using wet seed saving techniques, most of the seeds from flowering plants are preserved using the dry seed saving method. As you’ll see, this method is great for beginning seed savers and it can help you gather an impressive amount of seeds and preserve your favorite heirloom and native plants!
Affiliate disclosure: As an Amazon Associate, I may earn commissions from qualifying purchases.
When to Save Native Flower Seeds
Harvesting seeds is a bit of a balancing act. If you harvest seeds too early, they may not germinate. But if you harvest seeds too late, they may be eaten by wildlife or scatter before you get to them!
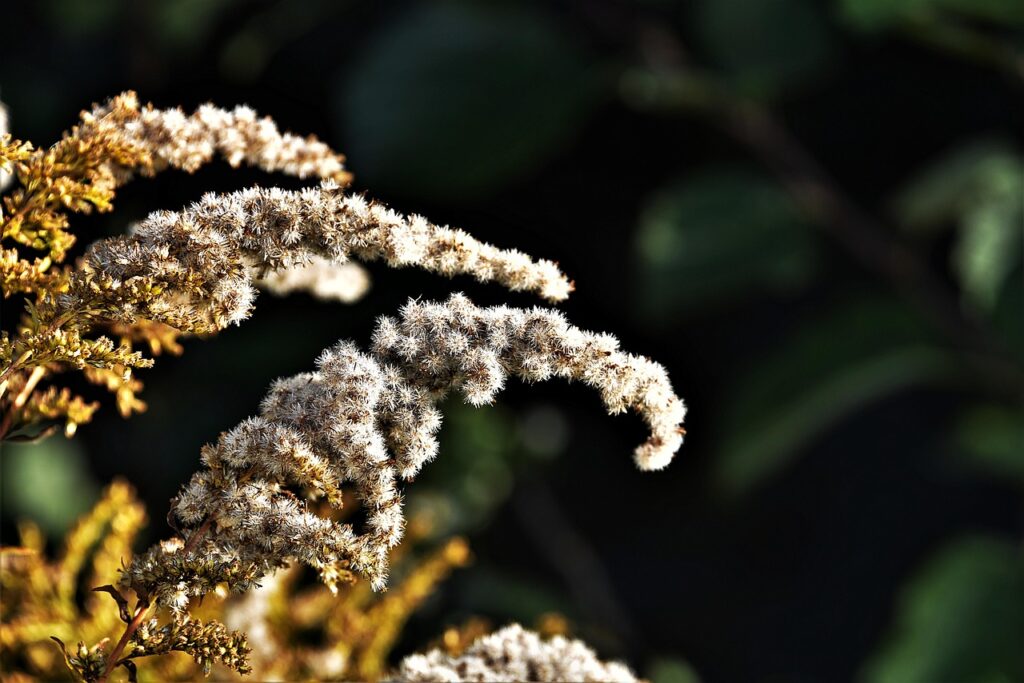
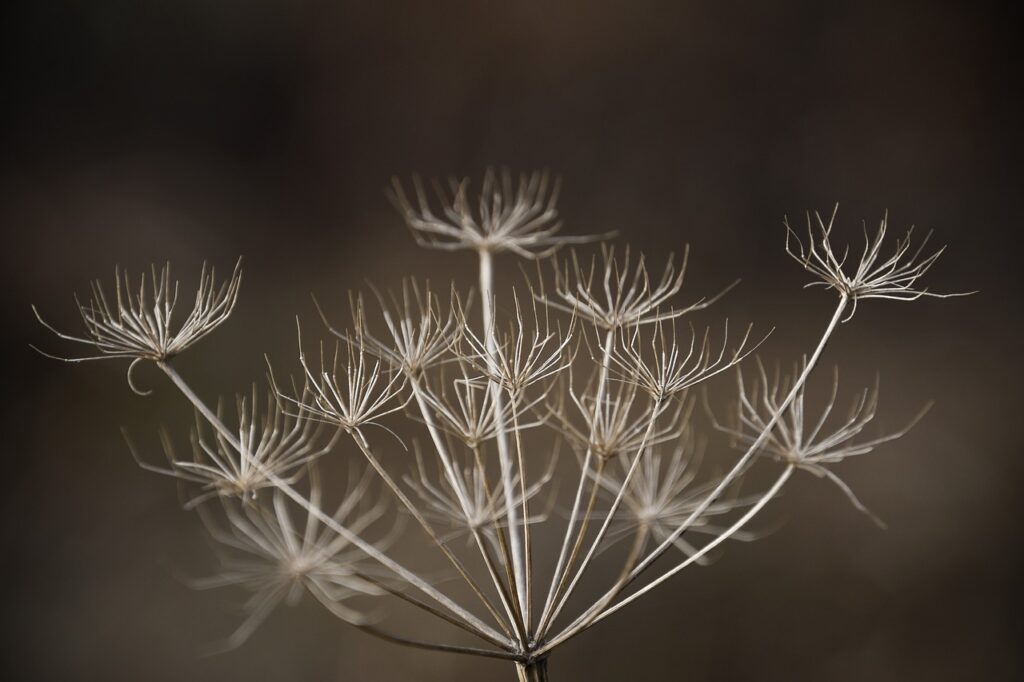
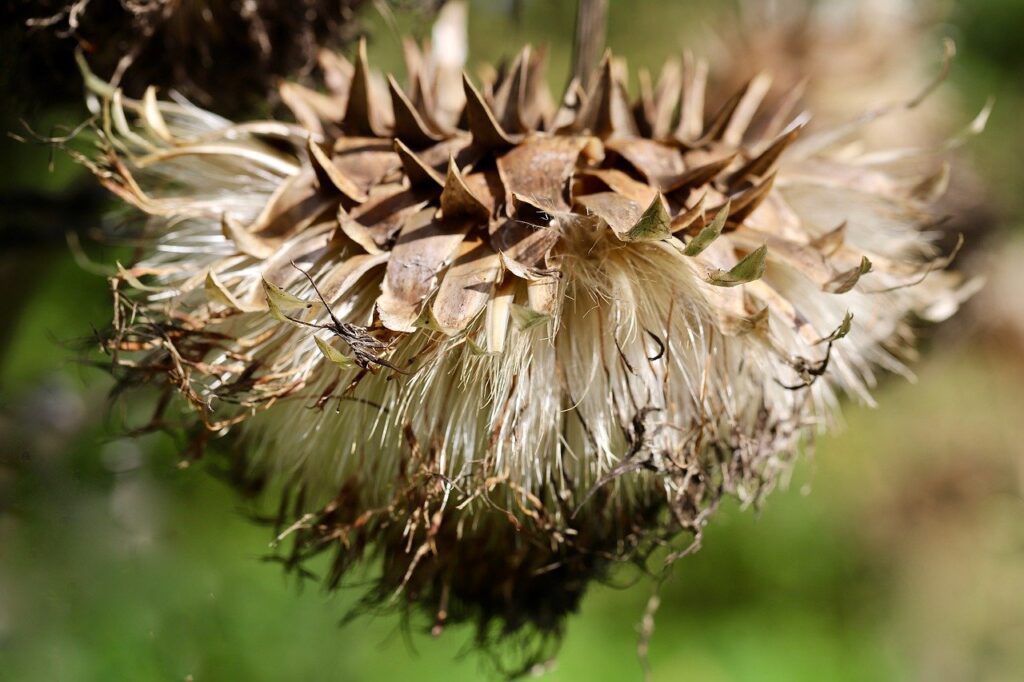
While different plant species produce ripe seeds at different times, most wildflower seeds mature in fall. Some plants hold their seeds in their dried flower heads, while other plants keep their seeds in pods — like peas. Either way, seeds should be left on the plant until they are as dry as possible and are easy to shake or pluck off the plant.
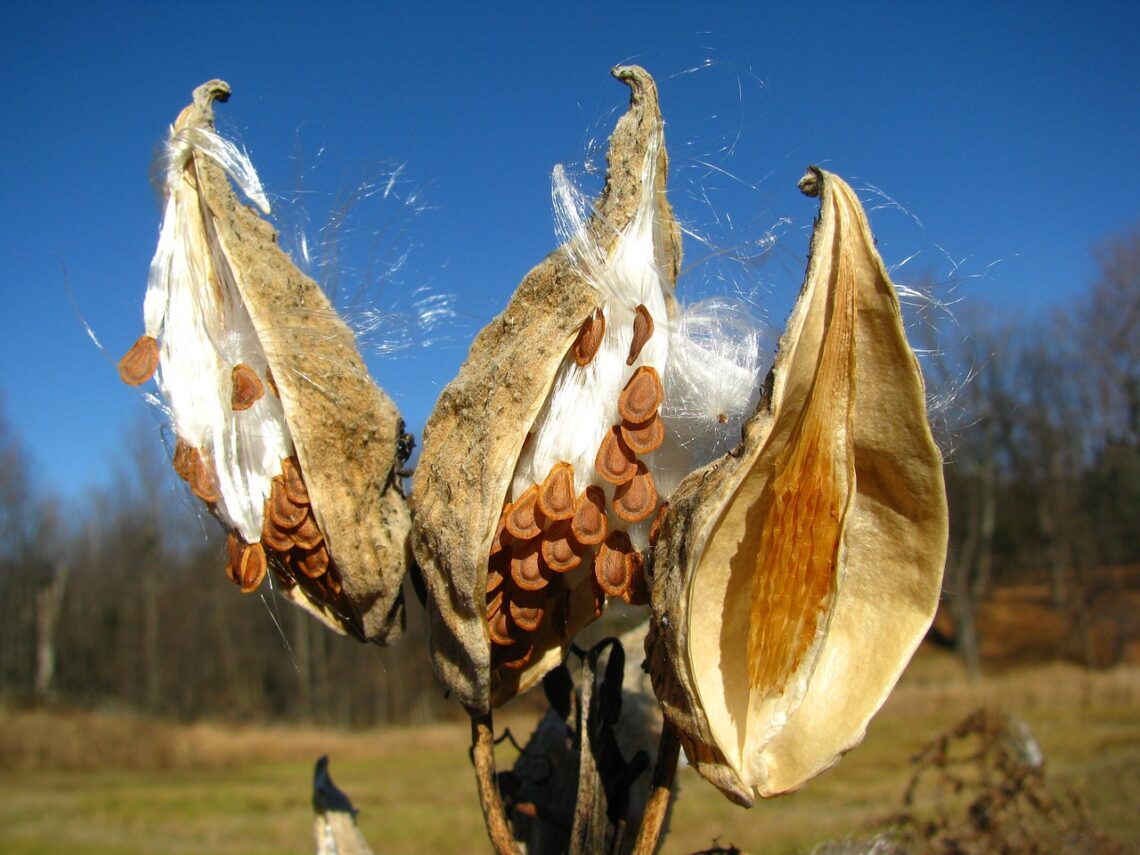
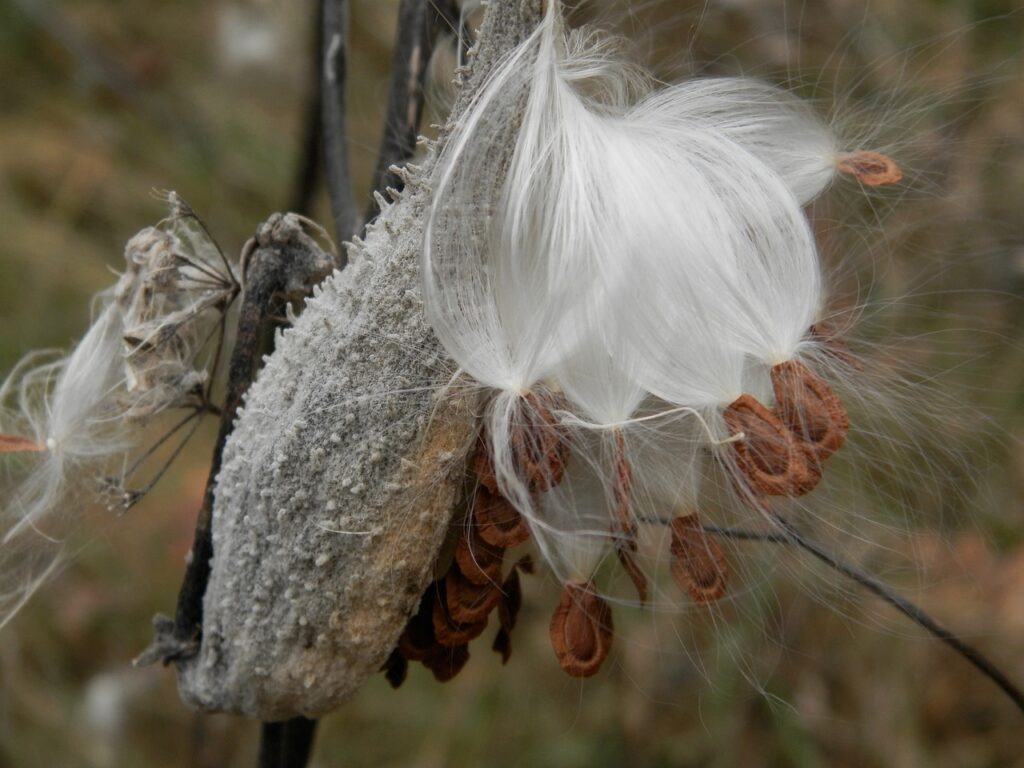
Tip: Milkweed seed pods should split open easily with light pressure when the seeds are ready. You don’t need to wait for the pods to turn brown or burst open!
3 Foraging Guidelines to Remember
Before getting into seed saving, it’s important to touch on a few basic foraging guidelines:
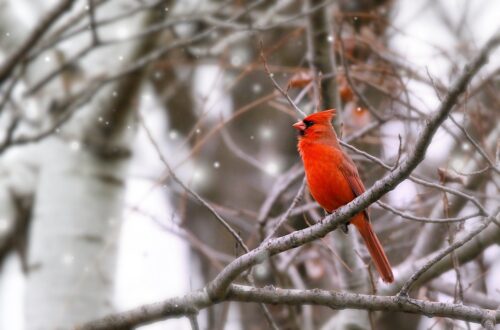
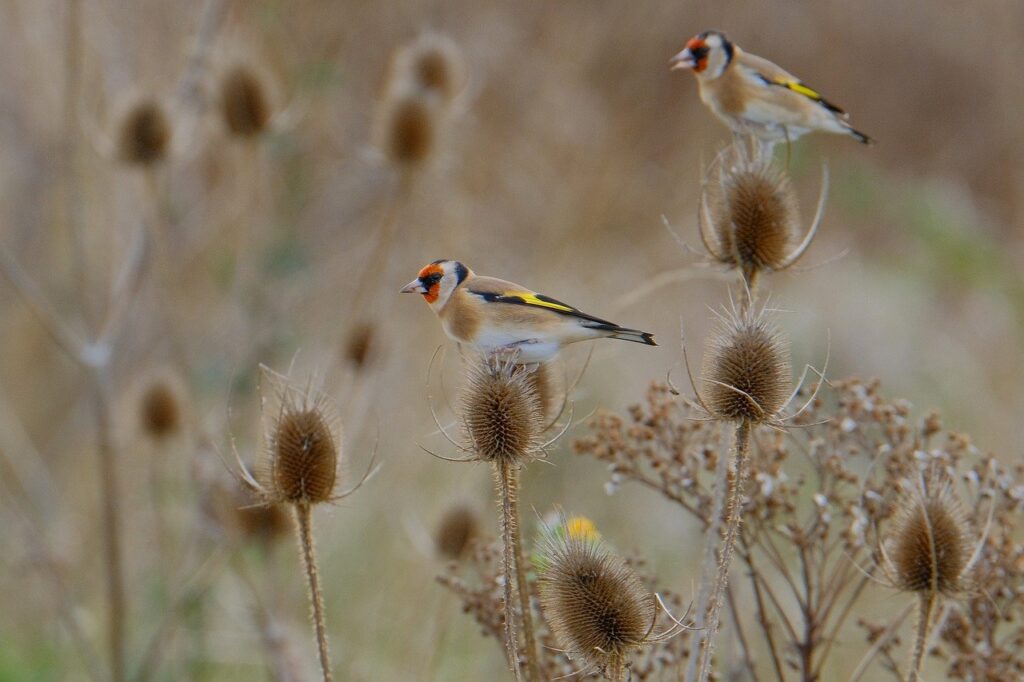
- Take no more than 1/10 of the seeds you find. Nature needs seeds even more than we do! Leaving some seeds behind ensures that native plants can self-sow and feed wild birds.
- Always harvest seeds with permission. Harvesting seeds is prohibited in some areas. If you’re gathering seeds outside of your own property, make sure to ask for permission!
- Be aware of invasives. Just because plants are growing in the wild doesn’t mean they’re necessarily native. Always doublecheck that you’re not accidentally spreading invasive plants on your seed saving expedition!
How to Save Seeds
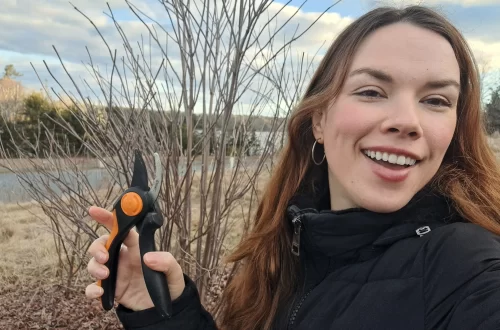
I like to bring a field guide or a plant ID app with me when saving seeds to help identify the local wildflower seeds I’m working with. I also bring along small paper bags to gather seeds and a pen or marker for labeling. You may want to bring some scissors too!
Step 1: Check the seeds.
Before gathering any seeds, check that the flower heads or seed pods are ready. Seeds should be easy to dislodge from the flower heads and seeds encased in pods may rattle around. If you shake the flower heads over your hand and no seeds fall out, wild birds may have already gotten to them or they may not be ready!
Step 2: Gather the seeds.
To collect seeds, place a paper bag under a dried flower head or seed pod and shake the seeds out of the plant and into your bag. Fluffy seeds from plants like milkweed or goldenrod may need to be gently plucked off the plant, but they should come away easily. If the seeds are difficult to harvest, they’re not ready!
You may decide to clip the entire flower head or seed pod off the plant with scissors, especially if the plant has lots of delicate seeds. However, these extra plant bits hold moisture, so you’ll usually want to leave them behind if you can.
Tip: Don’t confuse dried petals and other plant debris with seeds. Doing a bit of research to determine what certain plant seeds are supposed to look like will help you differentiate seeds from other plant matter.
Step 3: Label and date everything!
It’s easy to lose track of what seeds you saved and when, so always label and date your seed baggies immediately after harvesting!
Step 4: Let the seeds dry indoors.
Wild flower seed saving should, ideally, be performed in dry weather and seeds should be as dry as possible when you gather them. But even if your seeds feel dry, they may still harbor some moisture that can lead to early spoilage.
To avoid issues, open the tops of your seed baggies when you get home and allow the seeds to dry for a few more days. If you gathered large quantities of seeds, you may want to spread them out in a single layer on a baking sheet to help them dry faster. You’ll know the seeds are dry when they feel brittle and break, rather than bend, when you press them between your fingers.

Step 5: Clean the seeds.
Removing as much of the plant material as possible at harvest time helps seeds dry faster. But if you harvested fluffy seeds or seeds that are still in pods, those extra plant bits should be removed before storing the seeds away. To clean milkweed seeds, I place the seeds in a colander, rub my fingers gently over the seeds to remove the fluff, and then lightly blow some air across the seeds to separate the fluff from the heavier seeds.
Step 6: Package the seeds.
Once your seeds are perfectly dry, package them up as you see fit and then label and date your seed containers. I like to use paper envelopes for saving seeds as paper allows any moisture on the seeds to evaporate. But other growers may want to save their seeds in wax envelopes, seed saving bottles, old spice jars, or other upcycled containers.
How Do You Store Seeds?
Moisture is the enemy of seeds, so it’s important to keep seeds as dry as possible in storage. Excess light and heat can also cause seeds to spoil faster and rodents can devastate entire collections of seeds if you store seeds in an area where rodents are active.
I like to keep my seeds in paper envelopes in an out of the way kitchen cabinet where I know they’ll be safe from pests and excess light and moisture. However, other growers may keep their seeds in old jars and bottles, tins, upcycled plastic containers, or photo albums for organization. I’ve even met a few gardeners who managed to snag an old card catalog for seed saving!
Storing seeds in the freezer can extend their shelf life too, but it’s extra important to keep frozen seeds dry since moisture and cold temperatures can break seed coats open. If you want to keep seeds in the freezer, airtight containers are a must. You can also use a Food Saver to seal your seeds and keep moisture out.
Of course, you may not want to store wildflower seeds for long. Late fall is a great time to direct sow wildflower seeds in outdoor gardens, but seeds can also be started in winter with indoor cold stratification or outdoor milk jug greenhouses!
How Do I Save Seeds and Other Frequently Asked Questions
How do you preserve seeds for the long haul?
The best way to keep seeds fresh is to store them in a cool, dark, and dry place. The Svalbard Global Seed Vault, one of the leading experts in seed storage, stores their seeds at around 0 degrees Fahrenheit!
Will old wildflower seeds grow?
Most seeds stay fresh for at least 1 to 2 years after harvesting, although some seeds last longer. You can always plant some “test” seeds if you’re not sure if your old seeds are still viable!
Will wildflowers reseed themselves?
Most wildflowers reseed themselves if their flower heads are left intact at the end of the season. This is a great alternative to seed saving if you prefer a more hands-off gardening approach.