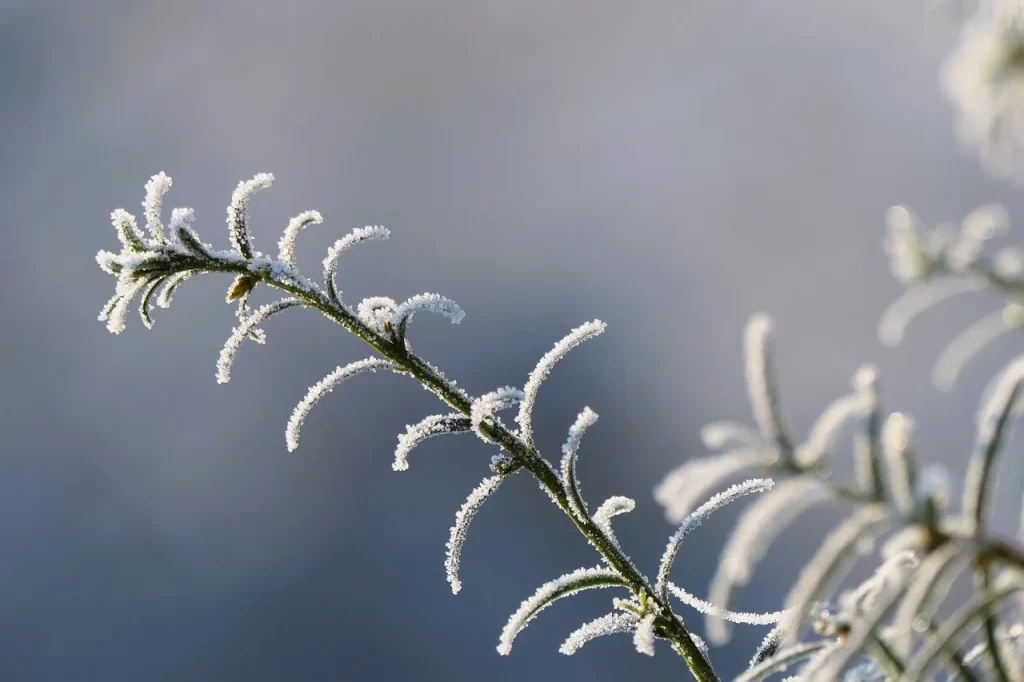
Take the work out of cold stratification by winter sowing seeds in a milk jug greenhouse!
Many native plant seeds need to be cold stratified to germinate. But cold stratifying seeds indoors can take up a lot of space… especially if you plan to grow an assortment of native and pollinator plants. However, you can cold stratify seeds outdoors in winter sowing containers and grow tons of flower, herb and vegetable transplants with minimal effort!
In this guide, you’ll find a tutorial on how to make a DIY milk jug greenhouse, plus winter sowing tips and a list of some of the best seeds for winter sowing. If you’re interested in native plant gardening or you just want to streamline your seed starting process and extend your growing season, this guide will help!
Affiliate disclosure: As an Amazon Associate, I may earn commissions from qualifying purchases.
What Are the Benefits of Winter Sowing in Milk Jugs?
Winter sowing is typically used on seeds that need to be cold stratified, and it’s an efficient alternative to autumn seed sowing and cold stratifying seeds indoors. However, this technique can also be used on cold hardy vegetable and herb plants and it’s particularly handy for small space gardeners who don’t have a lot of indoor space to grow in.
While there are plenty of reasons why you may want to experiment with winter sowing, some of the key benefits of milk jug seed starting include:
- It’s easy!
If you can plant a seed in soil, you can use a winter sow milk jug!
- It’s cheap!
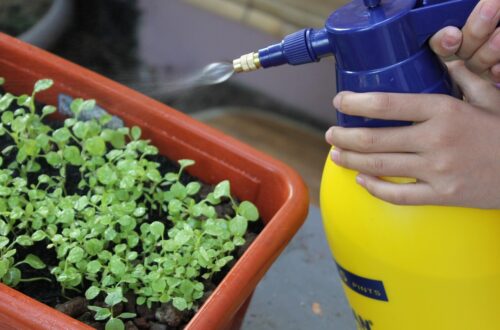
Seed starting supplies can get pricey fast, but you can save a lot of money by planting in milk jugs. Upcycled milk jugs make a fine alternative to seed starting trays and, since you’ll be growing seeds outdoors, you can skip buying grow lights too!
- Seeds are protected.
Some gardeners plant seeds outdoors in autumn and allow the seeds to naturally cold stratify in the soil. However, autumn planted seeds can sometimes be lost to animal predation or spoiled by overly wet weather. Planting winter seeds in milk jugs gives seeds extra protection against the elements (and hungry critters!) and it also provides some insulation against the cold.
- Super simple cold stratification.
Cold stratifying in milk jugs is even easier than stratifying indoors since you won’t need to fiddle with plastic baggies, paper towels or take up room in your fridge.
- More growing space.
Running out of growing space indoors? No problem! Just plant seeds in winter in outdoor milk jugs and let nature do most of the growing work for you.
- Easier transplanting.
Winter sown seeds are naturally exposed to the cold and the gentle uptick of warm temperatures in spring. Once transplanting time arrives, seedlings started in milk jugs can be transplanted right into the garden without hardening them off since they’ve already become acclimated to the light and temperatures of outdoor life!
How to Sow Seeds in Winter in a Milk Jug Garden
The best time to winter sow seeds is from the winter solstice (December 21st), through January, February and into March. Just keep in mind that seeds that need cold stratification usually require a month of cold temperatures to germinate and if you plant them too late in the season, you may not get the same benefits from this planting technique!
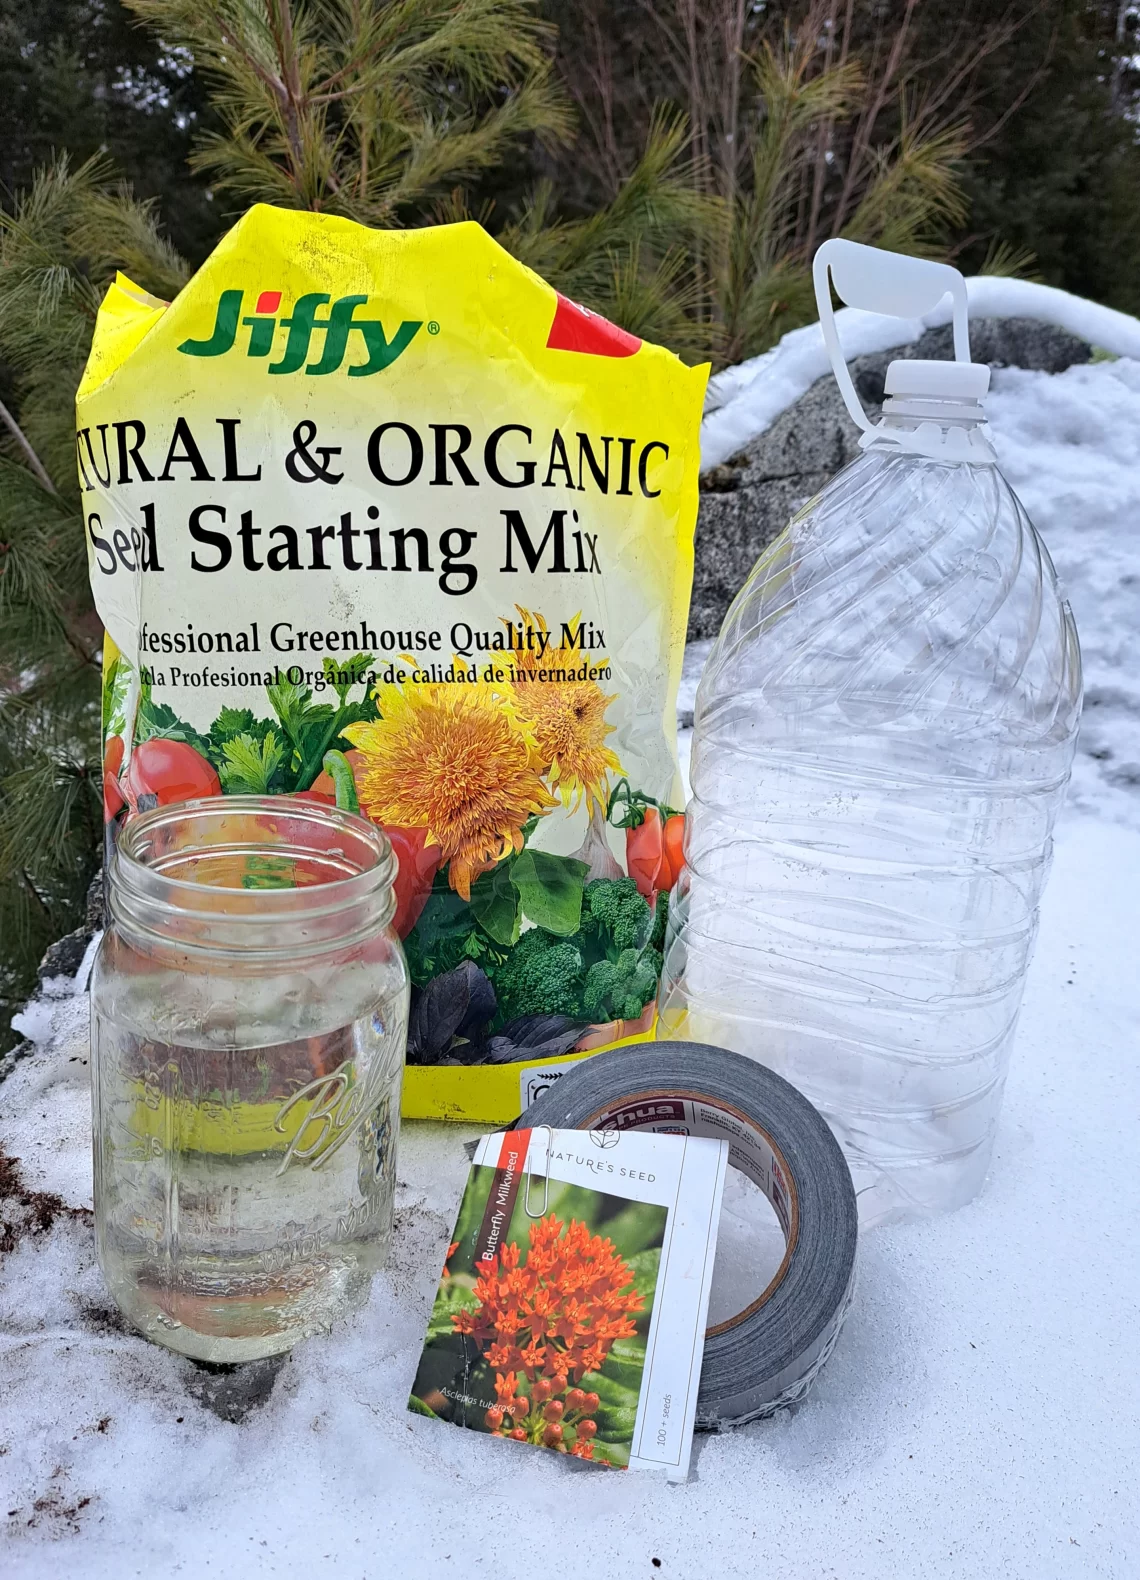
What You Need for Sowing Winter Seeds:
- Seeds
- Plastic milk jugs, clear soda bottles and other similarly sized, food-safe containers
- Duct tape
- A serrated knife or scissors
- An electric drill or a screwdriver and lighter
- A paint marker or garden marker that won’t fade in the sun
How to Winter Sow Flowers, Vegetables and Herbs:
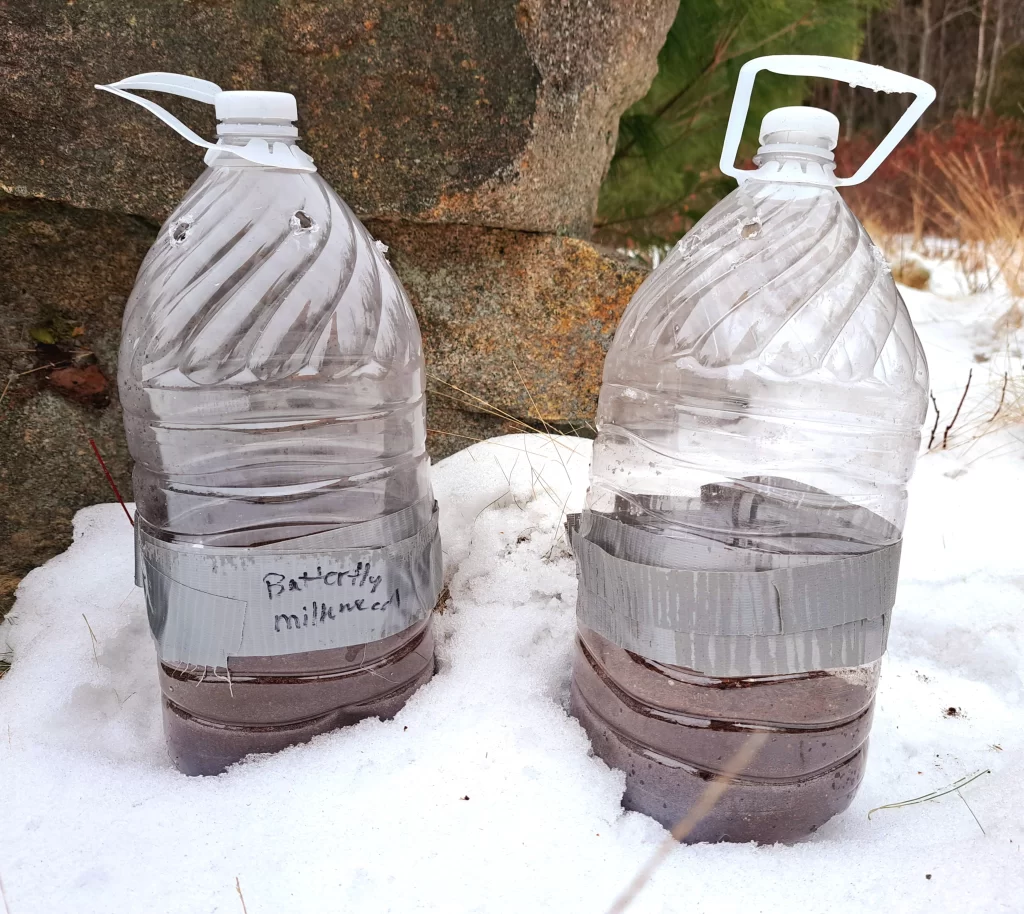
Step 1: Prepare your milk jugs.
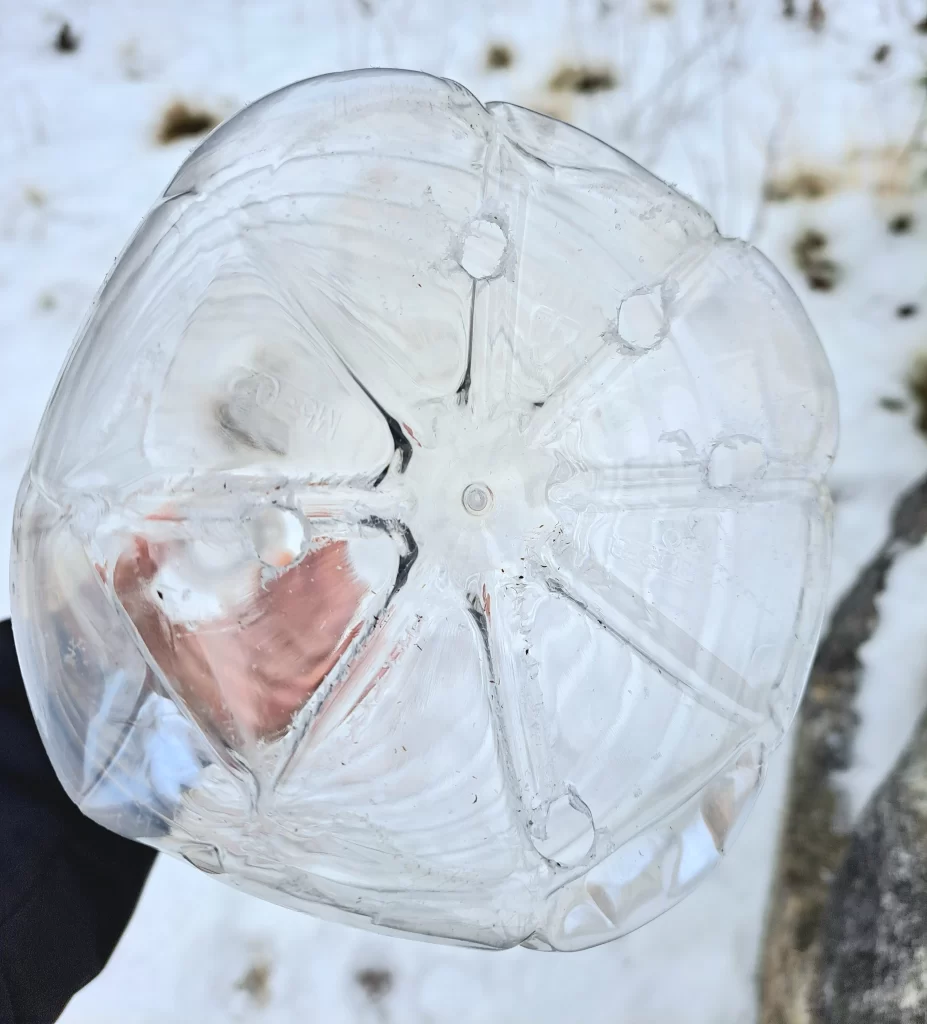
Wash the milk jugs (if needed) and then create a series of drainage holes in the bottom of the jugs and ventilation holes in the tops of the jugs with a power drill. If you don’t have a drill, you can poke the holes by carefully warming up a screwdriver with a lighter and pressing the screwdriver tip into the milk jug.
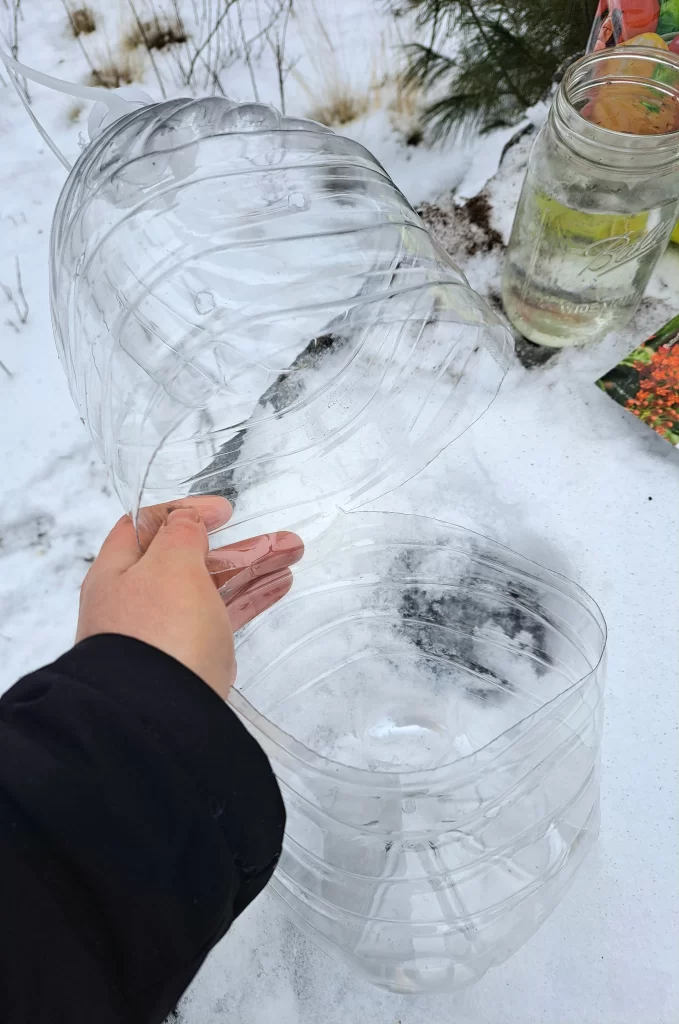
Next, cut around the middle of the jug using a serrated knife or pair of scissors. Make your cut high enough so that the bottom of the milk jug can hold about 4” of soil. Don’t cut all the way through the jug though… leave a small piece of plastic attached at once side to act as a “hinge” for your greenhouse lid.
Step 2: Pour in the potting mix.
Fill up the bottom of the jug with about 4” of potting mix or seed starting mix. Garden soil is not recommended for this process as it is too dense and can cause drainage issues in containers.
Step 3: Plant your seeds.
Plant your seeds using the planting instructions on your seed packets and pay special attention to details like seedling planting depth and spacing. If you’re planting wildflower seeds without instructions, lightly scatter the seeds over the surface of the soil and use your fingers to gently scratch the seeds into the very top of the potting mix.
Step 4: Add water.
Lightly dampen the potting mix with water.
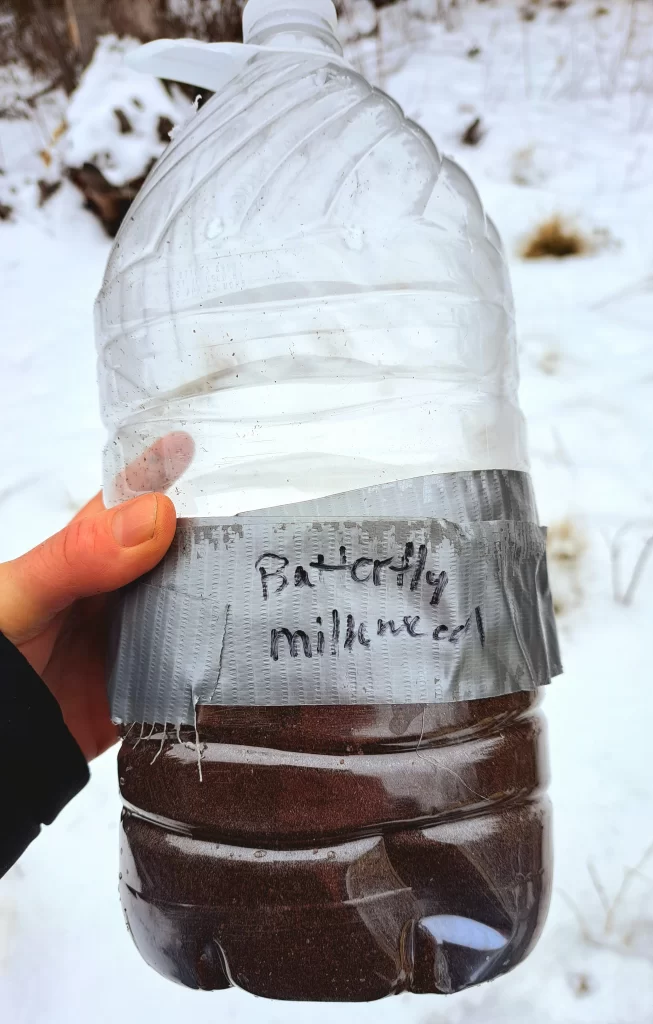
Step 5: Seal everything up.
Tape the bottom and top of the greenhouse together with duct tape. You may need to use a few layers of tape to keep everything secure. Use a paint marker to write the seed name on your milk jug so you don’t forget what you planted (permanent markers are not the best for this because they can fade)!
Step 6: Find a good growing location.
Move your DIY greenhouse into a cozy spot in your garden where it will receive plenty of light and some moisture, but be protected from strong winds. I like to position my milk jugs up against the side of my house so they don’t topple over in inclement weather.
Tip: Full sun locations work well for gardeners in cold climates, but growers in mild climates may want to position their milk jugs in light shade. Sealed jugs can heat up quickly in warm weather and, if seeds get too warm, they may not sprout.
Tending Winter Sown Seeds and Transplanting
Seeds grown outdoors in milk jugs won’t need much supervision, but you should keep an eye on them. Check the soil from time to time and add a bit of water, if needed, so that the soil stays damp but not soggy. Also, make sure the milk jugs don’t fall over as this can disturb seeds and interfere with germination.
Once the seedlings start to sprout, cut a small hole in the upper section of the milk jug for extra ventilation. When the weather is warm, open up the milk jugs during the day and then close them up again at night. This will ensure your seedlings don’t get too warm!
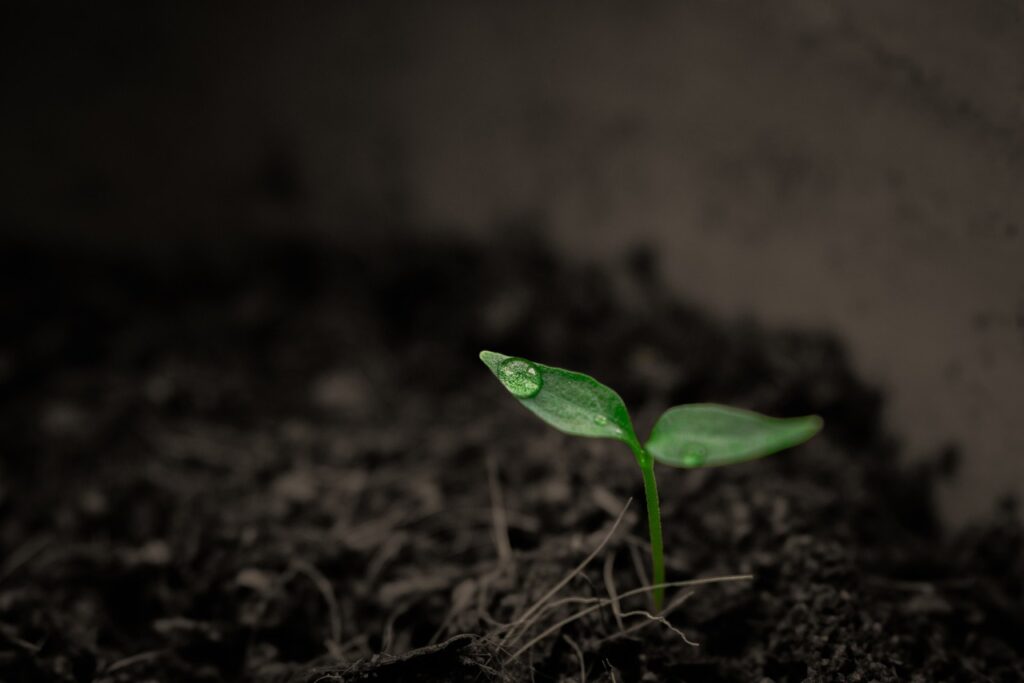
Different seeds will grow at different rates, but when seedlings start to stretch towards the milk jug lid, it’s time to transplant. Seeds started outdoors shouldn’t need to be hardened off and they can be planted directly into outdoor pots or garden beds when they’re a few inches tall and have several sets of true leaves. Using this growing method can extend your gardening season by several weeks and help you grow a wider variety of plants as well!
Best Seeds for Winter Sowing in Milk Jugs
Flower seeds that need to be cold stratified are the most obvious choices for winter sowing, but you can also use this planting method on cold hardy vegetables and herbs. If seed packets suggest “stratifying,” “scarifying” or “chilling,” there’s a good chance those seeds will do well with the winter sowing method. For more suggestions, browse the winter sowing seed list below.
Best Flower Seeds for Winter Sowing
If you want to winter sow flowers, try out seeds that are native to cold growing regions, as well as hardy annuals, like:
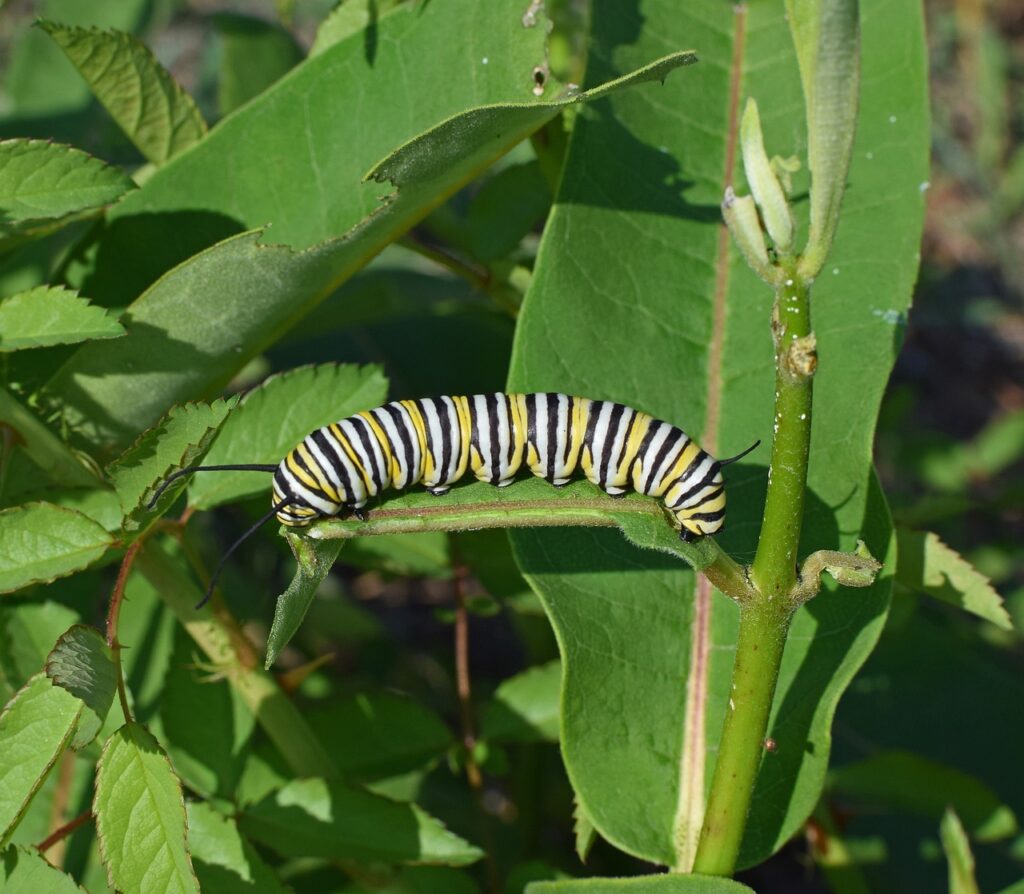
- Milkweed
- Columbines
- Foxgloves
- Black eyed Susan
- Ironweed
- Asters
- Bee balm
- Joe Pye weed
- Goldenrod
- Hollyhocks
- Sweet peas
- Cosmos
- Poppies
- Marigolds
- Lupines
- St. John’s Wort
- Coneflowers
Best Vegetable Seeds for Winter Sowing
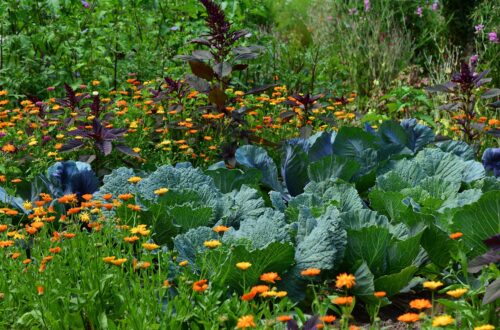
If you’re interested in winter sowing vegetables, try out cool weather crops like:
- Broccoli
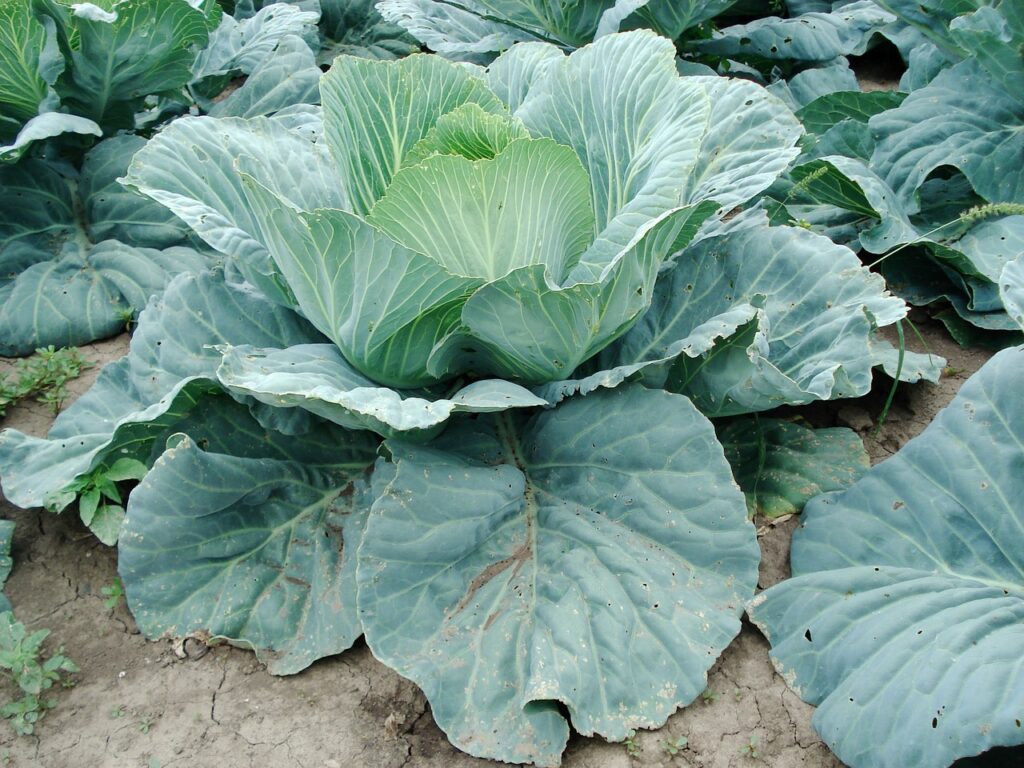
- Cabbage
- Cauliflower
- Brussel sprouts
- Radishes
- Peas
- Kale
- Spring onions
- Swiss chard
- Spinach
- Bok choy
- Lettuce
Best Culinary Herb Seeds for Winter Sowing
Most herbs have a good deal of cold tolerance, but the best herb seeds to plant in the winter include:
Frequently Asked Questions About Milk Jug Winter Sowing
Why do plants need to be cold stratified?
Germinating prematurely in winter can be a death sentence for young seedlings, which is why many plants require a period of cold to jumpstart germination. A period of cold followed by a period of warm helps to break up tough seed coats, but it also lets seeds “know” that winter has passed and it’s safe to sprout.
Do all seeds need to be cold stratified?
No. Most seed packets will let you know if seeds need to be stratified and plants that are native to warm areas generally don’t need this treatment.
Do gardeners in warm climates need to cold stratify seeds?
That depends on the seeds. If you live in a warm climate, but want to grow seeds that are native to cold areas, you may need to cold stratify them. However, if you’re growing seeds in winter that are native to warm areas, cold stratification is rarely needed.