Compost indoors on a budget with this easy homemade bokashi composter!
Bokashi composting is my favorite indoor composting method, particularly because it takes up so little space and it’s easy to do! If you haven’t already read my guide on bokashi, I have a full tutorial on how to compost indoors with a bokashi composter. In this guide, I’ll teach you how to make your very own DIY bokashi bin that you can use to compost food scraps, including meat and dairy!
Affiliate disclosure: As an Amazon Associate, I may earn commissions from qualifying purchases.
Simple Bokashi Bucket DIY
While you can purchase premade bokashi kitchen compost bins, making your own composter is easier on your wallet and it’s super simple too. After you put together this composter, all you need are some kitchen scraps and bokashi bran to start composting!
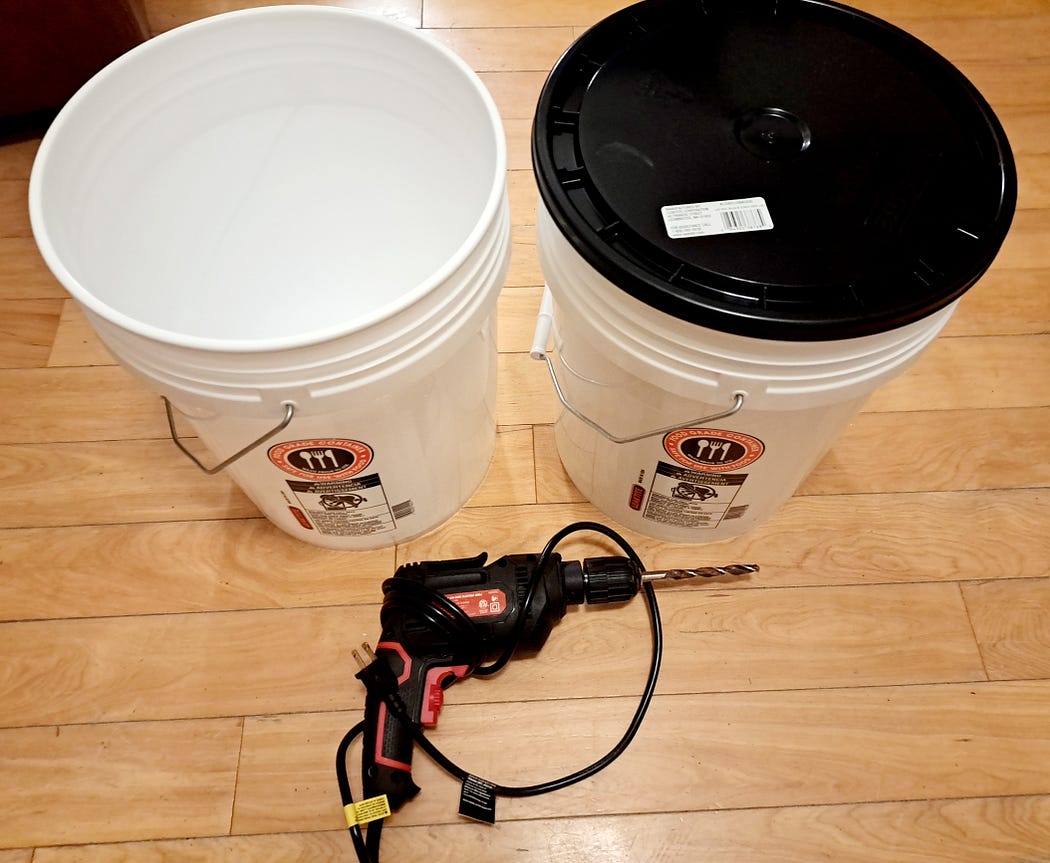
What You’ll Need:
- 2 identical 5-gallon food-grade plastic buckets (for best results, choose buckets that fit tightly together)
- 1 tightly fitting bucket lid
- Drill
- Duct tape or pipe insulation foam tube (optional)
- Spigot and paddle drill bit (optional)
The Process:
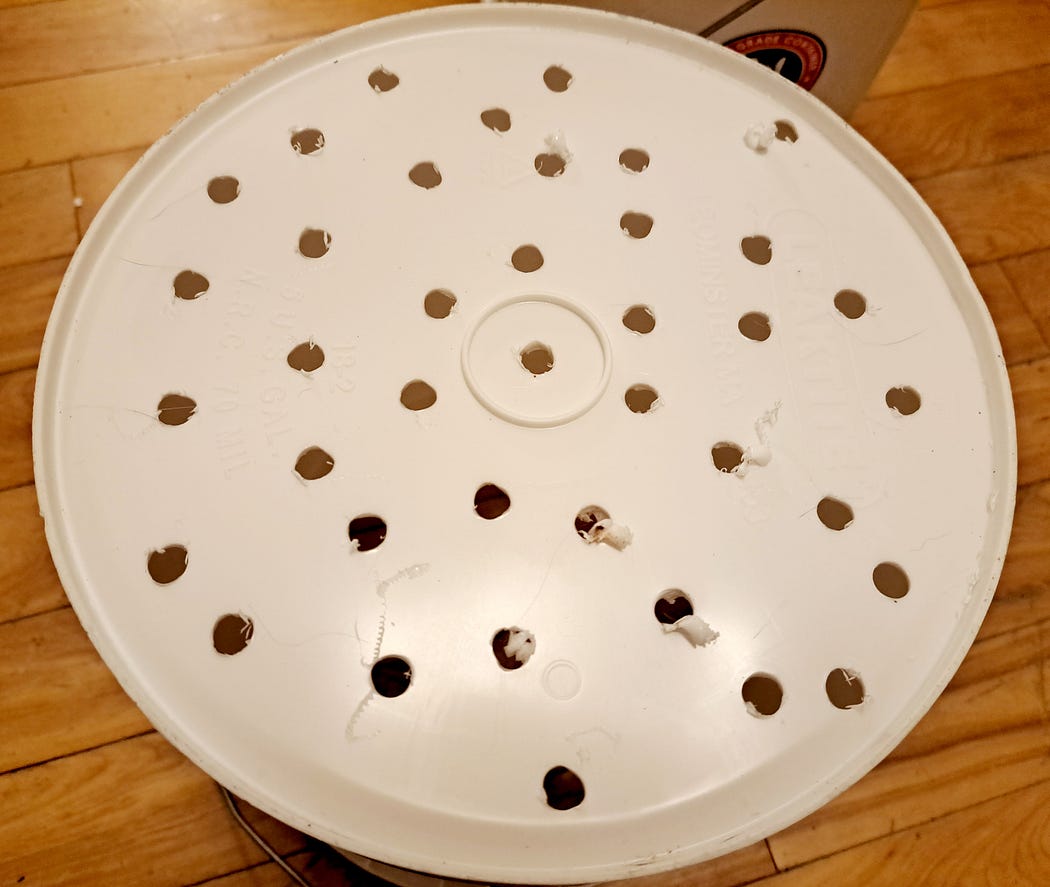
Step 1: Drill drainage holes.
To get started, flip one of the buckets over and drill a series of holes in the base of the bucket with a 3/8″ to 1/2″ drill bit. These holes will allow bokashi tea to trickle down from the top bucket into the bottom bucket and help ensure that your bokashi ferments correctly!

Step 2: Stack the buckets.
Place the bucket with the holes in the bottom INSIDE the bucket without holes.


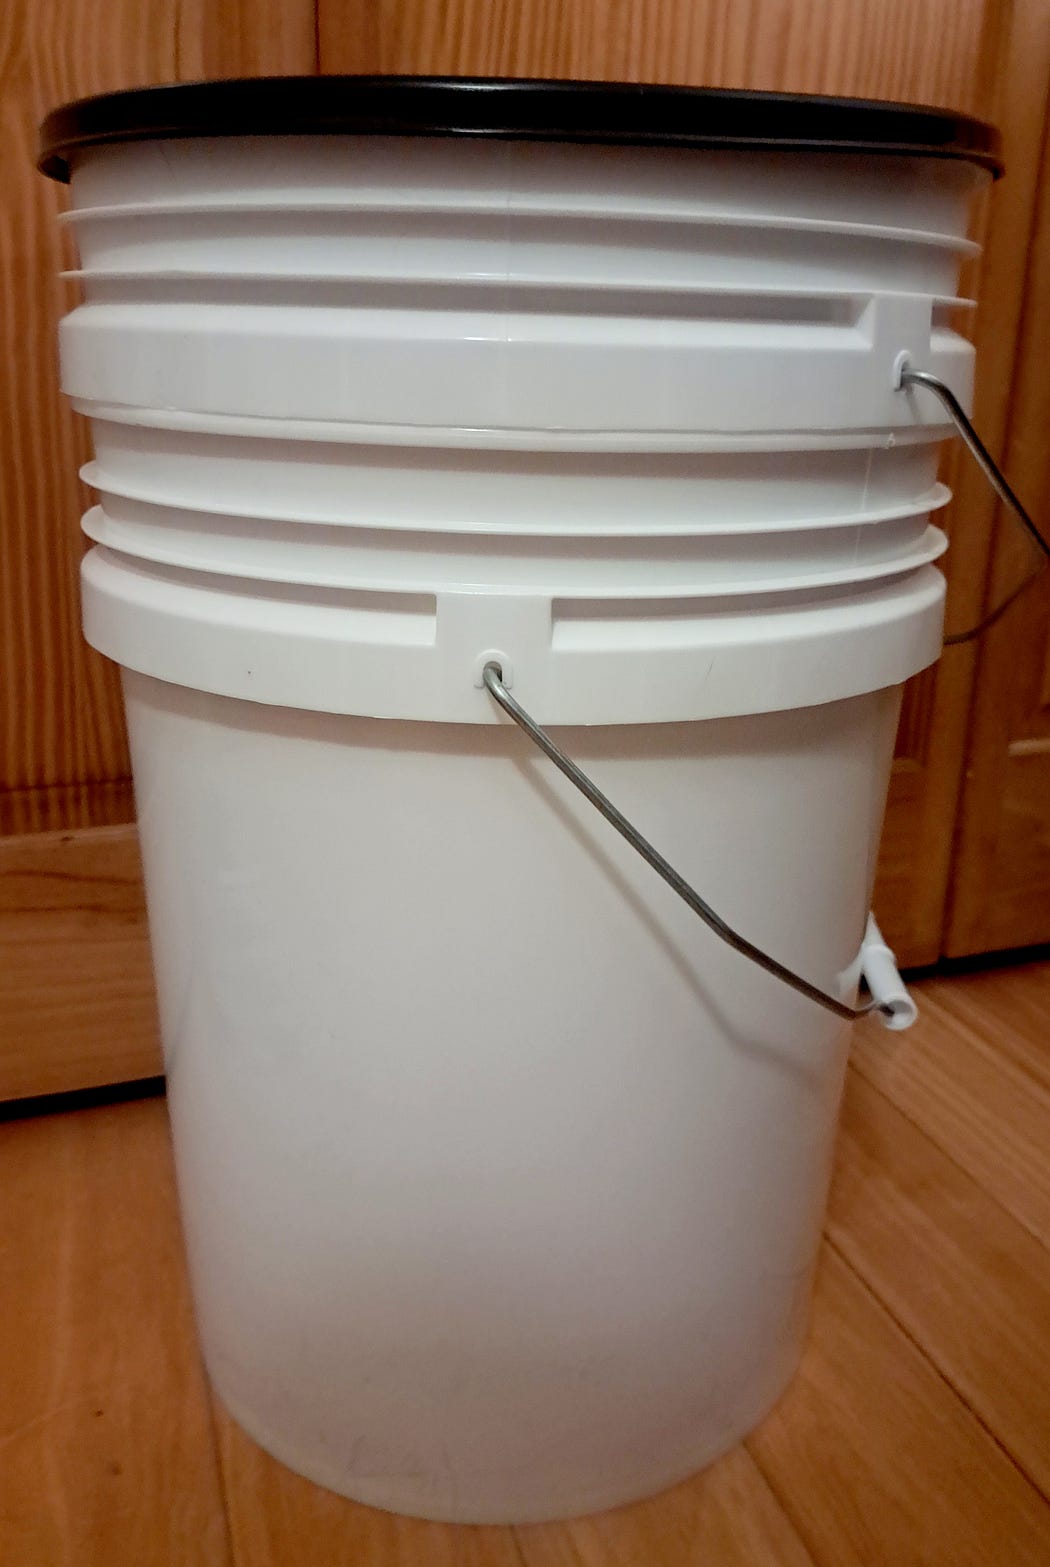
Step 3: Add the lid.
Finally, add a tight fitting lid on top of your bucket stack. Make sure the lid seals well as you want to keep air from seeping into your bokashi bin. I used a standard bucket lid, but gamma bucket lids are even easier to use since they screw on and off!

Step 3a: Add a spigot (optional).
Bokashi tea needs to be drained out of your bokashi composter from time to time. I like to do this by lifting the top bokashi bucket out of the lower bucket and pouring the bokashi tea off.* However, if you don’t want to fiddle with moving your buckets around, you can also install a small spigot on the bottom of your lower bokashi bucket for even easier bokashi tea draining (this is totally optional though)!
Both plastic and metal spigots can work for this. First, use a paddle drill bit to drill a hole as low on the bottom side of the bucket as you can go without interfering with the bucket base. Then slip the faucet into the bucket and tighten it into place!
*Remember to save that bokashi tea! Once it’s diluted with water, bokashi tea can be used as a liquid plant fertilizer or foliar spray. For proper dilution, add 1 part bokashi tea for every 100 parts water.

Step 4: Start composting!
Place your new bokashi composting bucket in a convenient place and start composting. I like to keep my bokashi bin right under my kitchen sink because it’s just so handy. A well-managed bokashi bin should be mess- and odor-free!
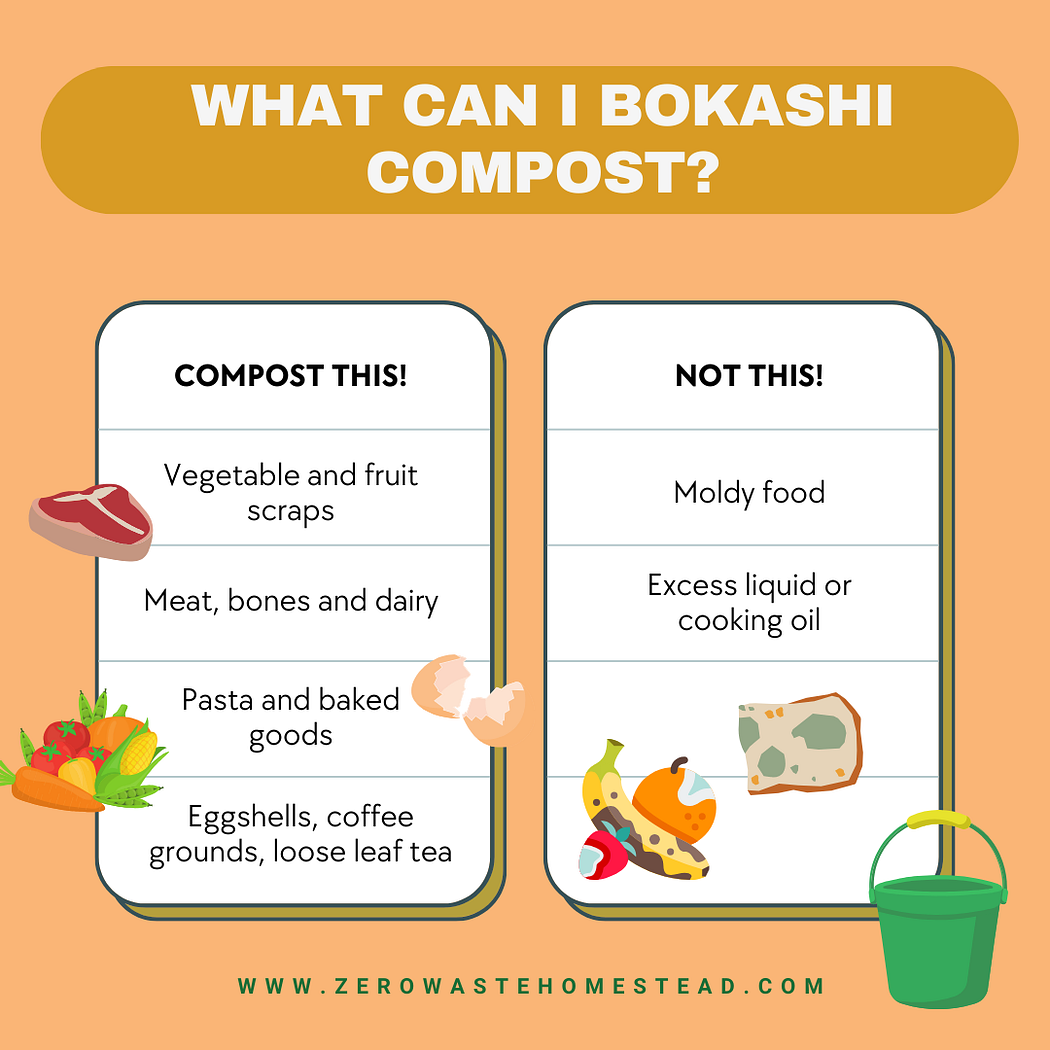
What Can You Compost with Bokashi?
One of the main reasons why I love bokashi is that bokashi composting is the only composting technique that’s approved for composting meat and dairy. In fact, bokashi bins can handle most food scraps, as well as disease-free plant leaves and grass clippings.
Vegetable peels, apple cores and loose leaf tea are all a-okay for bokashi bins. Just don’t put moldy food into your composter. It’s also best not to add lots of liquid to your bokashi bin (such as excess cooking oils), as this can throw off the composting process.
Frequently Asked Questions About Bokashi Composting
Why is bokashi better than composting?
Bokashi and standard composting both have their pros and cons. Some of the main reasons why gardeners prefer bokashi is that it’s compact and it produces a finished compost faster than most other composting methods. Plus, it can compost meat and dairy, which are not compostable with other techniques.
How long does bokashi take to compost?
Bokashi buckets take about 2 weeks to produce precompost. Precompost is quite acidic and it must mature for additional 2 weeks to allow the pH to stabilize before it’s added to plants. That means you can make finished compost with bokashi in as little as 4 to 6 weeks!
Can bokashi compost dog poop?
No. Cat and dog poo are not safe to compost with bokashi, vermicomposting or in any compost pile that you intend to use near food crops. However, there are a few products, like this pet waste disposal system, that can be used to compost pet poo.