Mastering vegetable canning and other food preservation techniques is easier than you think!
Knowing how to grow your own food is just one part of homesteading. If you want to become self-sufficient and make sure your garden harvest doesn’t go to waste, you’ll also need to consider how you want to preserve homegrown foods.
Once your garden starts producing, you’ll likely be overrun with more tomatoes, strawberries, zucchini and other produce than you can use right away. But that’s where easy food preservation techniques come in! From preserving tomatoes to finding the best pressure cooker for canning, I’ll share some of my favorite food preservation methods in this guide.
Affiliate disclosure: As an Amazon Associate, I may earn commissions from qualifying purchases.
1. Water bath canning
When most people think about canning, they think about canning with a hot water bath. This canning method is easier and more accessible than pressure canning, and you don’t need any special equipment beyond quart-sized and small, jam canning jars and a large pot for canning (jar lifters and funnels are also handy, but not required).
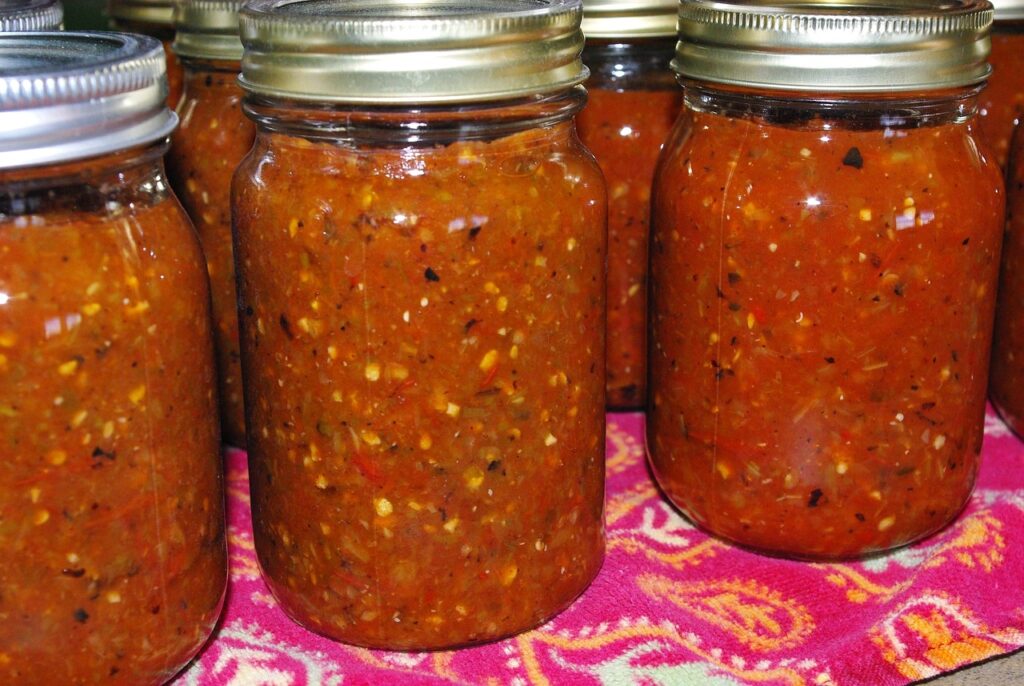
Canning using a water bath works best for high acid foods – like pickles, salsas and fruit jams – but temperatures don’t get high enough to process low acid foods – like beans and non-pickled veggies. If you want to water bath can tomatoes, most recipes will recommend adding an acid (like lemon juice) as some tomatoes don’t have much natural acidity.
Because there is some variability with water bath canning, it’s always important to follow reliable recipes. Ball Canning has an excellent recipe book and you can also find lots of free recipes on the National Center for Home Food Preservation website. If you’re new to canning, water bath canning is the way to go!

2. Pressure canning
Pressuring canning gets temperatures even hotter than water bath canning, which means you can process low-acid foods with this canning technique. However, in my experience, pressure canning is a bit more advanced than water bath canning, so I’d recommend getting comfy with water bath processing before moving on to this technique.
Before you start, you’ll need Mason jars as well as a quality pressure canner for canning. Keep in mind that pressure canners aren’t recommend for gas or glass-topped stoves since they can potentially damage glass cooking surfaces. Some foods that can be processed with this technique include: premade soups, vegetables (not in vinegar), and canned recipes with meat or dairy.
For more tips on pressure canning vegetables for beginners, check out these top-notch pressure canning books:
- The Complete Guide to Pressure Canning by Diane Devereaux
- Pressure Canning for Beginners and Beyond by Angi Schneider
- Pressure Canning & Water Bath Canning for the Modern Homesteader by Elizabeth Ash

3. Pickling
At first glance, pickling looks a lot like canning and fermenting since jars are involved… but this food preservation technique has its own unique twist. While you can process pickled goods with water bath canning (to make them shelf stable), you can also skip canning entirely and just store pickled foods in the fridge. In my opinion, pickling is THE easiest food preservation technique, so if you’re super new to food preserving, you may want to start here!
I have a recipe for quick-pickled cucumbers pickles (no canning required), but you can also pickle carrots, cherry tomatoes, onions and many other veggies. Essentially with pickling, foods are marinated in a vinegar base, which adds a delightfully tangy taste and helps extend the shelf life of foods too. No special equipment is needed to pickle, although you will want a high quality vinegar and canning jars.

4. Fermenting
Fermenting and pickling are often confused, but fermenting is the technique you need to use if you want your preserved foods to be rich with gut-healthy probiotics. While pickled foods are preserved in vinegar, fermented foods are preserved in a salt water brine using a process known as lacto-fermentation. Sauerkraut, kimchi, and kosher deli pickles are made with fermenting, while bread and butter pickles are typically made by pickling cucumbers in apple cider vinegar.
On the most basic level, you can ferment foods in a simple canning jar, but fermenting is even easier if you use a fermentation crock or jar with an airlock and fermentation weights. Depending on the ferments you’re making, you may also want to invest in a sauerkraut pounder and a high quality pickling salt, like Himalayan salt. After fermenting, fermented foods will need to be stored in the fridge or water bath canned to make them shelf stable (although canning will kill off the probiotics in ferments).
If you want to experiment with fermenting, check out my guides on spicy sauerkraut and classic Pennsylvania Dutch-style sauerkraut.
*Tip: Pressure canning isn’t recommended for either pickled or fermented foods as it can make foods mushy and unpleasant to eat.
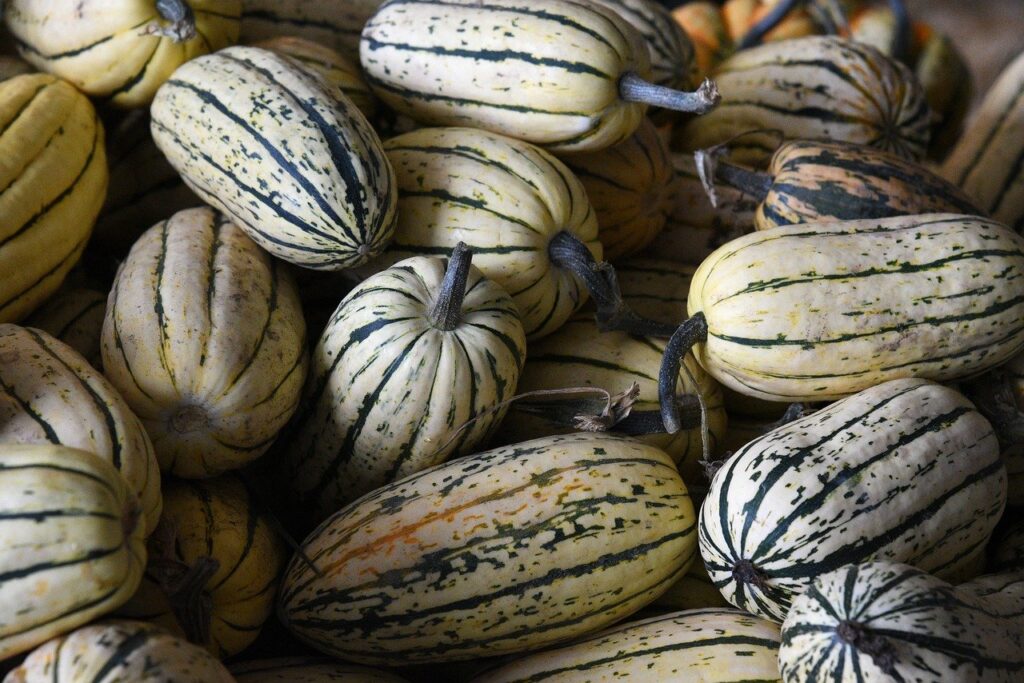
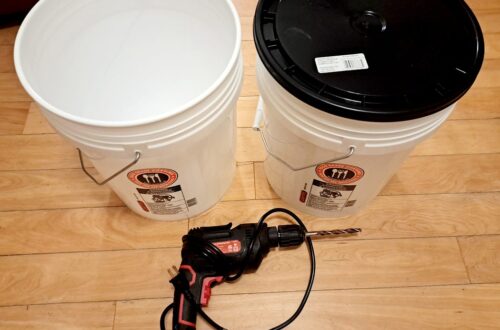
5. Root cellaring
As useful as canning is, it isn’t for everybody and canned goods (whether they be canned, pickled or fermented) have a different texture and taste from fresh foods. If you want to preserve foods fresh through the winter months and not change their flavor one bit, root cellaring is worth a try.
“But wait,” you say, “I don’t have room for a root cellar!” No worries — root cellaring doesn’t require a large space and you actually make a mini DIY root cellar by burying a CLEAN trash can in your garden. It’s not as roomy as a full-fledged cellar, but it works!
Root crops, like onions, carrots and beets, store beautifully in root cellars, as do pumpkins, winter squashes and many other sturdy veggies and fruit (read: not tomatoes, zucchini, cucumbers, etc). Vegetables often need to be cured before storing (i.e. allow them to dry out a bit in a dry, dark place), but root cellaring doesn’t require much more work than that. Foods that are properly stored in root cellars can last for many months and they taste like they were just picked in the garden.
If you’d like to learn more, check out root cellaring food preservation books like:
- Root Cellaring for Preppers by Tyler Gordon
- Root Cellaring by Mike & Nancy Bubel
- Build Your Own Underground Root Cellar by Phyllis Hobson

6. Freezing
Like pickling, freezing is a very easy food preservation technique; however, it isn’t the best option for preppers. Fruit and veggies last well in freezers as long as those freezers are running… but if your power goes out, the clock starts ticking on frozen produce! I like freezing as a technique since it allows me to process a lot of garden goodies quickly, but I think it works best when used in conjunction with other food preservation methods, like canning.
Most fruit and vegetables can be preserved with freezing, although the texture of some foods will change once frozen. Many foods will need to be blanched and flash frozen before freezing, but I have a super easy guide on that process to help you out. Also keep in mind that foods will develop freezer burn if they’re exposed to air, so be sure to get as much air out of containers before freezing (a FoodSaver is handy for this!)
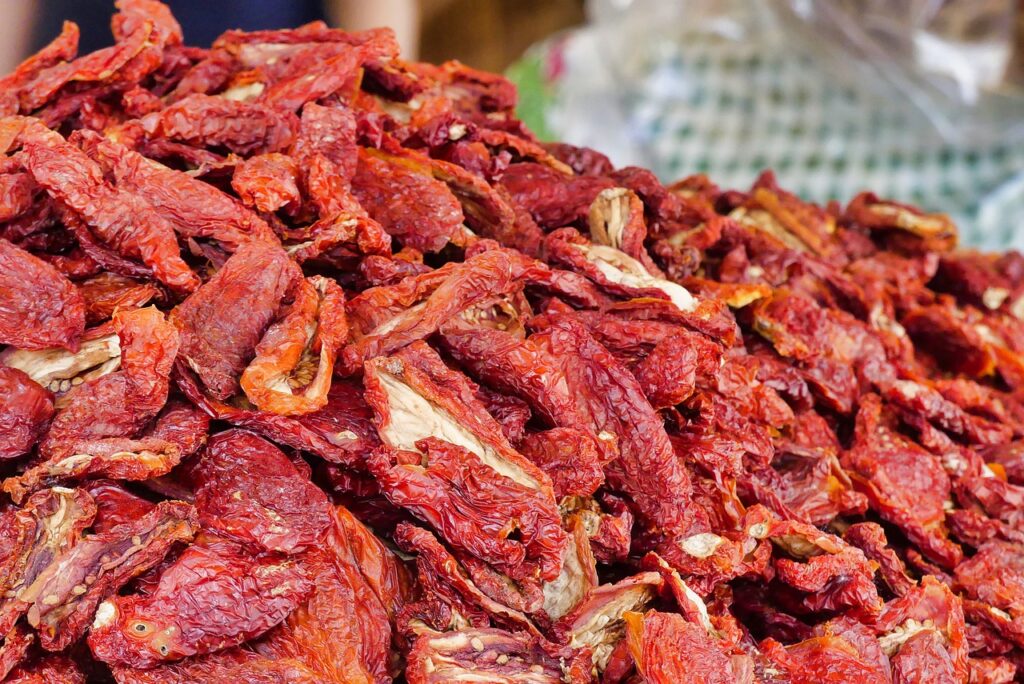
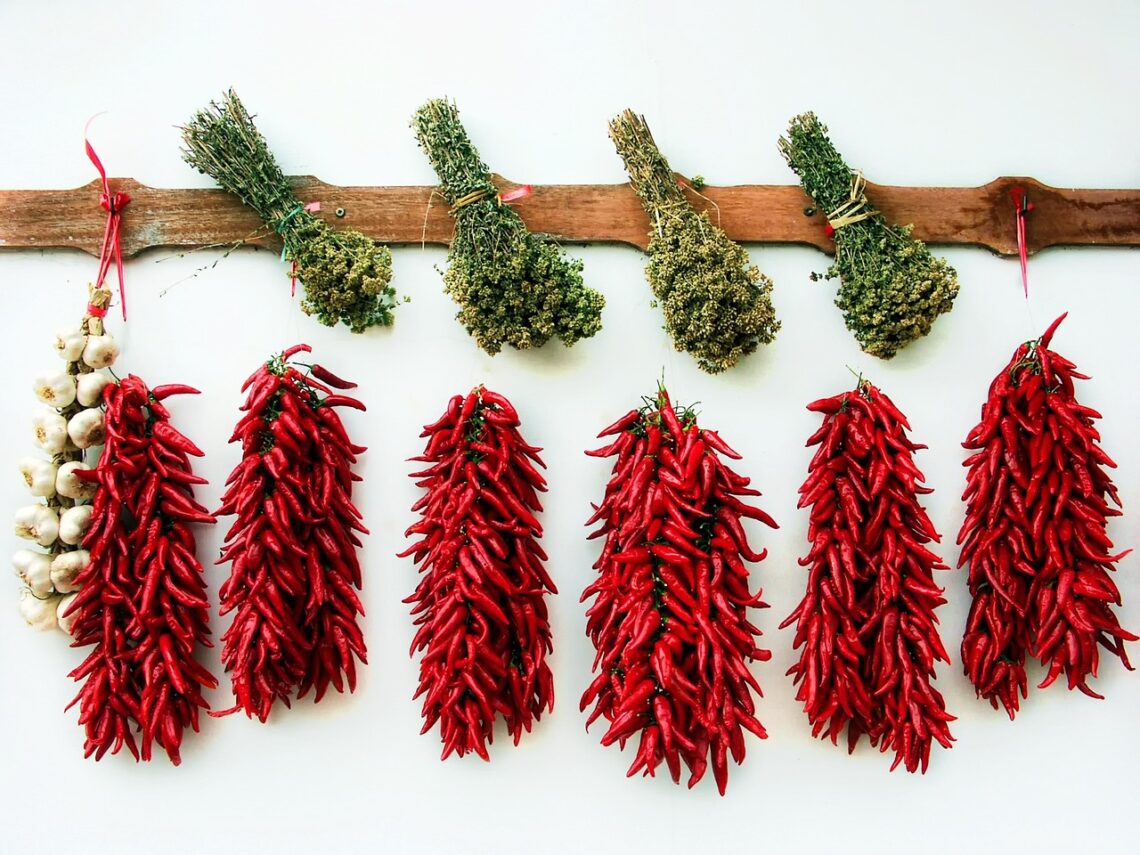
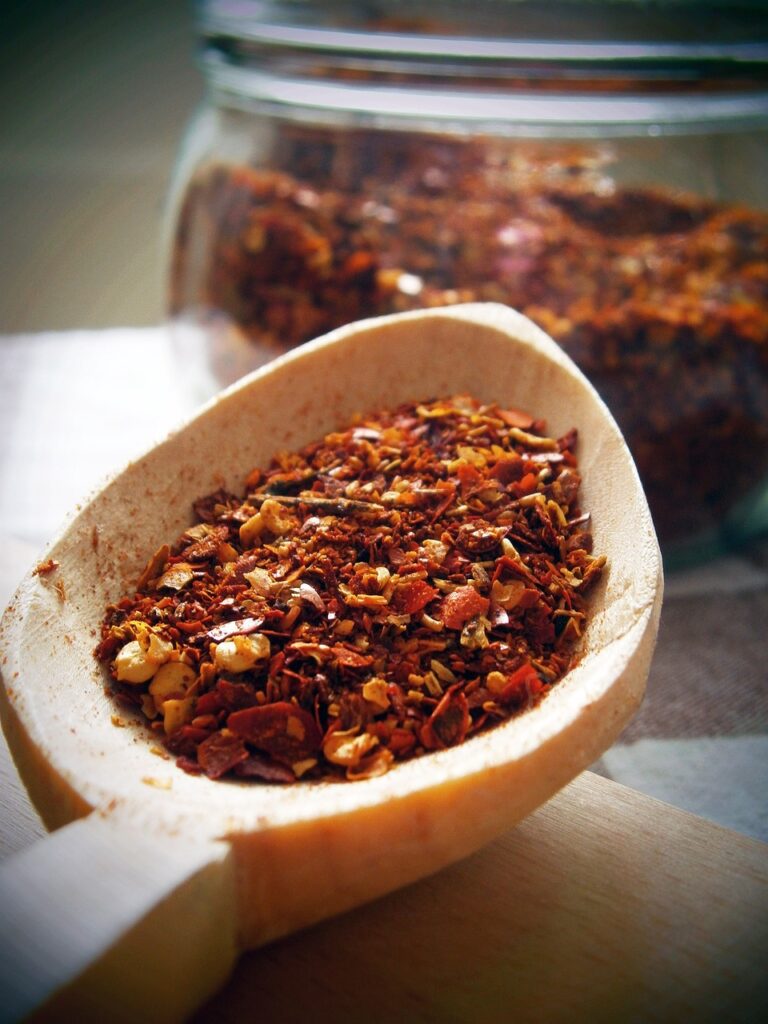
7. Dehydrating
Dehydrating is another easy technique and it doesn’t necessarily require any equipment. Many herbs (particularly ones with woody stems) can be hang dried with twine and then stored in airtight containers. However, if you want to dehydrate tender-stemmed herbs (like basil and parsley), fruit leathers, and larger food items (like sundried tomatoes and pepper flakes), you’ll probably want to invest in a food dehydrator.
There are lots of great dehydrators at different price points, but the best food dehydrator I’ve personally used is my Magic Mill. I like this setup because the interior is all stainless steel (not plastic) and the temperature and timer are very easy to read. If you don’t want to buy a dehydrator, you can also dehydrate some foods right in your oven (set on the lowest temperature setting) or in sheet pans in a hot car in summer.
Frequently Ask Questions About Preserving Garden Harvests
What food lasts the longest prepping?
Canned, freeze dried and fully dehydrated foods tend to have the longest shelf life.
Are there other food preservation methods to learn?
Yes! Aside from the preservation techniques above, preppers and homesteaders can also preserve foods with salting, sugaring, freeze drying, and smoking or curing.
What is the simplest method of preserving food?
Root cellaring is one of the easiest food preservation methods as foods can be stored whole. Pickling and freezing are also very accessible techniques, but these methods require refrigeration.