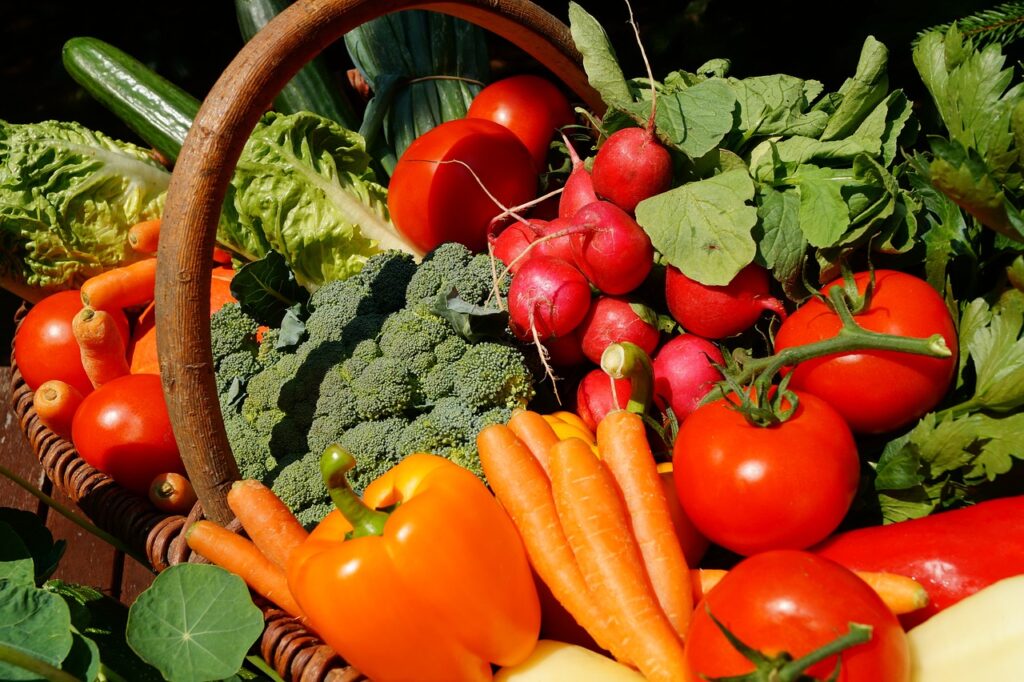
The end of summer and early autumn is a busy time for home gardeners. Food dehydrators are humming away, the canning pot is boiling on the stove, pickles are pickling and the root cellar is filling up with tubers and root veggies too. If you have a large garden, you may also want to try freezing homegrown vegetables; however, many vegetables need to be blanched if you want them to freeze well.
Blanching and freezing vegetables is not hard to do, but it can cause some confusion among home preservers as not all veggies need to be blanched. And while some vegetables do benefit from blanching, certain vegetables need to be blanched longer than others. Keeping track of all those blanching details can give anyone a headache, so I put together this quick guide on homegrown vegetable preservation.
Below, you’ll find tips for freezing homegrown produce, as well as guidelines on how to blanch and freeze the most common vegetables grown in home gardens. With these details in mind, you’ll easily master extending vegetable shelf life and be able to enjoy your homegrown produce throughout the winter!
AFFILIATE DISCLOSURE: AS AN AMAZON ASSOCIATE, I MAY EARN COMMISSIONS FROM QUALIFYING PURCHASES.
What is blanching?
Blanching is an easy cooking process wherein vegetables are briefly heated in boiling water or steam prior to freezing. By heating veggies up, blanching stops the activity of enzymes in plant leaves and stems and prevents the enzymes from breaking vegetables down prematurely. Proper blanching helps preserve the texture, color and nutrient content of homegrown crops and it’s a must-do process for many commonly cultivated vegetables, including leafy greens, zucchini and green beans.
Different vegetables have different blanching times and it’s important to follow these cooking recommendations closely. Underblanching vegetables is actually worse than not blanching vegetables at all as it can speed up enzyme activity and make vegetables break down more quickly. Overblanching vegetables is also not great as it can cause vegetables to lose their color and nutrients and it often results in limp and overcooked produce.
Beyond improving the longevity of frozen vegetables, blanching often makes veggies brighter and more aesthetically appealing. This process also lightly softens vegetables, making them more pliable and easier to pack into freezer bags for winter storage.
What supplies do you need for blanching?
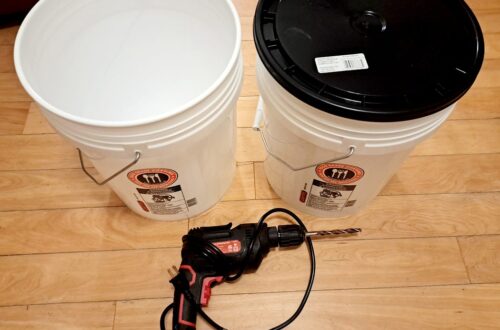
The vegetable blanching process is relatively straightforward and you likely already have most of the items you need in your kitchen. However, particular pieces of kitchen equipment can make blanching even easier and provide you with higher quality frozen goods. If you’re new to blanching and freezing vegetables, some of the items you’ll likely need are:
- A large stockpot
- A large mixing bowl
- A large colander
- A strainer ladle
- A metal sheet pan
- Freezer bags or a Foodsaver
- Kitchen knife
- Cutting board
How to blanch vegetables?
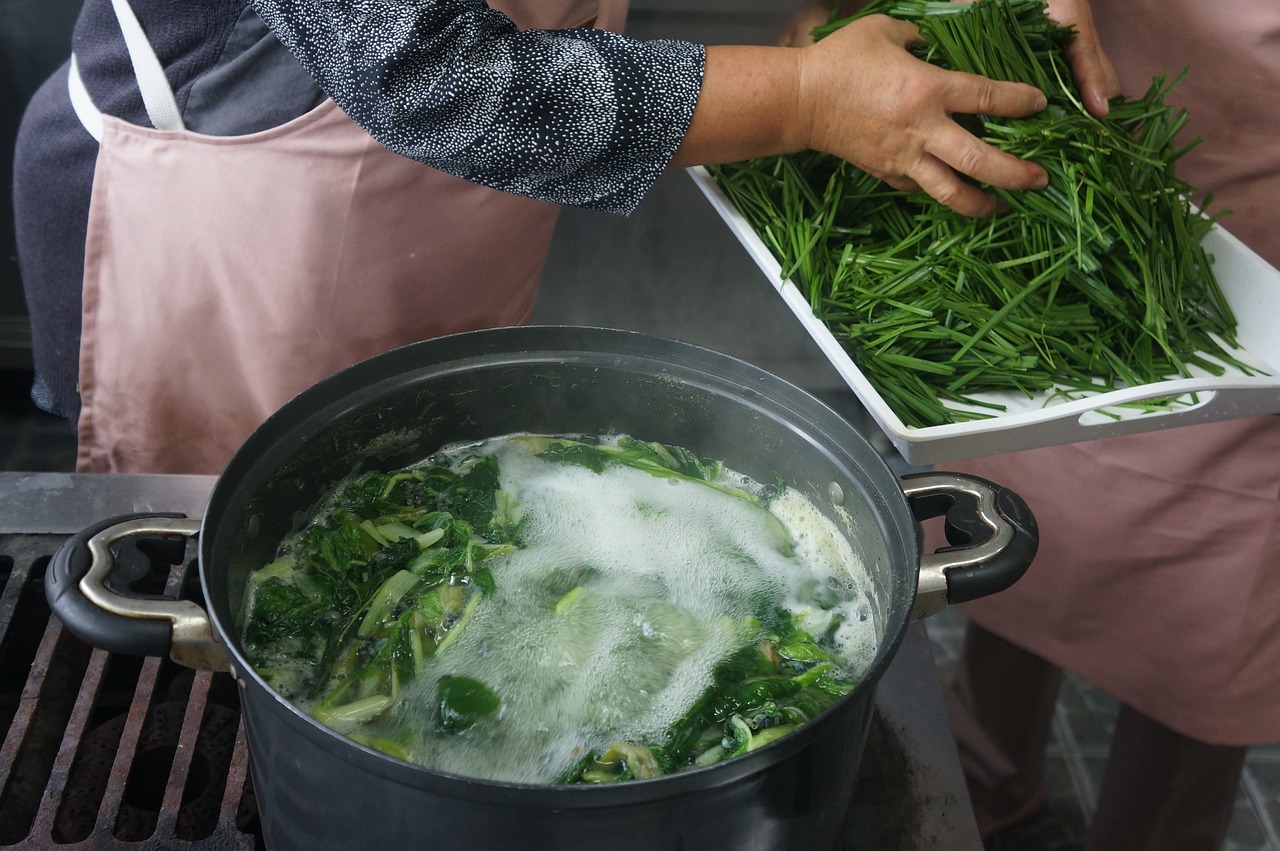
To blanch vegetables, first fill up a large pot with water and heat it to a rolling boil on your stove. Wash your vegetables and cut them into whatever sized pieces makes sense for you. Fill a large bowl with cool water and add in some ice too.
In general, I like to cut my veggies into bite-sized pieces and trim away the ends of beans and any unsightly blemishes as well. Usually, you won’t need to peel vegetables before blanching. If you prefer to cook with peeled vegetables, you can definitely peel your produce, although this may produce a softer blanched veggie.
After prepping your vegetables, lower your veggies into the boiling water with a ladle strainer, being careful not to splash any of the boiling water around. How many vegetables you can blanch at once will vary, but you don’t want to blanch so much food at the same time that it slows down the cooking process or causes veggies to blanch unevenly. Smaller quantities of veggies will blanch more quickly than larger quantities.
Once your vegetables are cooking away in the boiling water, place your pot lid back on and then wait for the water to return to a roiling boil. When the water is boiling again, start your timer and allow the veggies to cook for the recommended amount of blanching time.
When the timer goes off, scoop your vegetables out of the boiling water with your strainer ladle and plunge them into your large bowl of ice water. Give the veggies a good swish in the ice water and make sure all the vegetables are submerged. This ice bath is intended to shock the vegetables and stop them from cooking further, so it should be good and cold.
Allow the vegetables to sit in the ice bath for the same amount of time that they were heated during blanching. You may need to add extra ice or cool water to the ice bath to help the vegetables cool off more quickly.
After shocking the vegetables in your ice bath, scoop your veggies out of the bath with your ladle and place them in a colander or on a wire tray and allow the veggies to drain fully. Make sure you get as much water off of your vegetables as possible as too much water can affect the texture of your frozen produce and it also makes vegetables harder to break apart after freezing.
Freezing techniques for vegetables
Proper winter storage of homegrown veggies can greatly extend the shelf life of your produce and provide you with the tastiest and freshest frozen goods throughout the winter months. However, after blanching, you don’t want to just pop your vegetables in the freezer as this often results in frozen foods sticking together or developing freezer burn. Instead, I always recommend flash freezing produce before adding it to your freezer, as this will result in a higher quality frozen product.
Flash freezing is a fancy phrase for essentially pre-freezing your veggies. This process prevents foods from sticking to each other in the freezer and it also cuts down on the amount of air in packaging, so freezer burn is less likely.
To flash freeze your produce, spread your veggies out in a single layer on a sheet pan after you’ve blanched them and drained as much of the water away as possible. If you’re freezing vegetables that don’t need to be blanched, I still recommend flash freezing them. After placing your food on a sheet pan, simply pop the pan and your veggies into your freezer for 1 to 3 hours until they’re nice and frozen.
After flash freezing, remove your vegetables from the freezer and separate them from the tray. I find jiggling the baking sheet or lightly tapping it on the kitchen counter makes frozen vegetables pop off the tray nicely. Then, scoop your flash frozen vegetables into Ziploc baggies or Foodsaver bags and seal the bags, removing as much air as possible.
While Foodsavers are not required, I really like using mine because it removes all of the air from frozen vegetables automatically. Since air creates freezer burn on vegetables and other foods, Foodsavers can be a huge asset and they ultimately help your food last longer in the freezer.
Once your vegetables are neatly packaged in airtight baggies, remember to label your produce and date it too with a permanent marker. Then store your preserved produce in your freezer until you’re ready to use it!
What vegetables need to be blanched?
Most vegetables need to be blanched to preserve their nutrients, color and texture. Use the guide below for tips on how to preserve different vegetable types with blanching and freezing.
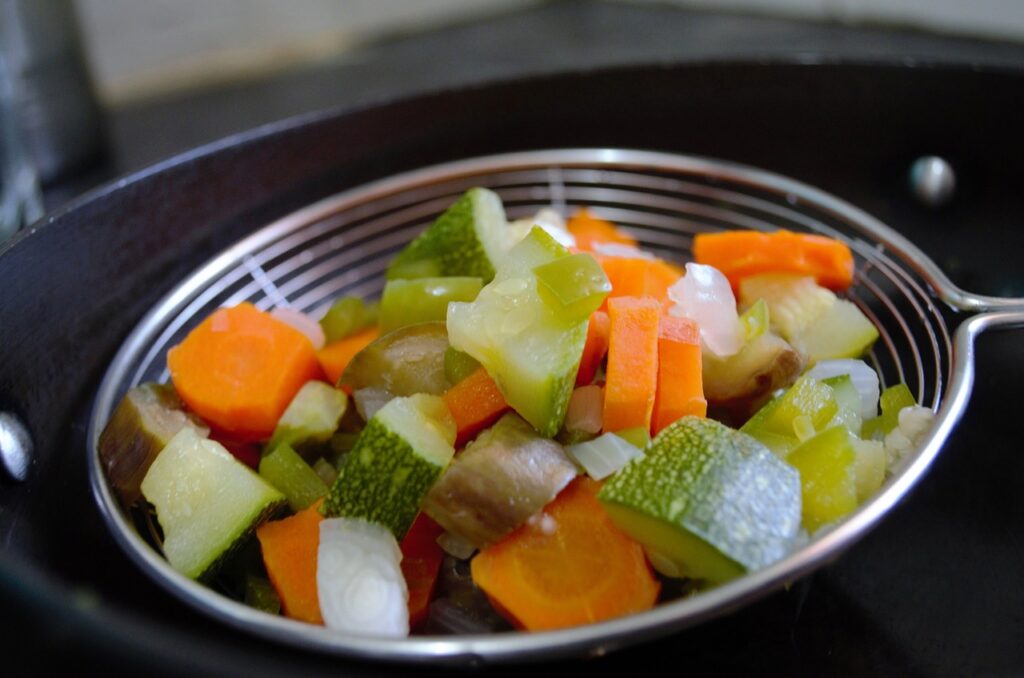
- How to freeze carrots. Wash the carrots and cut them into bite-sized pieces – either rounds, diced or sliced (peeling carrots is optional). Blanch carrot pieces for 2 minutes and small, baby carrots for 5 minutes and then drain them before flash freezing.
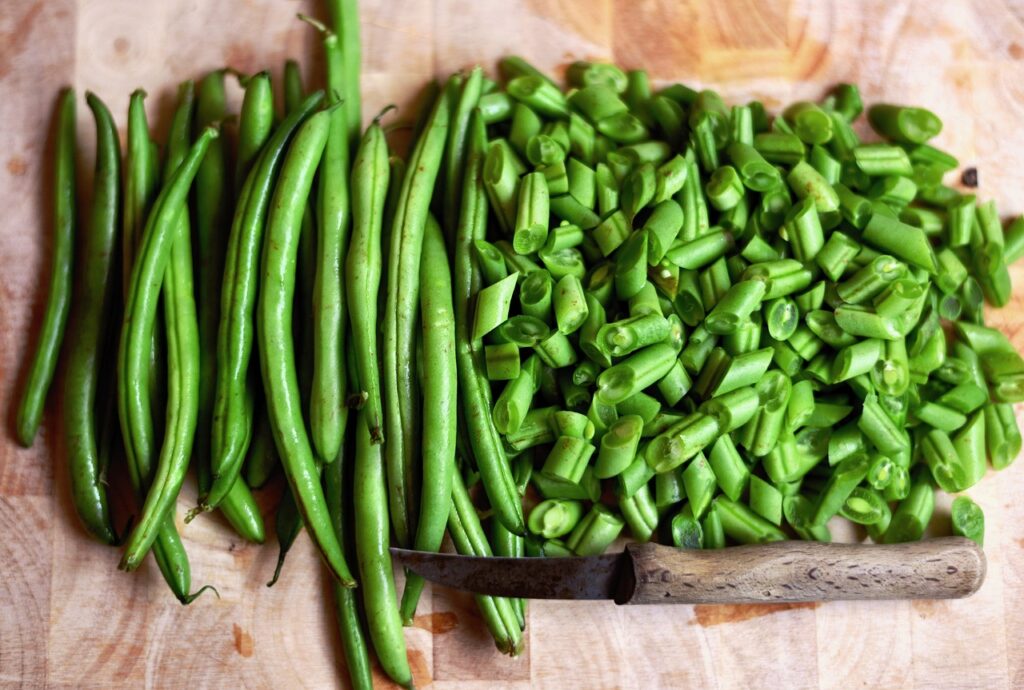
- How to freeze fresh green beans. Freezing green beans is easy, just give the beans a wash and then snip off their ends with a pairing knife. Blanch the beans for 3 minutes and then dunk them in an ice bath before draining and flash freezing them for about 1 hour.
- How to freeze squash. Cut summer squash or zucchini into bite-sized pieces, either rounds or slices (peeling is optional with zucchini and summer squash). Blanch squash for 3 minutes, then drain and flash freeze.*
- How to freeze broccoli. Wash your broccoli and then cut the peeled stem and florets into bite-sized pieces (about 1 1/2″ across). Blanch the broccoli for 3 minutes, then drain and flash freeze your florets.
* Note: Beets, winter squash and sweet potatoes should be fully cooked before they’re frozen.
Other vegetables should be frozen using the same winter food preservation methods listed above, although their recommended blanching times may vary slightly.
| Asparagus | 2 to 4 minutes blanching time, depending on stalk size |
| Brussel sprouts | 3 to 5 minutes blanching time, depending on sprout size |
| Cauliflower | 3 minutes blanching time |
| Celery | 3 minutes blanching time |
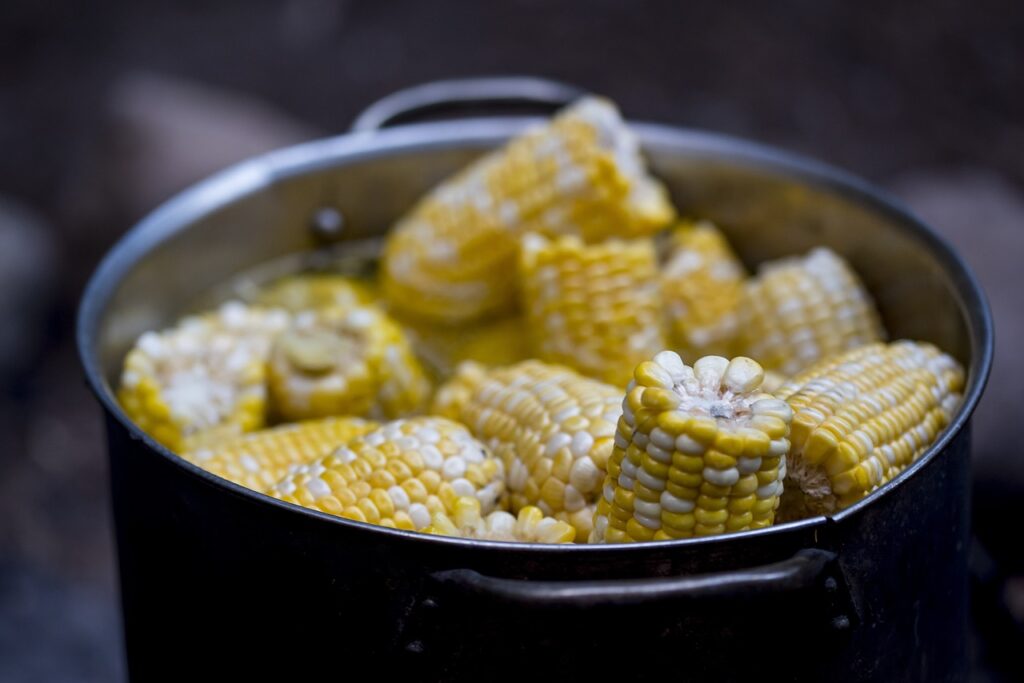
| Corn on the cob | 7 to 11 minutes blanching time, depending on cob size |
| Leafy greens | 2 to 3 minutes blanching time |
| Okra | 3 to 5 minutes blanching time, depending on pod size |
| Potatoes | 3 to 5 minutes blanching time |
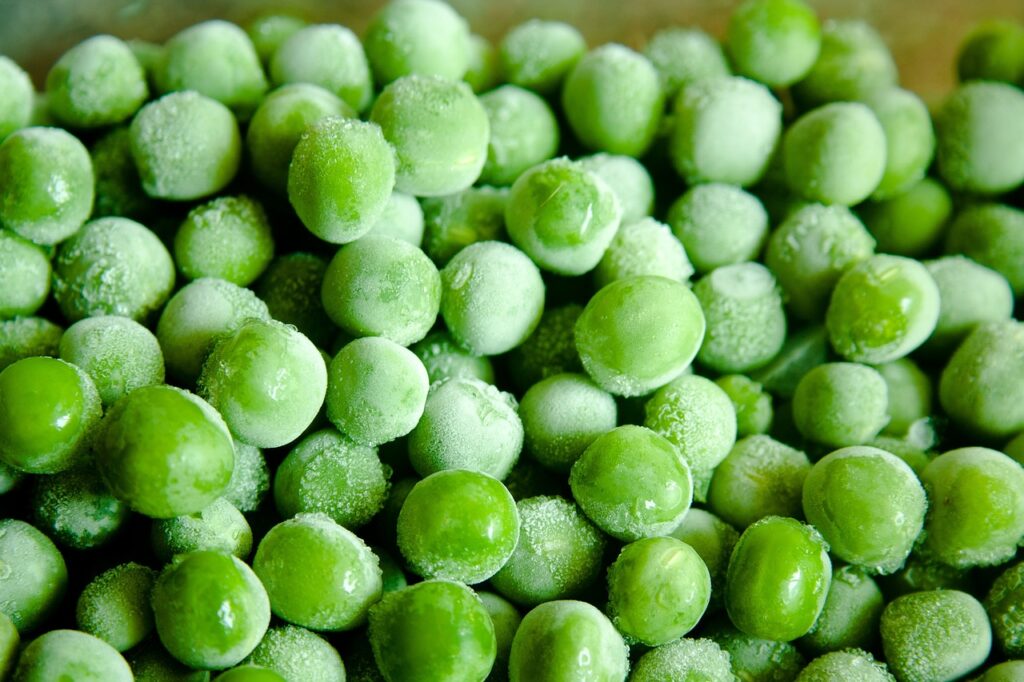
| Peas | 2 minutes blanching time |
| Soybeans | 5 minutes blanching time |
| Turnips | 3 minutes blanching time (for 1/2″ cubes) |
What vegetables don’t need to be blanched?
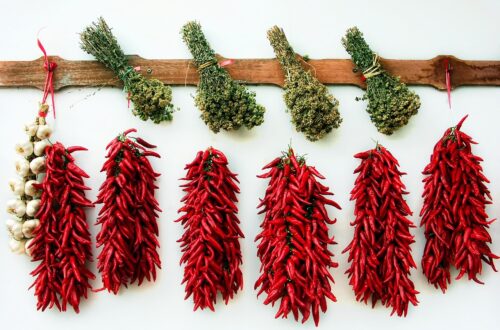
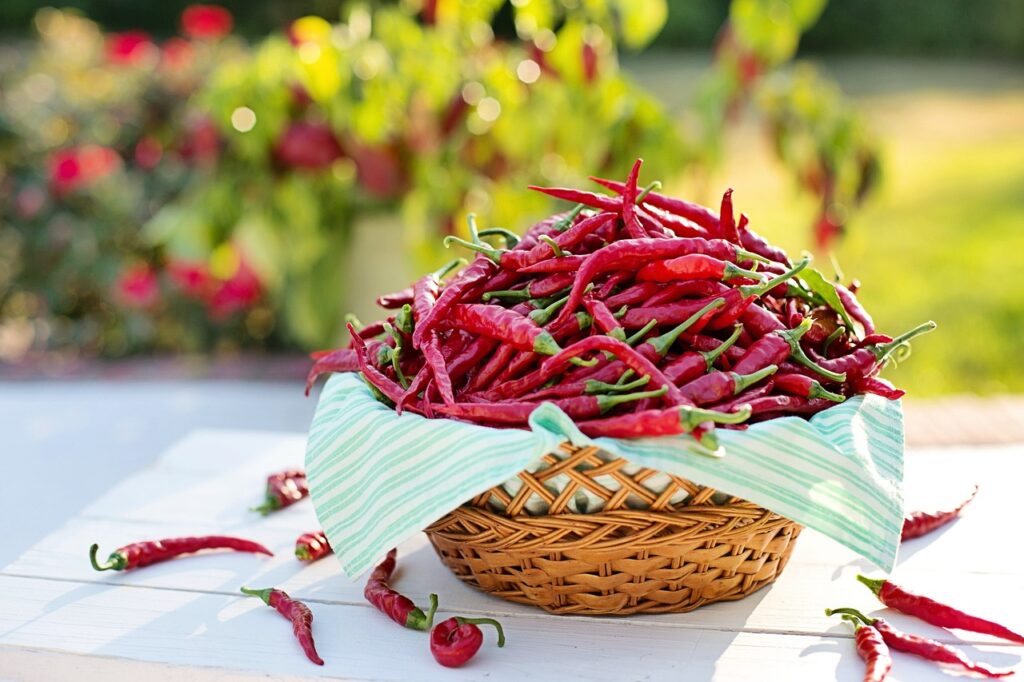
Although the majority of vegetables do need to be blanched before freezing, there are a few exceptions. Chopped onions and hot and mild peppers usually don’t need to be blanched and they can be frozen as is. That said, I personally like to precut and flash freeze peppers and onions before freezing them as I find this keeps them from sticking together later on.
How long do vegetables last in the freezer?
Blanching and freezing vegetables significantly extends their shelf life and will allow you to prevent food waste and preserve your harvest much longer. When properly stored, most homegrown vegetables will remain fresh in the freezer for about 8 to 12 months. Keeping veggies in airtight packaging is important as freezer burn can diminish the quality of your food.
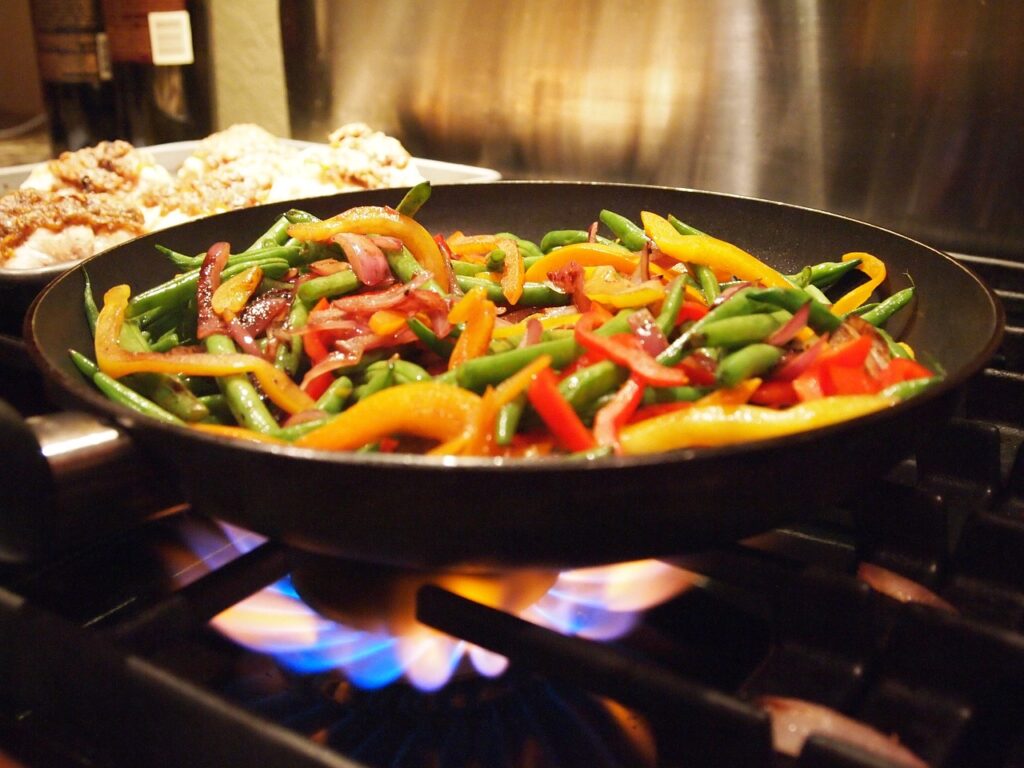
When you’re ready to cook with frozen foods, they can be mixed into stir fries, soups, casseroles and other dishes. An added perk is that frozen foods are already cleaned and cut, which makes food prep so much easier!
Frequently asked questions
Can you freeze carrots?
Yes! Freezing carrots is super easy. Simply cut your carrots into bite sized pieces, blanch them for 2 to 3 minutes and then flash freeze them before storing them in your freezer in airtight packaging.
Can you freeze Brussel sprouts?
Yes! When freezing Brussel sprouts, blanch the sprouts for 3 to 5 minutes and then flash freeze them. After that, package your sprouts in airtight packaging and store them in your freezer for up to 12 months.
Can you freeze broccoli?
Yes! Cut broccoli into bite-sized pieces and then blanch the pieces for 3 minutes. Before freezing broccoli, flash freeze the florets for 1 to 3 hours and then package them up in airtight packaging.
Can you freeze kale?
Yes! Kale and other leafy greens should be washed and cut into bite-sized pieces and blanched for 2 to 3 minutes. Flash freezing can be very helpful when freezing kale as it keeps kale leaves from becoming a hard, icy lump in your freezer!