Start vegetable, herb and flower seeds indoors with these step by step indoor sowing tips!
Some plants can be directly sown outdoors in gardens in spring. However, if you live in a cool climate or you just want to save money on your garden plants, it’s worth your while to start seeds indoors in winter to early spring.
Indoor sowing is an easy way to extend your growing season, expand the variety of plants in your garden and grow more vegetable and flower plants for less money. I already posted about my favorite seed starting supplies, and you may want to check out that blog before reading this one. But if you have your seed starting supplies in hand and you’re ready to start planting, read on to discover easy tips for planting and growing seeds indoors, plus transplanting suggestions!
Affiliate disclosure: As an Amazon Associate, I may earn commissions from qualifying purchases.
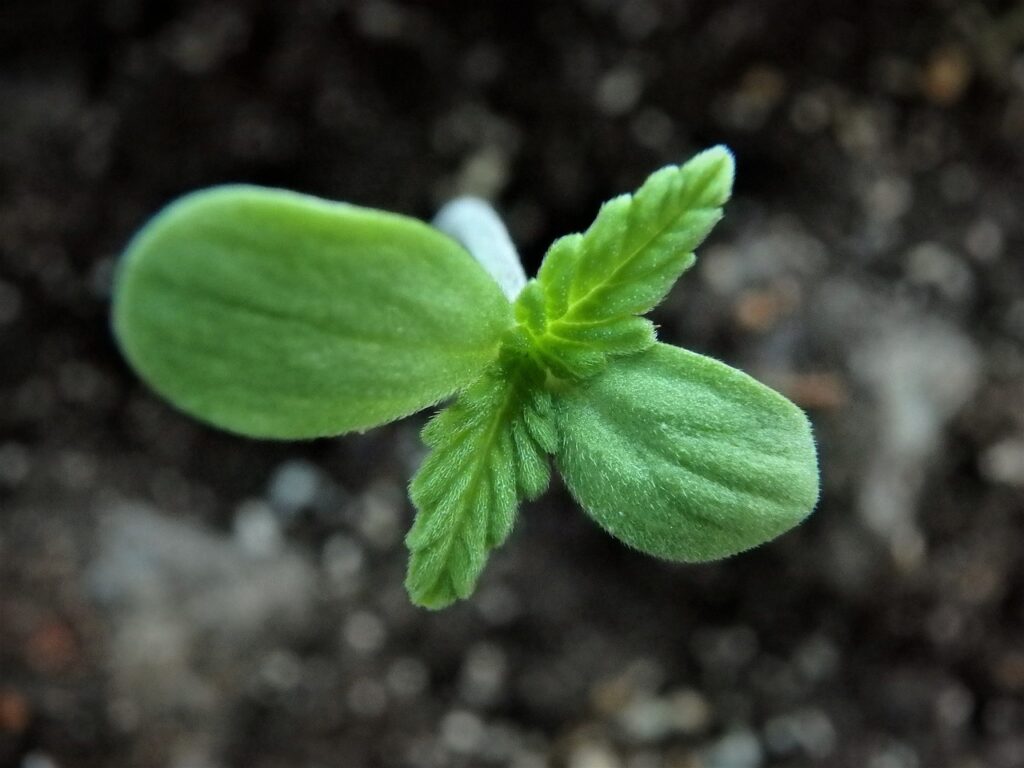
Why Grow Seeds Inside?
Unless you’re gardening in a very warm location, chances are you’ll need to start at least some of your seeds indoors. Many plants, like tomatoes, require a long growing season to mature and gardeners in cool climates may not have enough time between spring and fall frosts to grow a healthy crop of tomatoes without starting seeds indoors.
Indoor sowing can add weeks (or potentially even months) to your growing season, but it has other perks too. Some of the key benefits of starting seeds indoors include:
- Longer growing season.
Indoor sowing allows cool weather gardeners to plant seeds much earlier in the year. In fact, you can plant many types of vegetable seeds and flower seeds inside while there’s still snow on the ground!
- Greater variety of plants.
Plant nurseries have a limited selection of plants. For instance, they may only sell one type of basil or one tomato variety. But if you plant seeds indoors, you’ll find that seed catalogs offer a much greater selection of seeds and you can plant oddball seeds you’d never find at garden centers, like pumpkin on a stick plants!
- Money savings.
Plants grown from seed are typically much less expensive than nursery started plants. If you’re on a budget, growing plants from seed is the way to go!
- It’s fun!
Tending your own indoor seeds can break up the long winter months and it’s a fun learning experience for the whole family. Plus, there’s something incredibly rewarding about picking a tomato or pepper that you grew all by yourself with indoor sowing!
Can All Seed Varieties Be Started Inside?
Long season crops, like tomatoes and other nightshades, and many other vegetables, flowers and herbs do well with indoor sowing. However, there are a few common vegetable seeds that don’t grow well inside, including:
- Carrots, radishes and other root vegetables.
These crops generally don’t like having their roots disturbed and their long tap roots may not have enough space to grow in pots. - Vining plants, like beans, peas and morning glories.
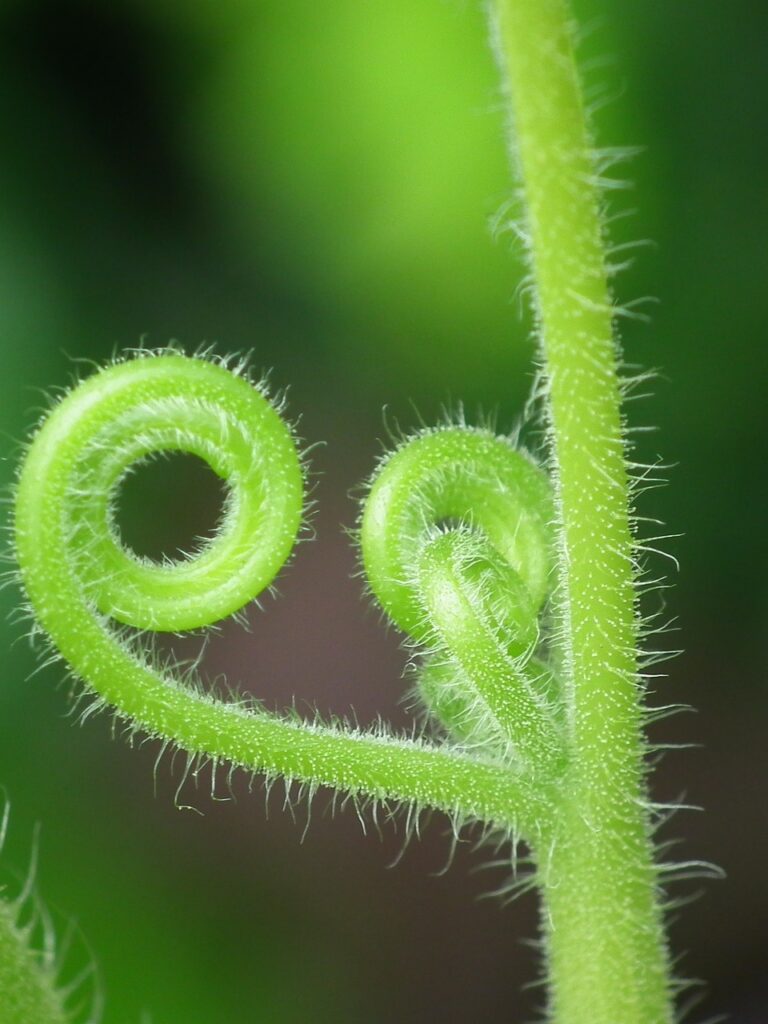
These plants often have delicate stems that break easily during the transplanting process. They also don’t like having their roots disturbed and, if you’re not careful, they may climb on indoor plant stands and grow lights and be difficult to move outside in spring! - Large, fast growing plants like sunflowers, pumpkins and melons.
These plants can take up a lot of room indoors, but they’re also difficult to transplant. Plus, they grow fast, so there’s not really a reason to start them inside!
As with most things in the gardening world, there is some flexibility and some gardeners do have success starting these seeds inside. However, these plant varieties will typically do better with outdoor sowing.
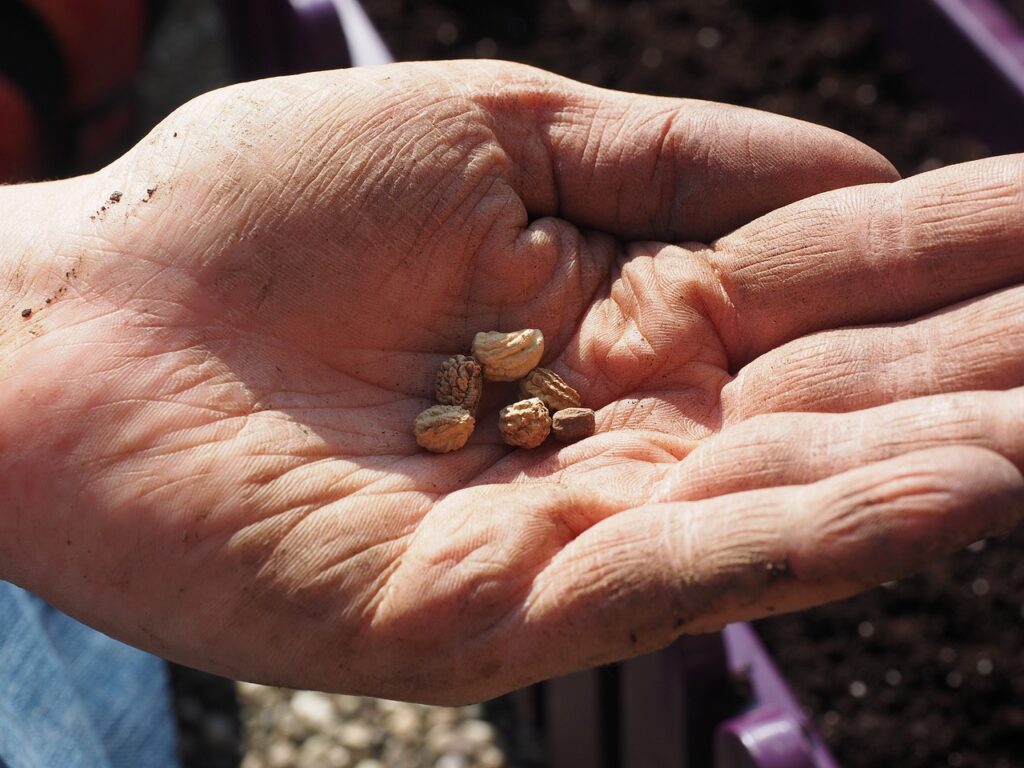
When to Sow Indoor Plant Seeds
Plants grow at different rates and they need to be planted at different times of the year to ensure they reach a harvestable size before autumn frosts arrive. Some slow growing herb seeds can be planted indoors as early as January or February; however, fast growing plants are usually planted in March or even April!
The best way to determine when to plant seeds is to read your seed packets. Packets will often tell you when to plant seeds and if seeds should be started indoors or directly sown outside. Typically, seed packets will say something like “sow X weeks before the last frost date,” so you’ll need to figure out your frost date and then subtract X number of weeks from that date to determine when those seeds should be planted!
Tip: You’ll need to plan even further ahead if you want to grow native plant seeds and certain herbs that require cold stratification. These plants are typically cold stratified for about 4 to 6 weeks before they’re planted, which means they’re usually stratified in January or February and planted indoors in March. If you don’t want to mess around with cold stratification, you can also try winter sowing these seeds outdoors in milk jugs!
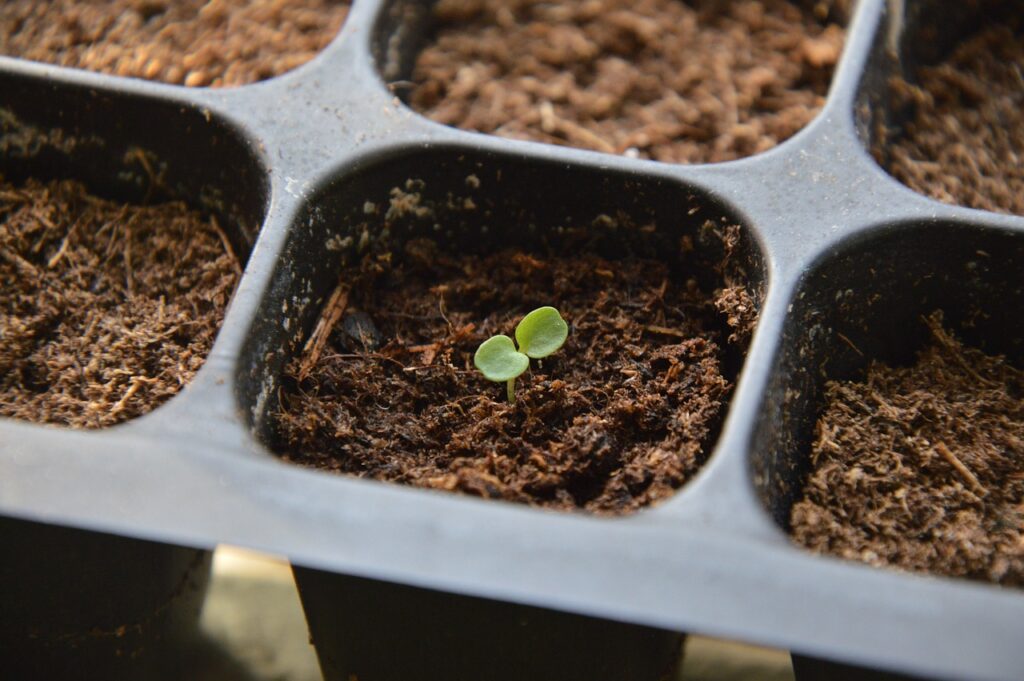
How to Sow Seeds Inside
To get started planting seeds, fill up your seed starting trays or pots with a premoistened seed starting mix.
Next, read your seed packets to determine the specific planting needs of the seeds you’d like to grow, paying particular attention to planting depth and spacing. Plant seeds according to the seed packet instructions, add plant labels, cover your seeds up with a humidity dome (if you’re using one) and then move the seeds under a grow light. Grow lights should be positioned 2 to 4” above the seed starting trays and they should be left on for 14 to 16 hours a day (attaching lights to a timer is super helpful!)
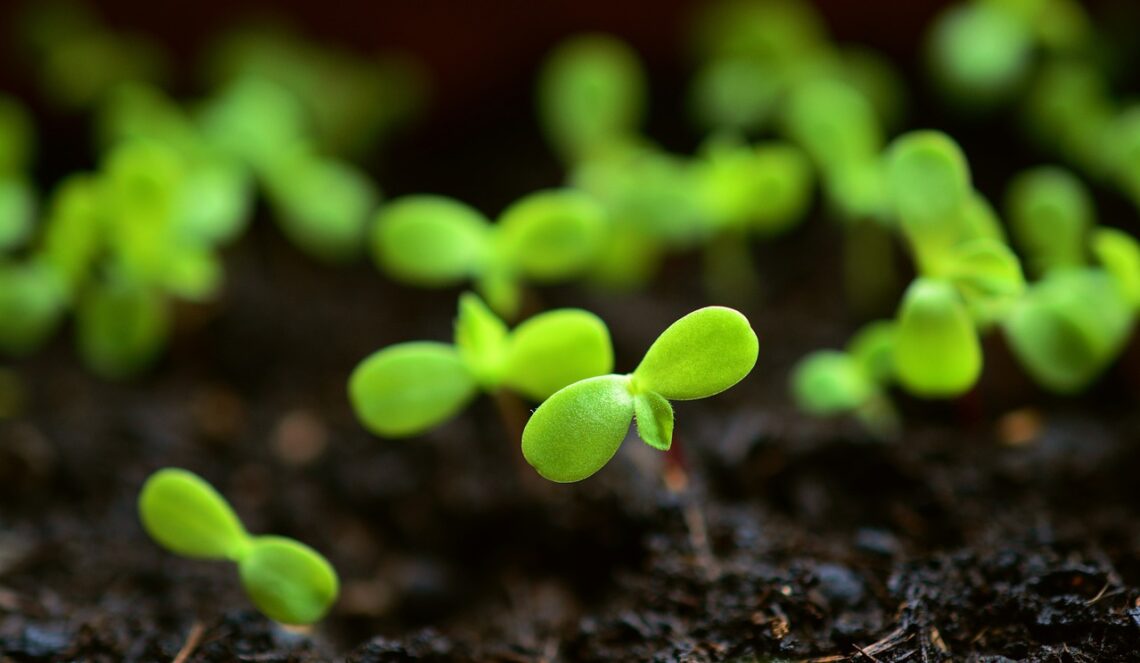
After your seeds are planted, water regularly to keep the soil damp, but not soggy. Some fast growing seeds will germinate in just a few days, while other seeds can take a few weeks to sprout.
For even better seed starting results, keep these tips in mind:
- Not all seeds germinate, so it’s usually a good idea to plant 2 to 3 seeds per planting hole or cell in a seed starting tray. Extra seeds can be thinned out later!
- Make sure to use a seed starting mix, not potting mix or garden soil. Standard potting mixes and garden soil are typically too dense for indoor seeds and they can cause drainage issues and impair root development.
- Most homes don’t receive enough natural light to support growing seeds. Unless you have a very bright window that receives at least 12 hours of light daily, you’ll want to invest in LED grow lights.
- Many seeds will sprout faster if you place them on top of heating mats. This is particularly true with tomatoes and other nightshades. However, heating mats should be turned off as soon as seeds germinate to prevent soil from drying out!
- Seeds can easily wash away if you water them with a watering can. To avoid this, I like to water seeds and young seedlings with a mister bottle or with bottom watering.
- Humidity domes should be removed as soon as plants germinate to avoid issues like damping off.
- Some seeds, like nasturtiums, germinate better if you presoak them in water for a few hours before planting. This technique isn’t needed for all seeds though and it’s not recommended for small seeds.
Caring for Indoor Seedlings
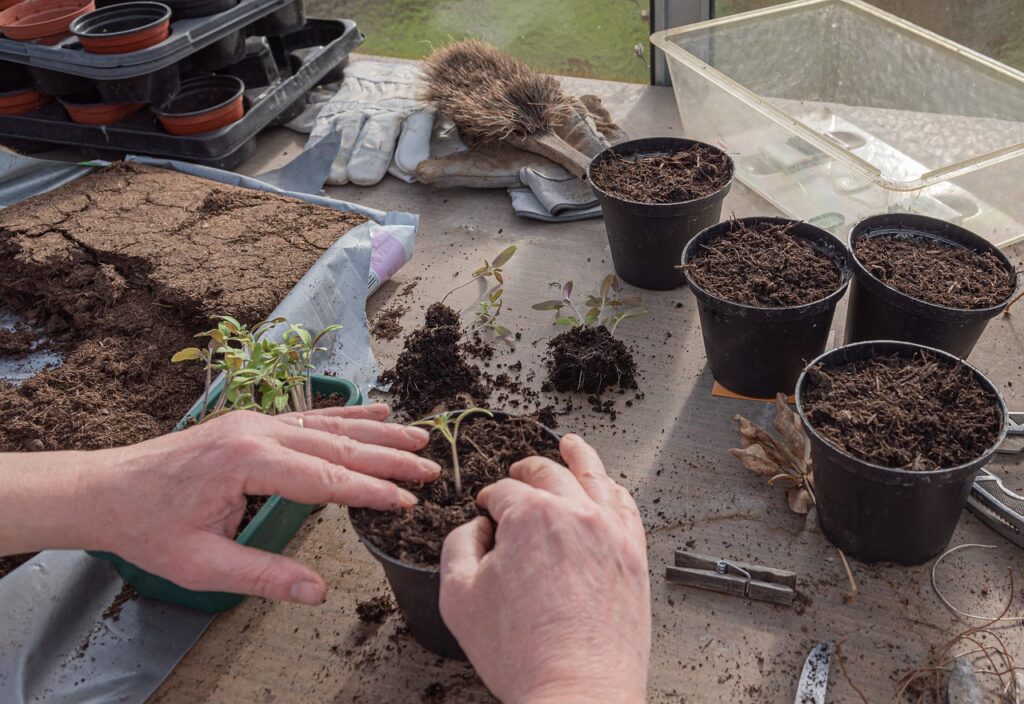
Once seedlings sprout, continue to water regularly to keep the soil moist and adjust grow lights upwards (if needed) so that the lights are 2 to 4” above the plant leaves at all times. Also, remove humidity domes, turn off heating mats and add a small fan to increase air flow and reduce the chances of damping off.
When seedlings are a few inches tall and have 2 sets of true leaves, thin out extra seedling by snipping them off with fingernail scissors, or gently repot them into individual pots. At this point, you can also start fertilizing seedlings with an organic liquid fertilizer diluted with water to ¼ strength.
Many seeds will grow happily in their original pots until transplanting time arrives. However, if you notice that your seeds look overgrown or roots are emerging from the pot bottoms, you may want to repot your seedlings into larger containers. It’s also wise to turn your seedling pots and trays every few days to keep seedling stems growing straight.
How to Transplant Seedlings
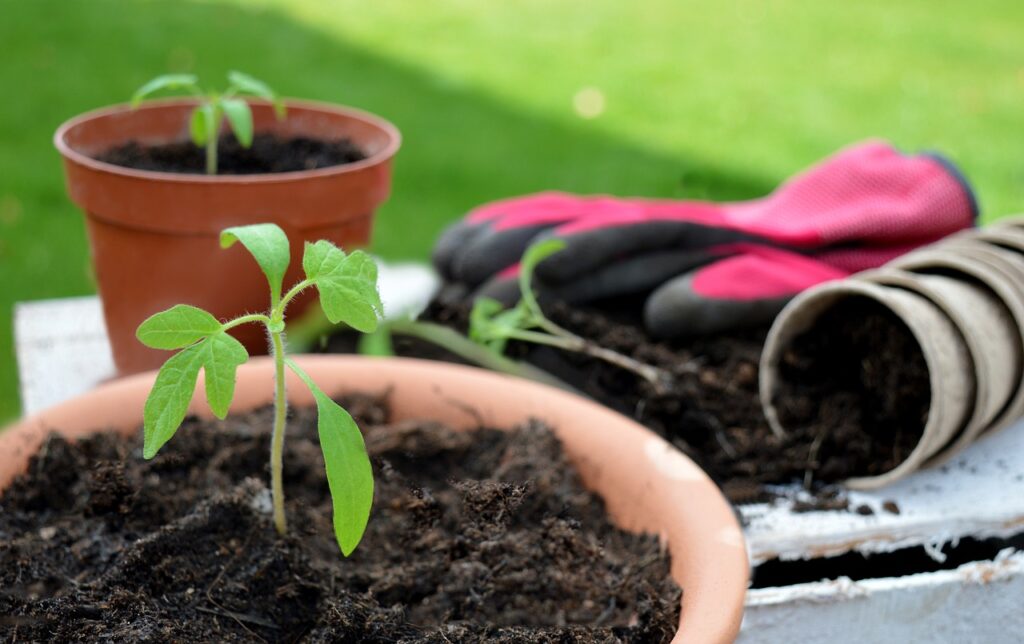
When to transplant seedlings will depend on where you live. Most seedlings can be transplanted outdoors once the danger of frost has passed; however, tomatoes and other nightshades are sensitive to cold and they shouldn’t be moved outside until temperatures are consistently above 60F.
Before transplanting, seedlings will need to be hardened off, which helps acclimate indoor plants to the light levels and temperatures of outdoor gardens and prevents transplant shock.
To harden off plants, move seedlings outdoors into a shady section of your yard on a warm day, leave them outside for 1 hour and then bring them back inside for the day. The following day, return the seeds outside for two hours and then bring them back inside. Continue this process for the next 1 to 2 weeks, gradually increasing how long the plants are outdoors and how much light they’re exposed to until the plants can stay outside all day and they handle as much light as they need.
To transplant seedlings, dig a hole in your garden that’s the same depth as your plant’s growing pot, locate the plant in the hole, backfill the hole with soil and water well. For even better results, transplant seedlings on an overcast day to reduce the chances of transplant shock, and amend the soil with a bit of compost or worm castings before planting!
Common Seed Growing Problems (and How to Avoid Them)
In an ideal world, all seedlings sprout without issue. However, there are a few seedling ailments that can affect germination in indoor grow rooms. Knowing what signs to look for and how to prevent these problems will help you grow healthier seedlings and reduce the chances of seedling loss.
- Damping off.
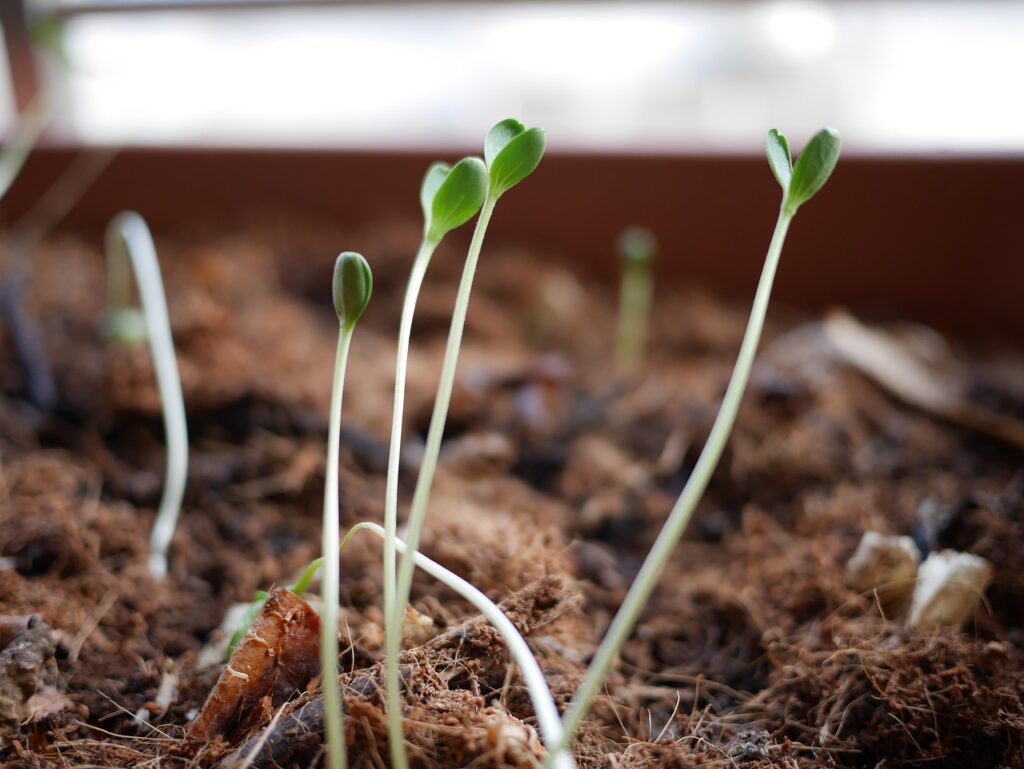
Damping off is caused by fungi and other plant pathogens that infect seedling stems and cause them to rot. Affected seedling will often topple over and their stems will look shrunken and threadlike.
To avoid damping off, remove humidity domes after seedlings sprout, add a small fan for air flow, use fresh seed starting mix and disinfect old seedling trays and pots with a 10% bleach solution.
- Plant edema.
Like damping off, plant edema is caused by excess moisture and it can cause plant stems and leaves to develop strange bumps and distortions. Taking care not to overwater plants and adding a small fan to your grow room can prevent this ailment.
- Light burn.
Seedlings that are too close to grow lights can sometimes develop leaf burn, which looks like pale, discolored or crispy leaves. If this occurs, move your seedlings further away from their lights!
- Elongated stems.
Leggy seedlings are begging for light! Make sure seedling leaves are 2 to 4” away from grow lights and leave grow lights on for at least 12 hours a day to prevent seedling stems from stretching.
- No germination.
Some seeds are naturally slow to sprout. So if your seeds haven’t germinated, they may just need more time!
However, if seeds haven’t germinated in a reasonable amount of time, there are a few common culprits. Damping off can cause seeds to rot before they sprout and overly wet conditions, low light or dry soil can also reduce germination. Beyond that, seeds may not sprout if they’re too old, if grow rooms are too cold or if seeds are buried too deep.
Frequently Asked Questions About Planting Seeds Indoors
What month is best to start seeds indoors?
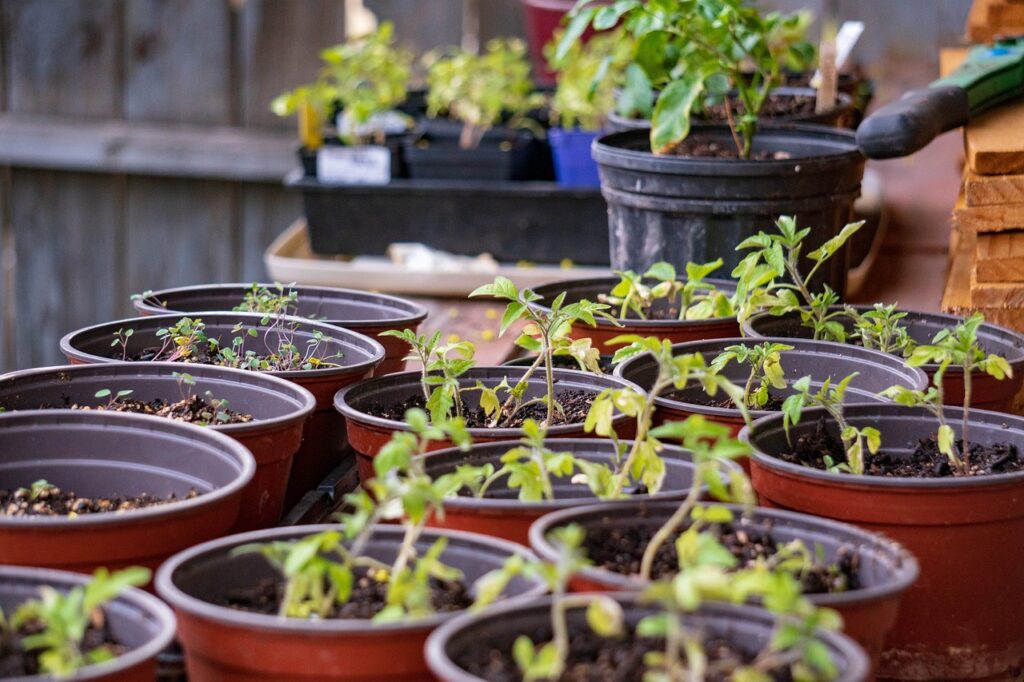
That depends. Most indoor seeds are started in February through April, although some seeds can be started in January. The best way to determine when to plant seeds is to read your seed packets!
Should you soak all seeds in water before planting?
Some large seeds will germinate quicker if they’re presoaked in water for a few hours. However, this technique is not necessary for all seeds and it can be difficult to use on very small, lightweight seeds.
How many seeds do you plant in one hole?
Not all seeds germinate, so it’s usually wise to plant 2 to 3 seeds per planting hole.
